How to Relap Tape Heads in 4 Steps – Head Relapping Guide
How To Relap Tape Heads: Introduction
As a passionate audiophile in constant search of the most compelling music listening experience, it was a revelation when I discovered the sound of open reel tapes.
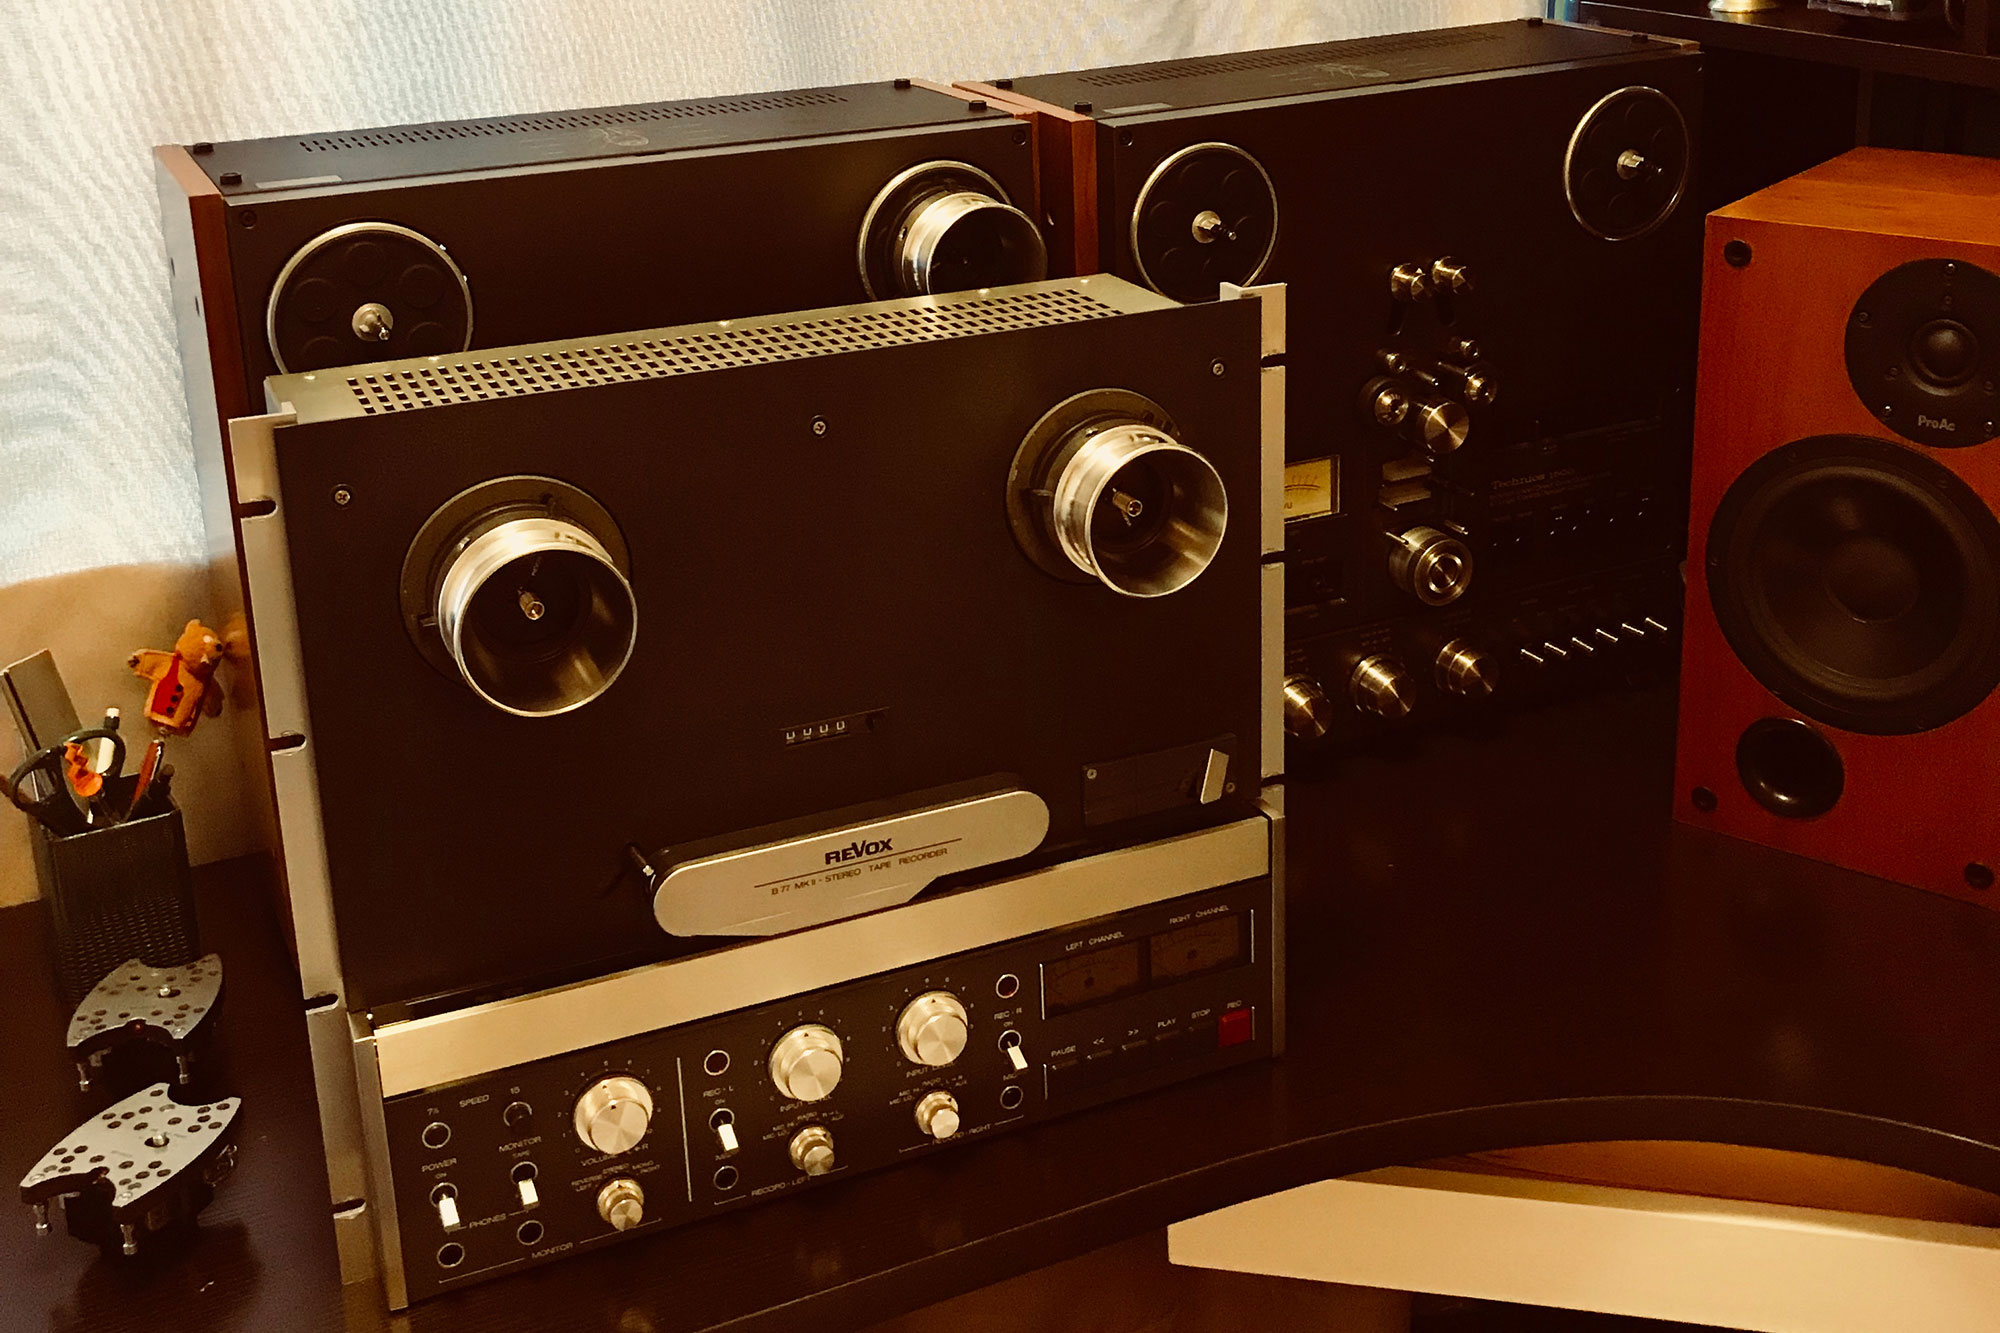
This is why I acquired a Technics RS1500, a Technics RS1506, and a Revox B77 MKII High Speed to perform experiments in my studio.
These recorders are pieces of engineering art, and to truly get the best out of them after 40 years of existence, they need to be refurbished. This is what I did, and I can tell you the reward is quite amazing!
This article is about an important step in the refurbishing process that is often feared or overlooked: how to relap tape heads to a factory like shape and shine.
According to a document published by Nortronics in 2002:
The degree of perfection of magnetic recording and playback is extremely dependent upon having the oxide surface of the tape pressed firmly in intimate contact to the head pole at the gap location. Any slight separation, even on the order of a micron, will reduce recording and playback efficiency, particularly at higher audio frequencies. The physical separation can be caused by unevenly-worn heads, insufficient tape tension or a buildup of oxide deposits on the head face.
Since the very early days of analog tape recording, Nortronics has been the most widely known and respected head manufacturer in the world. They released a magnetic head relapping kit called Handylap, that pops up second hand here and there on the web.
The Handylap manual states:
The following detailed head relapping instructions should make it possible for even a novice to adequately recontour and polish a worn head to achieve “like new” performance.
“First time” head relappers are urged to develop skill by practicing on worn-out heads before attempting to relap a slightly worn head.
It gave me the courage to decide I was able to relap tape heads, and I hope it will help you do the same. The reward is a clearly better sounding deck!
Let’s jump in.
Step 1: Get the Tape Heads out of the Deck
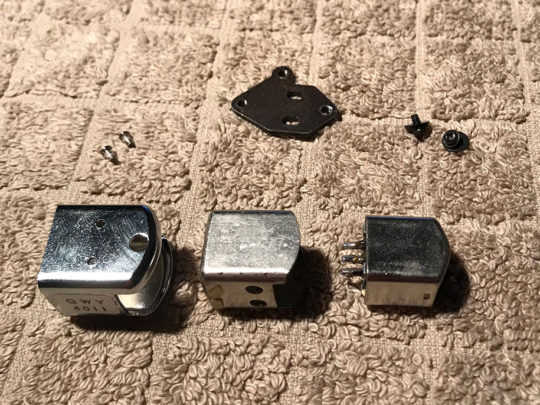
To relap tape heads, first you need to get the bare heads out to be able to hold them between your fingers to relap them.
Here I do it for Technics and Revox decks, but the principle is the same for all machines.
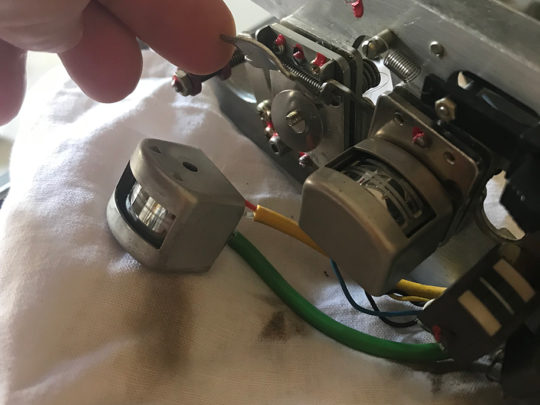
For Revox decks, it is rather simple. Take the head block out and unscrew each head compartment.
Unsolder the wires and push each bare head out.
During the process, make sure you take pictures at each step so you will mount things back correctly after relapping.
For Technics decks, it is more painful. Remove the head block, and remove the plastic cover behind it.
Each head compartment is fixed to the head block with bolts that influence head alignment. So you need to be ready for head alignment afterwards.
Also, bare heads are glued inside their compartment, so you will need to be patient to get them out.
It is tedious but totally feasible.
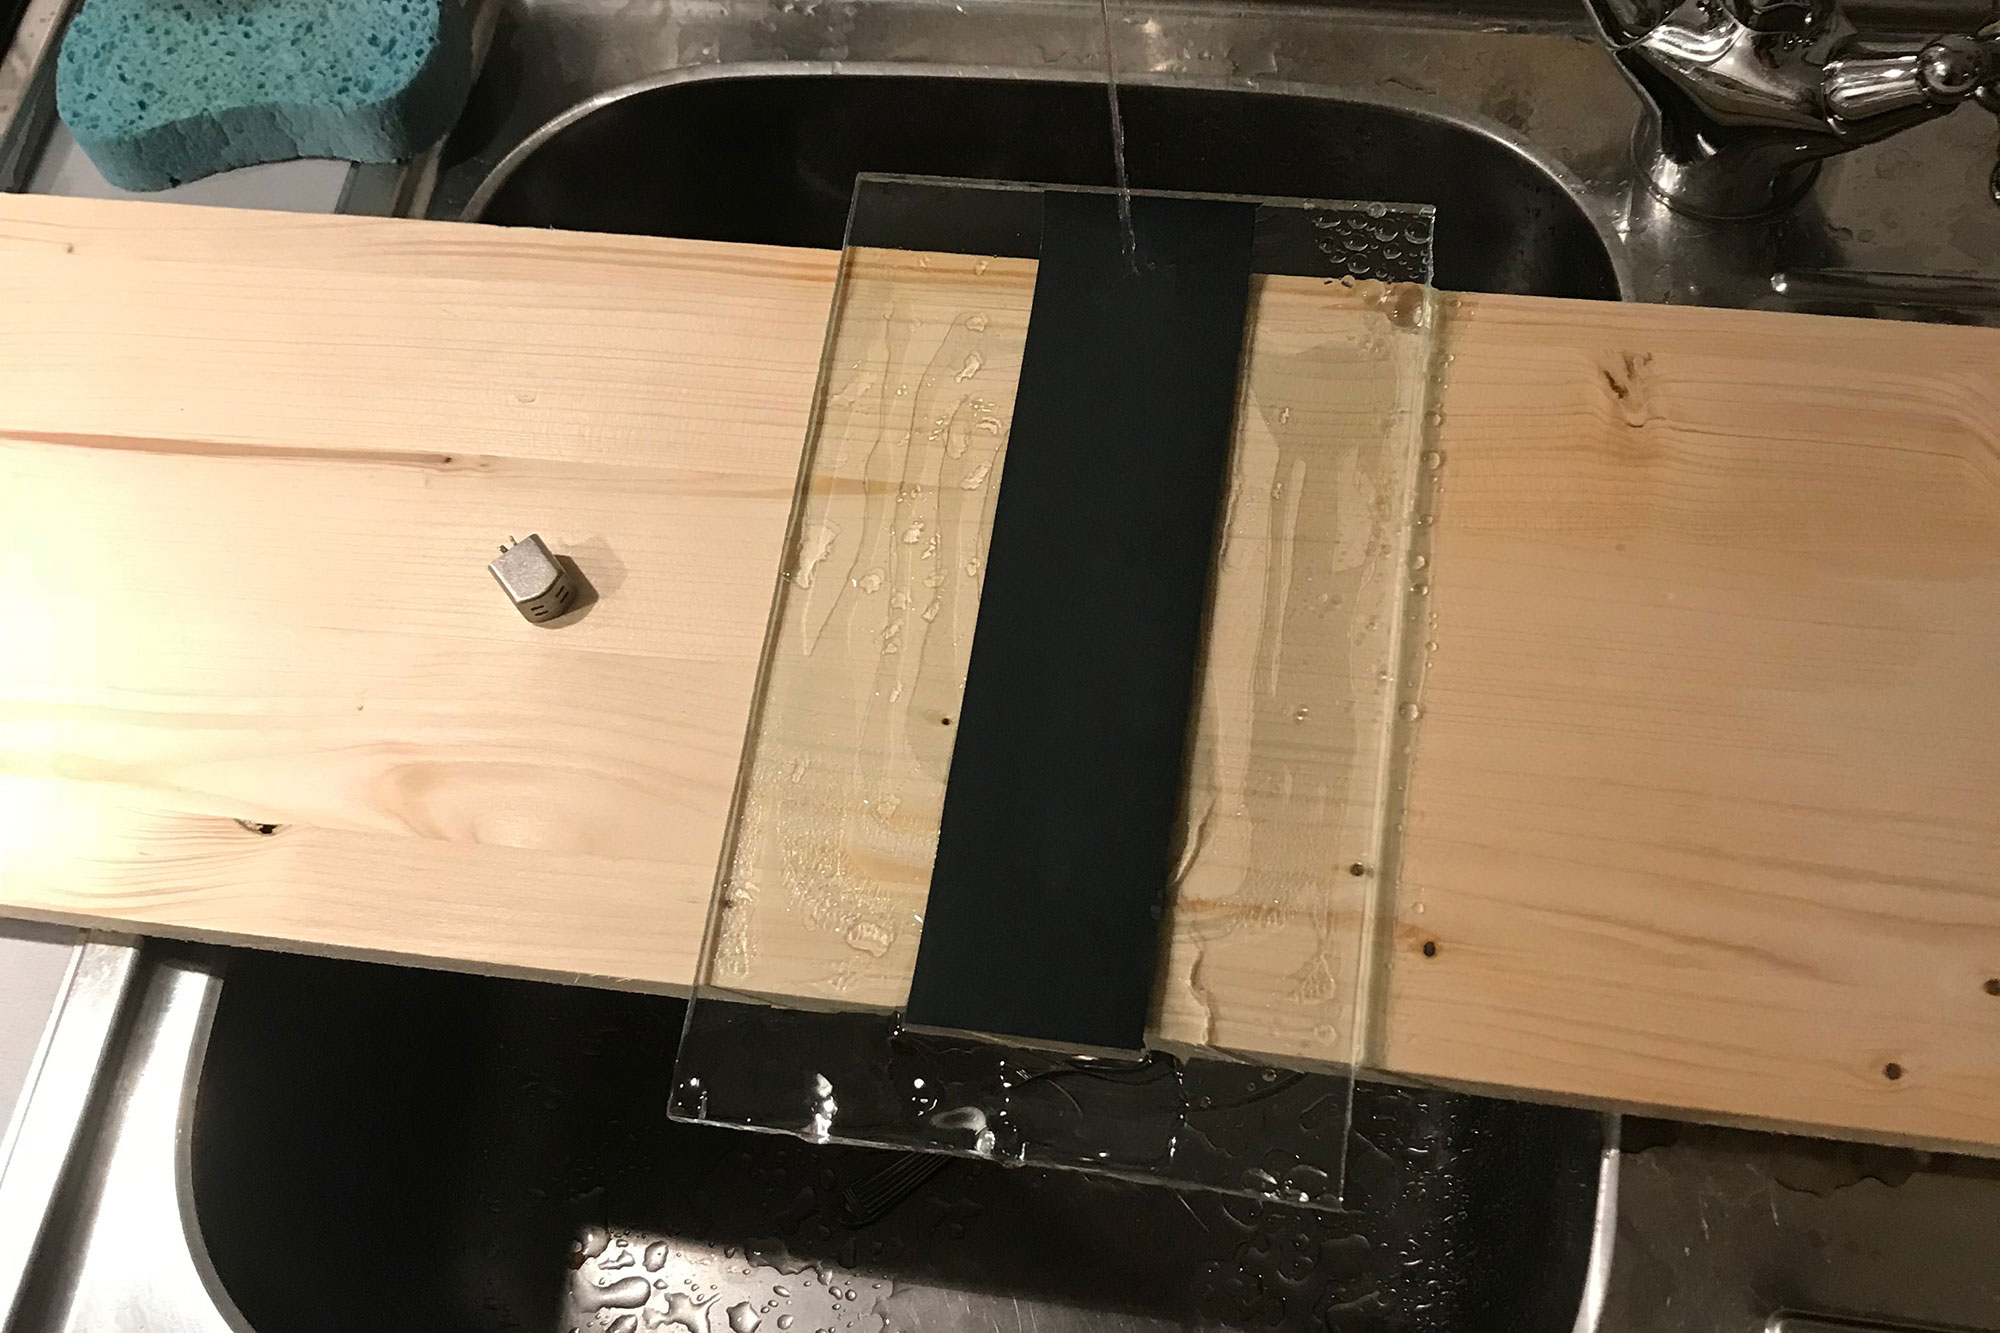
Step 2: Build a Lapping Board
Once you have your bare heads, it is time to build a DIY lapping board.
Here is what you need:
- A pinewood board (about 65cm long, 2cm thick, 25cm wide) for the base.
- A wood dowel (2cm diameter, 65cm long), nailed or glued to one edge of the wood board.
- A plate glass (1 or 2cm thick, 25cm long, 15cm wide) optically flat if possible, and most important with edges grinded for obvious safety reasons. Cement it to center of board using hot melt glue or epoxy.
- Running water, cold or cool. The wet glass plate will hold the abrasive sheets in place.
- Laundry tub or kitchen sink.
- Abrasive sheets (they come in A4 format in general). The recommended brand is 3M. The exact grit sizes given are not sacred, just use the closest size available. The important thing is to progress in steps from coarse to fine, as you cannot easily remove deep scratches from the coarse paper with the fine polishing film.
3M TRIMITE WET OR DRY silicon carbide:
- 400-grit to remove all steps and flat spots
- 1500-grit to remove the 400-grit scratches
3M IMPERIAL LAPPING FILM:
- 9-micron (blue)
- 3-micron (pink)
- 1-micron (yellow green)
Note: 12-micron yellow is OK in place of the 9-micron. If you can’t find 3-micron, you’ll just have to work harder with the 1-micron. 0.5-micron is ok substitute for 1-micron. A good magnifying glass or binocular microscope is needed for inspection to make sure no flaws remain.
The assembled lapping board will look like this:
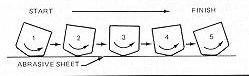
Step 3: Tape Head Relapping Procedure
Place the lapping board over your laundry tub or kitchen sink and open the tap to get a trickle of water on the plate glass.
The wood dowel should be at the back, so the water will flow towards you.
For each grit, cut the abrasive paper so it fits nicely on the plate glass.
The water will make them stick to the glass, which is quite convenient.
Use the 400-grit abrasive material to rapidly remove the face material from the head and to eliminate the wear groove and re-contour the face. It leaves fine scratches which are subsequently polished off with the Medium and Fine lapping films.
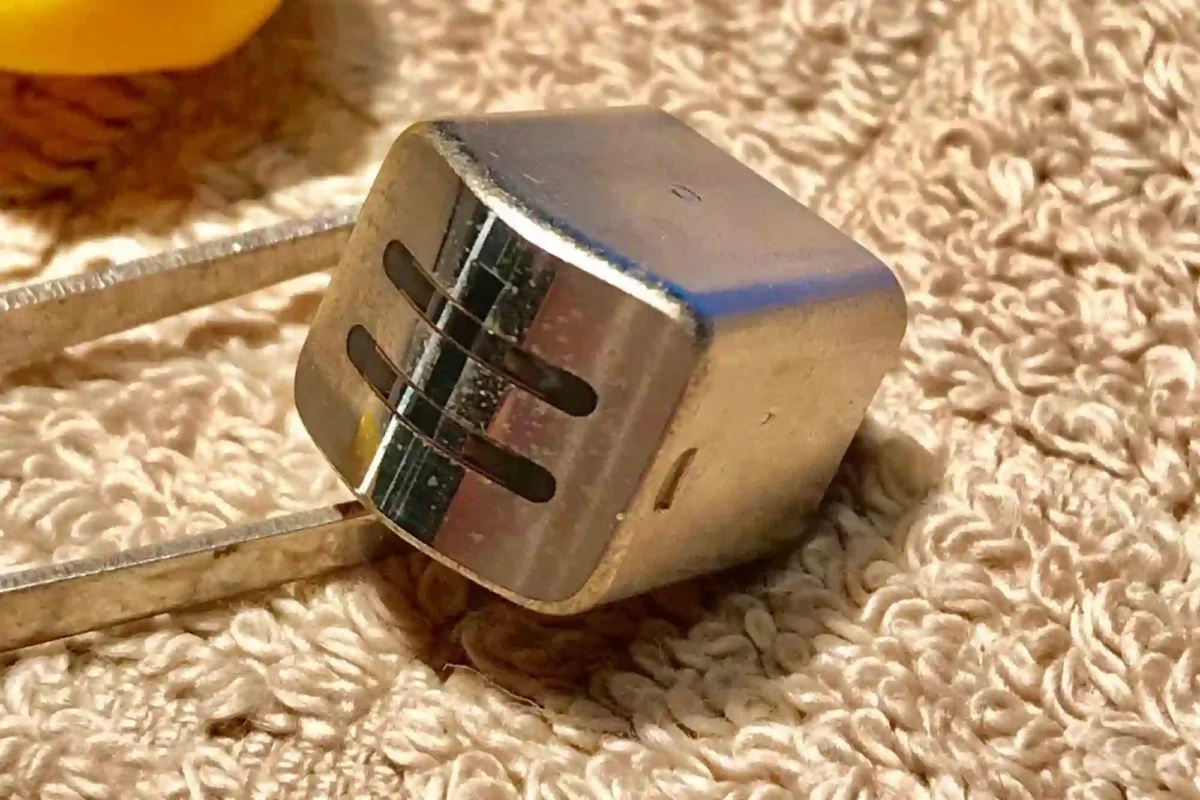
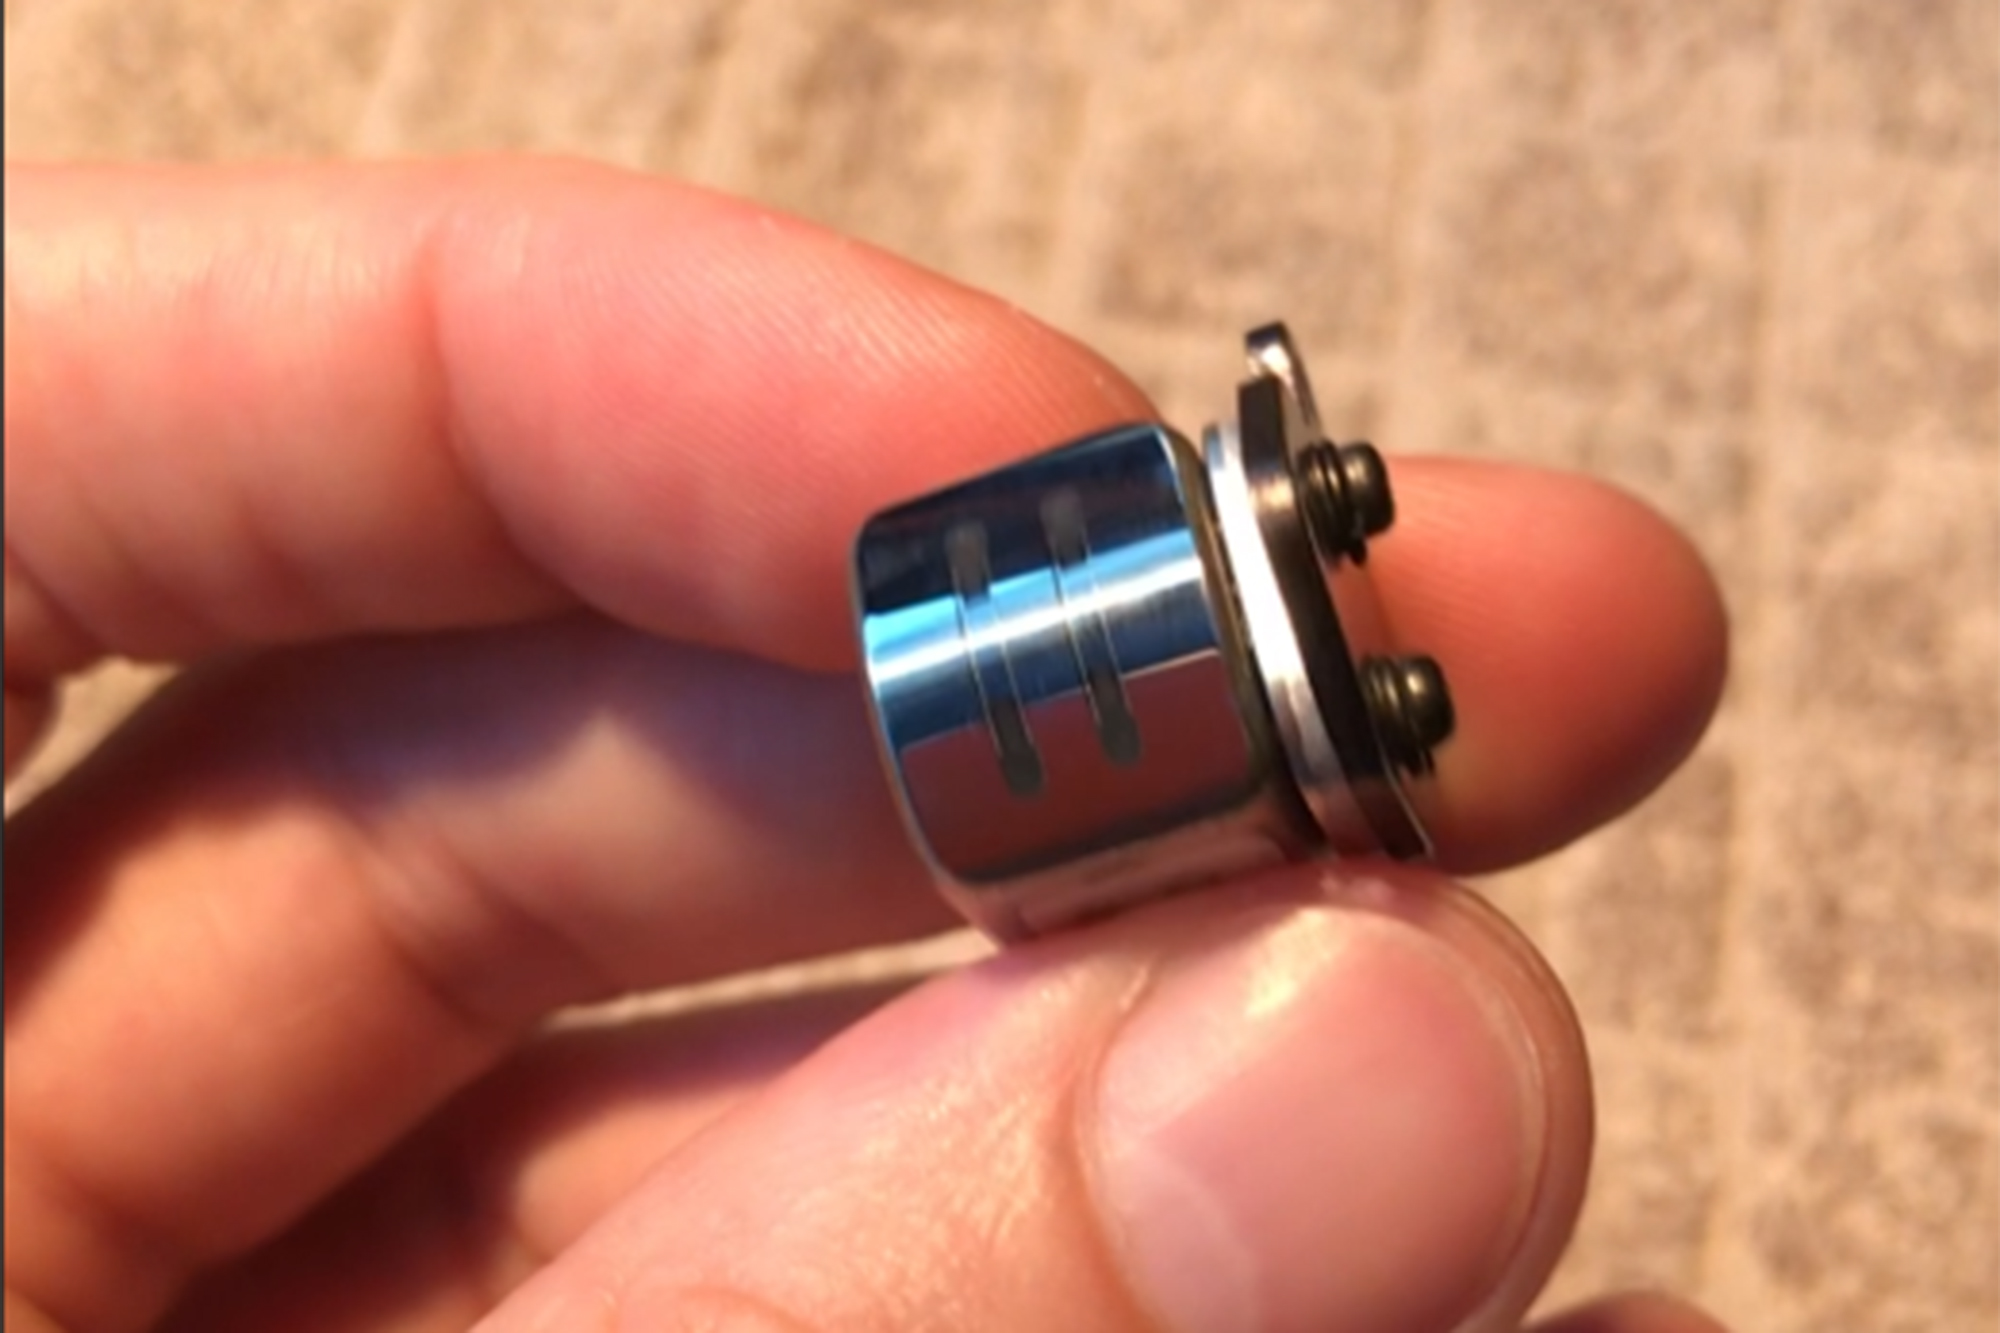
To relap tape heads, grasp each head between thumb and forefinger as shown in the below picture. A comfortable orientation position for the lapping block is at 45 degrees to the operator, as for a sheet of writing paper.
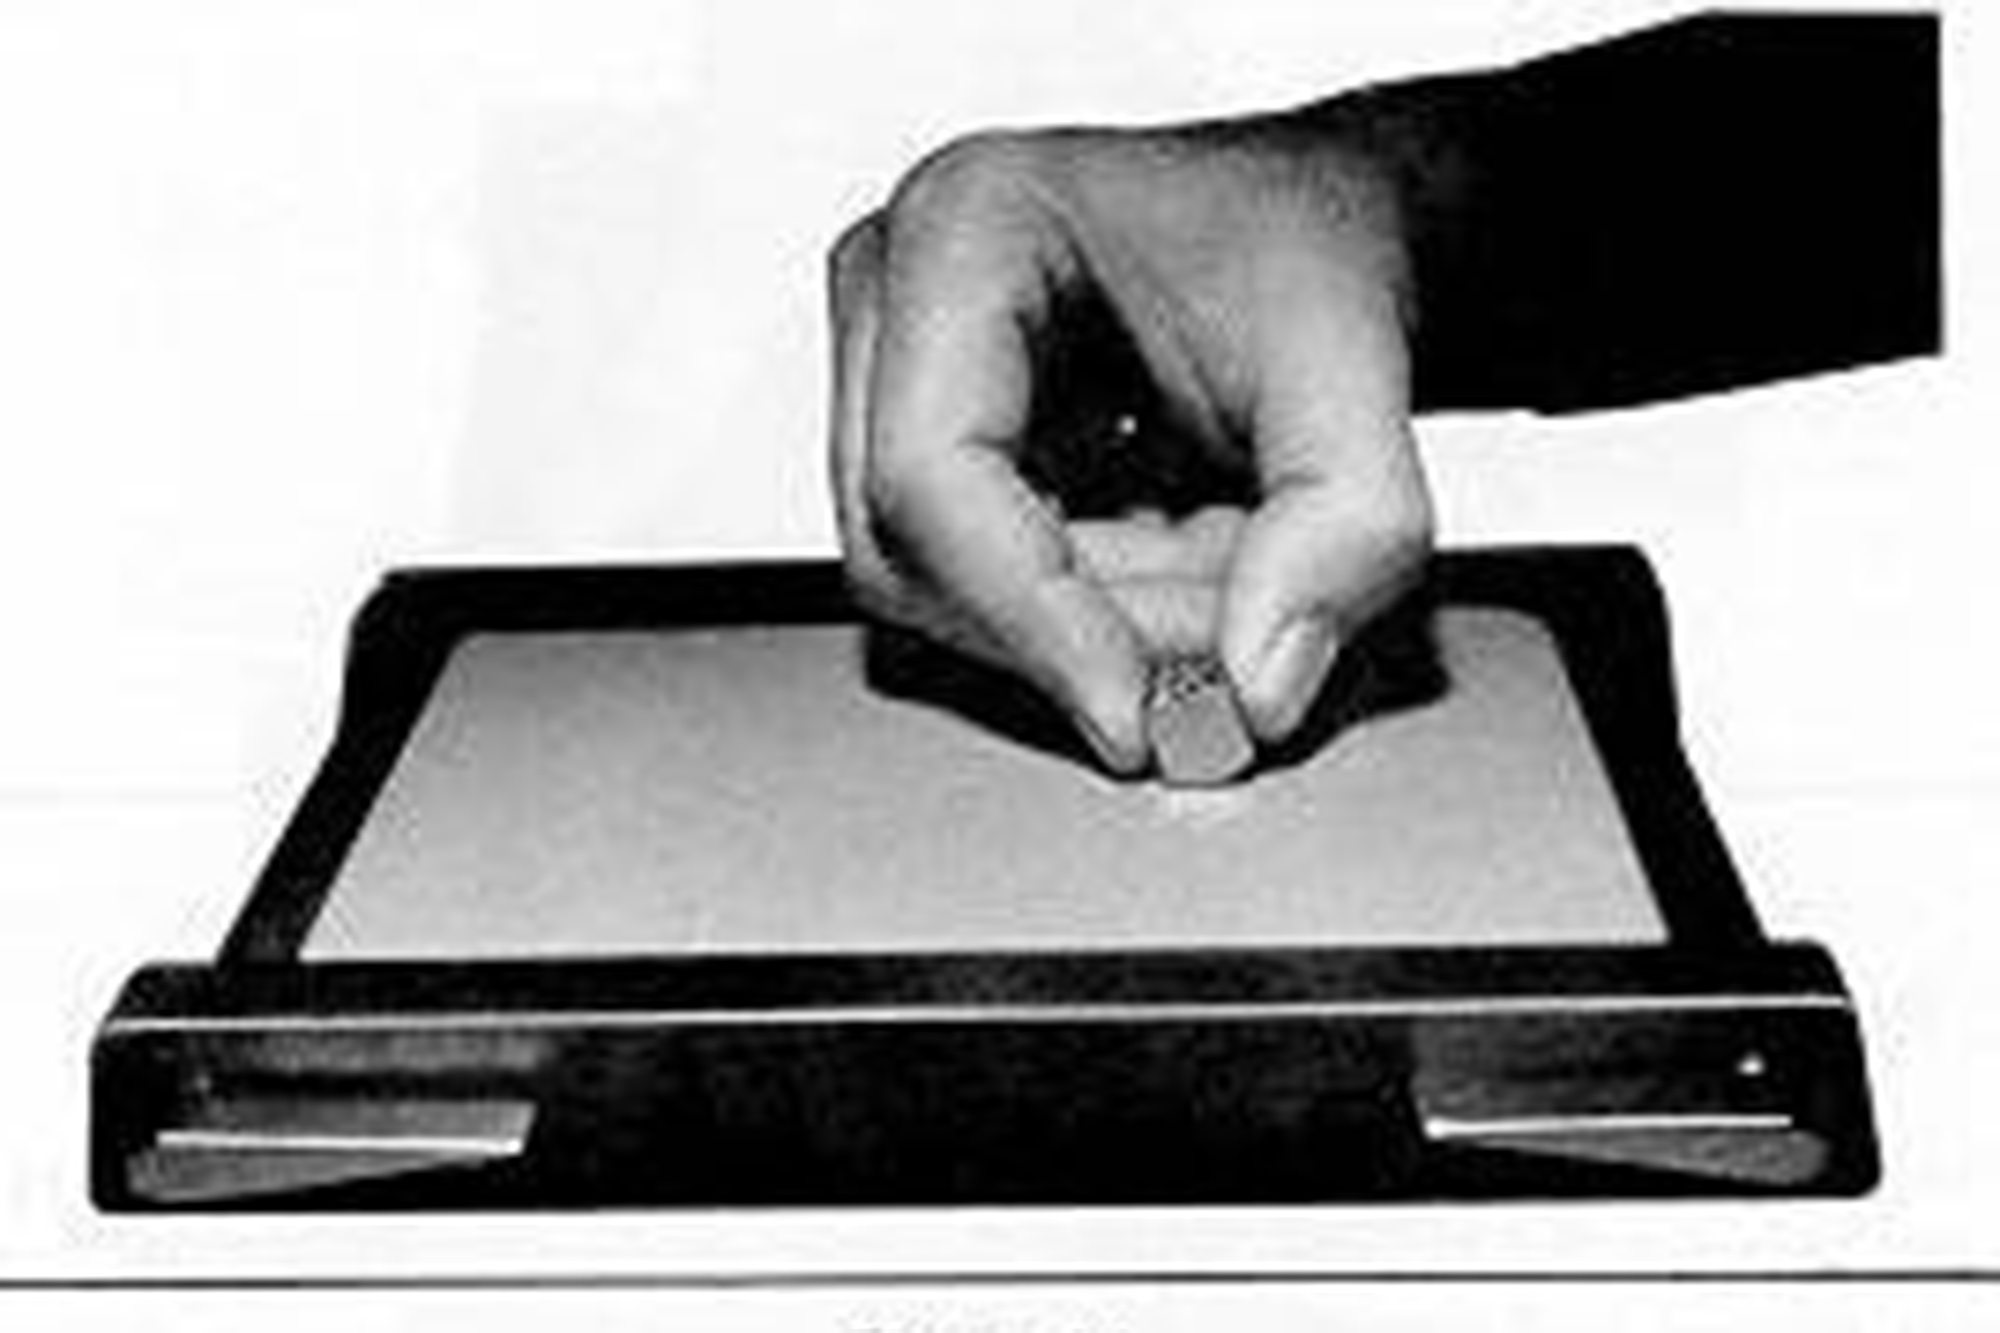
Move the head back and forth, from left to right and from right to left while rocking the head in the direction which increases the speed of face travel over the abrasive.
Keep the face of the head squarely on the abrasive surface, and maintain a uniform constant pressure, otherwise the nose of the head can deviate from its ideal cylindrical curvature, and become somewhat spherical.
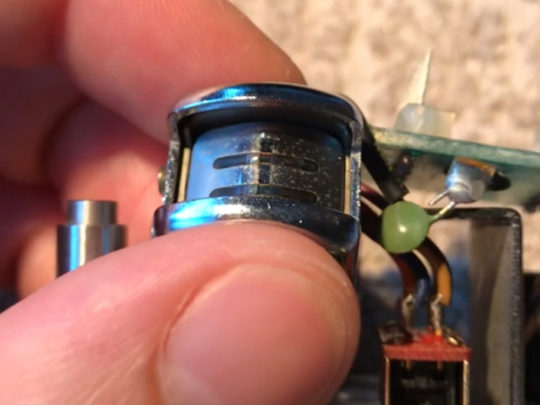
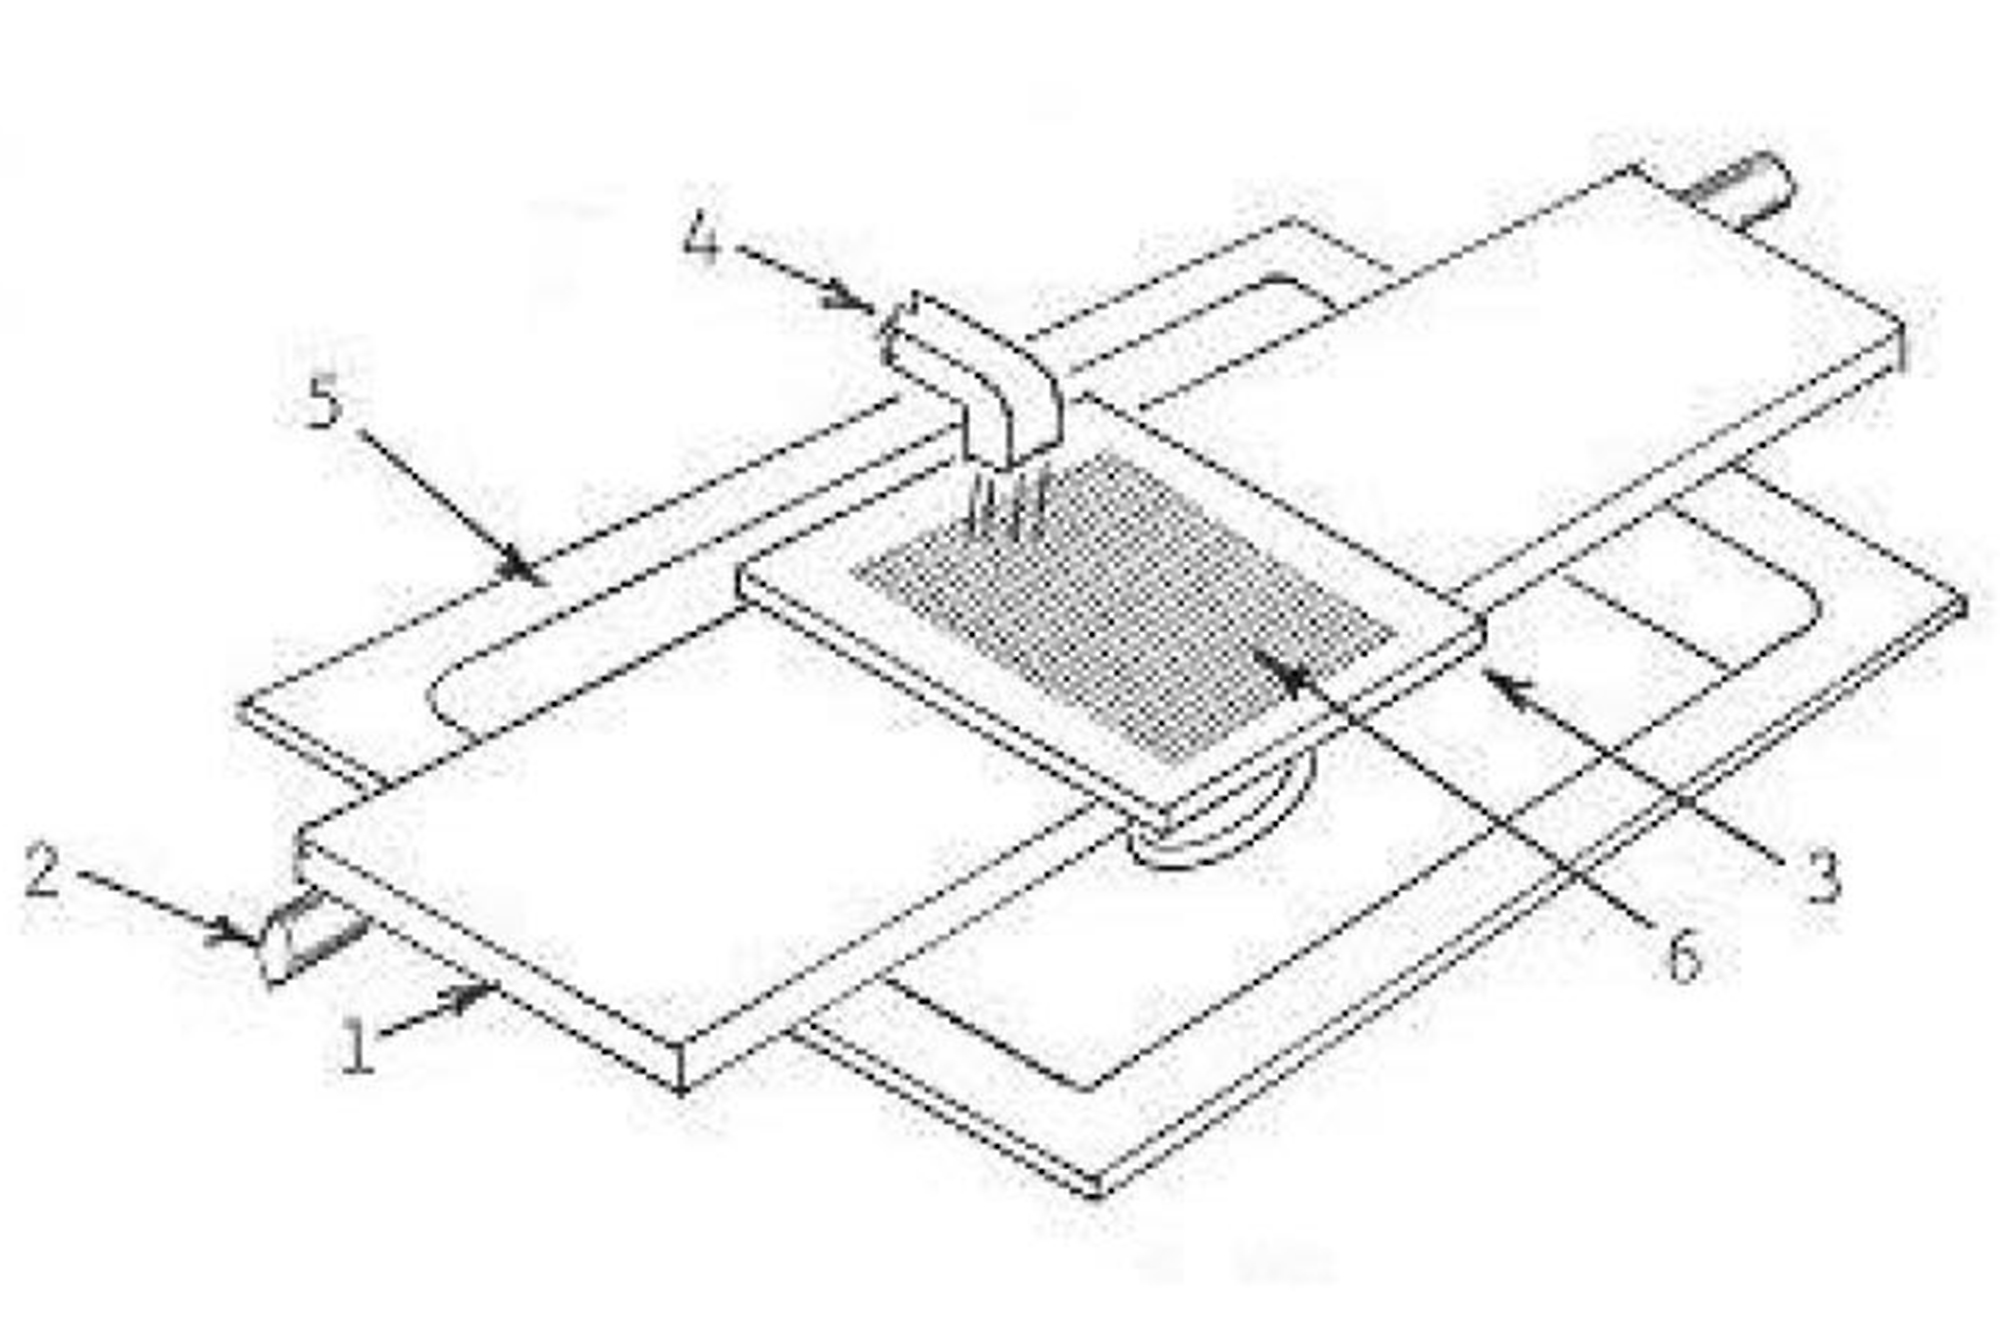
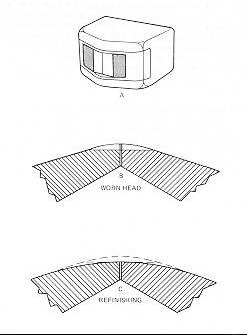
In the picture below, “A” is the worn head and “B” shows a cross-sectional view of the worn area.
In “C” the nose of the head has been re-contoured to round off the flat spot and remove the high ridges, producing a smoothly radiused shape similar to the original.
The radius of curvature is increased somewhat, but not enough to cause a problem.
Continue to lap against the coarse abrasive, moving the head to a new location as the cutting action decreases. Use the Magnifying Lens to inspect the head face for shiny spots, remains of the original worn flat spot, and to make certain that the nose of the head becomes a smooth curve with the gap located on the crest of the curvature.
When no more shiny spots remain, the head is ready for lapping against the Medium lapping film.
Note: lapping films cutting capabilities decrease quickly against hard materials like tape heads, therefore I recommend to change the abrasive sheet after passing about 4 times over its entire surface.
Remove the last 400-grit abrasive sheet and carefully wash and flush the lapping board to remove all particles of the coarse grit.
Flush the head with water to remove any grit particles which may be clinging to it.
Use the 1500-grit abrasive to remove scratches caused by the 400-grit abrasive. Using the same process as above, lap the head and regularly check with a magnifying glass that heavy scratches and all flat spots are removed.
Once this is done, you can move on to fine lapping.
Once more, it is important to rinse the tape head as well as the lapping board between each abrasive grit. If coarser grit particles remain on the head or the lapping board, it may cause scratches that you won’t be able to remove with your current abrasive grit. And given the price of the 3M lapping film, let’s dodge that…
Start fine lapping with 9-micron grit lapping film (blue), then 3-micron (pink), and finish with 1-micron. I find that lapping films cutting capabilities decrease even faster than silicon carbide papers, and after 2 to 3 passes you will probably feel it.
Again, between each grit, inspect your head with your magnifying glass or microscope to see if previous grit scratches are gone.
Step 4: Final Cleaning and Reassembly
Once you have finished relapping tape heads, their face should be stunningly mirror like.
You can use a cotton bud soaked with isopropyl alcohol to gently rub the face in the tape direction. No pressure at all, it is just to remove any remaining grit particle.
If you follow carefully all steps, the resultant relapped tape heads should be equivalent in performance to the original heads when new.

How To Relap Tape Heads: Conclusion
This is how you relap tape heads and bring your reel to reel deck to another sound quality realm.
As phono cartridges, tape heads are the first contact of your playback deck with the recorded medium. Any lost information there will never be retrieved later. So I took the plunge. What about you? Are you going to relap tape heads?
Long live analog sound!
L’Or du Son
The analog sound newsletter
A monthly selection of analog news, gear reviews, record releases and music discoveries, curated to keep you inspired and connected to the world of analog sound.
Gregory de Richemont
Gregory de Richemont is the founder of Le Son, where high-fidelity sound is approached as both a technical pursuit and an emotional experience. After a career in international business, he followed a more personal path into analog playback, music and craftsmanship. His work is dedicated to listening experiences that do more than impress: they create a deeper connection with music. Learn more on our About page.