Denon DP 3000 Vintage Direct Drive Turntable: The Unidentified Fulfilling Object
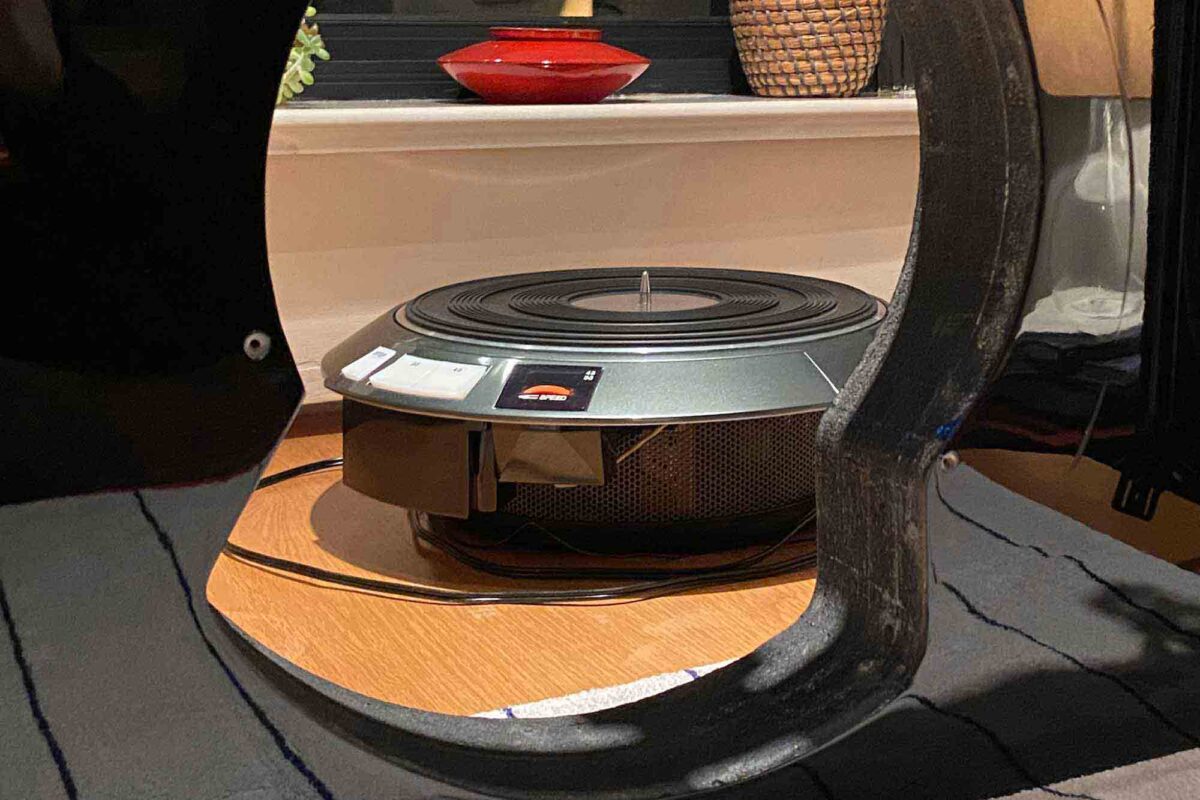
Back in November 2020, my friend Dr. Tsai (co-founder of Le Son) offered me a vintage Denon DP 3000 turntable, mounted on a massive custom plinth and equipped with a Brinkmann 12.1 arm.
I decided to give this piece of gear a complete refurbishment, esthetically and technically.
The Denon DP 3000 project starts from this existing assembly, and follows 3 phases:
- The Denon DP 3000
- Introduction
- Technical maintenance
- Esthetic modifications
- The custom plinth
- Introduction
- Structural changes
- Esthetic modifications
- The Brinkmann 12.1 tonearm
- Introduction
- Installation
The completion of the project took about 6 months, and I share here some pictures taken along the work to explain the process.
I hope some information here can be useful for someone willing to restore this deck, as the service manual is a ghost.
You can see the result at the end.
Please forgive me if some pictures are blurry, I am not a professional photographer.
Ready? Let’s dive in!
1. The Denon DP 3000
Introduction
The Denon DP 3000 is a 2-speed servo-controlled direct-drive motor standalone unit released in Japan in 1972. Back then it was also available with a plinth and lid as the DP-3500, or as a complete record playing system with integral tonearm, the DP-3700.
The story says Nippon Columbia designed the DP-3000 as an RIAA Broadcast Quality turntable. It is built to run 24 hours a day, 7 days a week, in an actual radio broadcast station for years.
The motor torque is sufficient to bring the turntable to full speed within 1/4 turn from a dead stop. DJs would back cue a record by setting the stylus into the groove, manually turning the disc until the music started, then turning the record in reverse 1/4 turn. When he announced the song, he hit the 45 button on the turntable, and that turntable was supposed to be up to speed by the time the music started. One quarter turn from a dead stop. That was a RIAA specification for a broadcast turntable.
Technical Maintenance
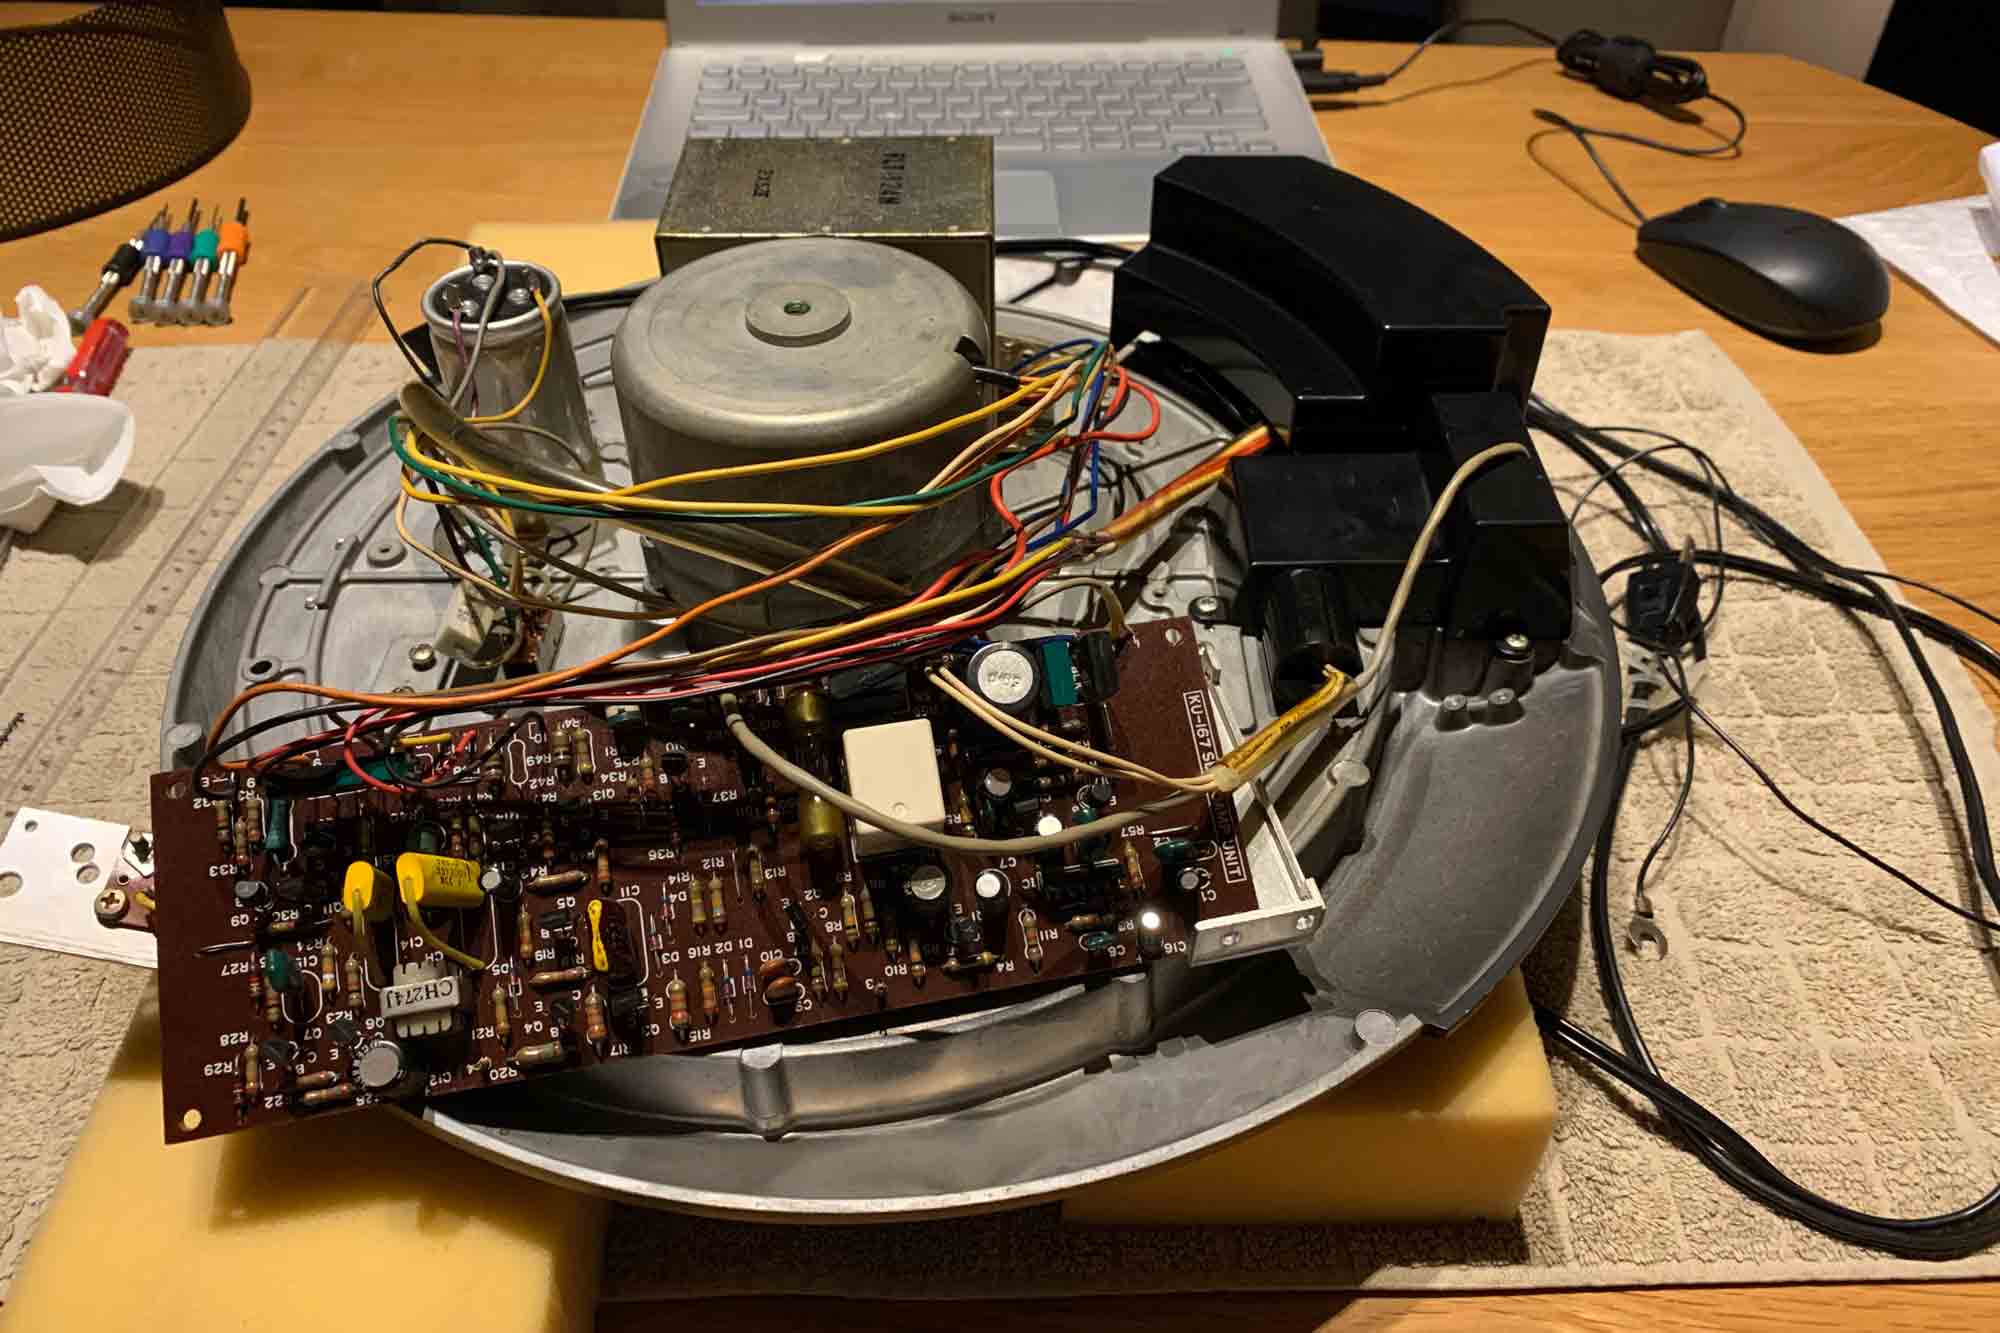
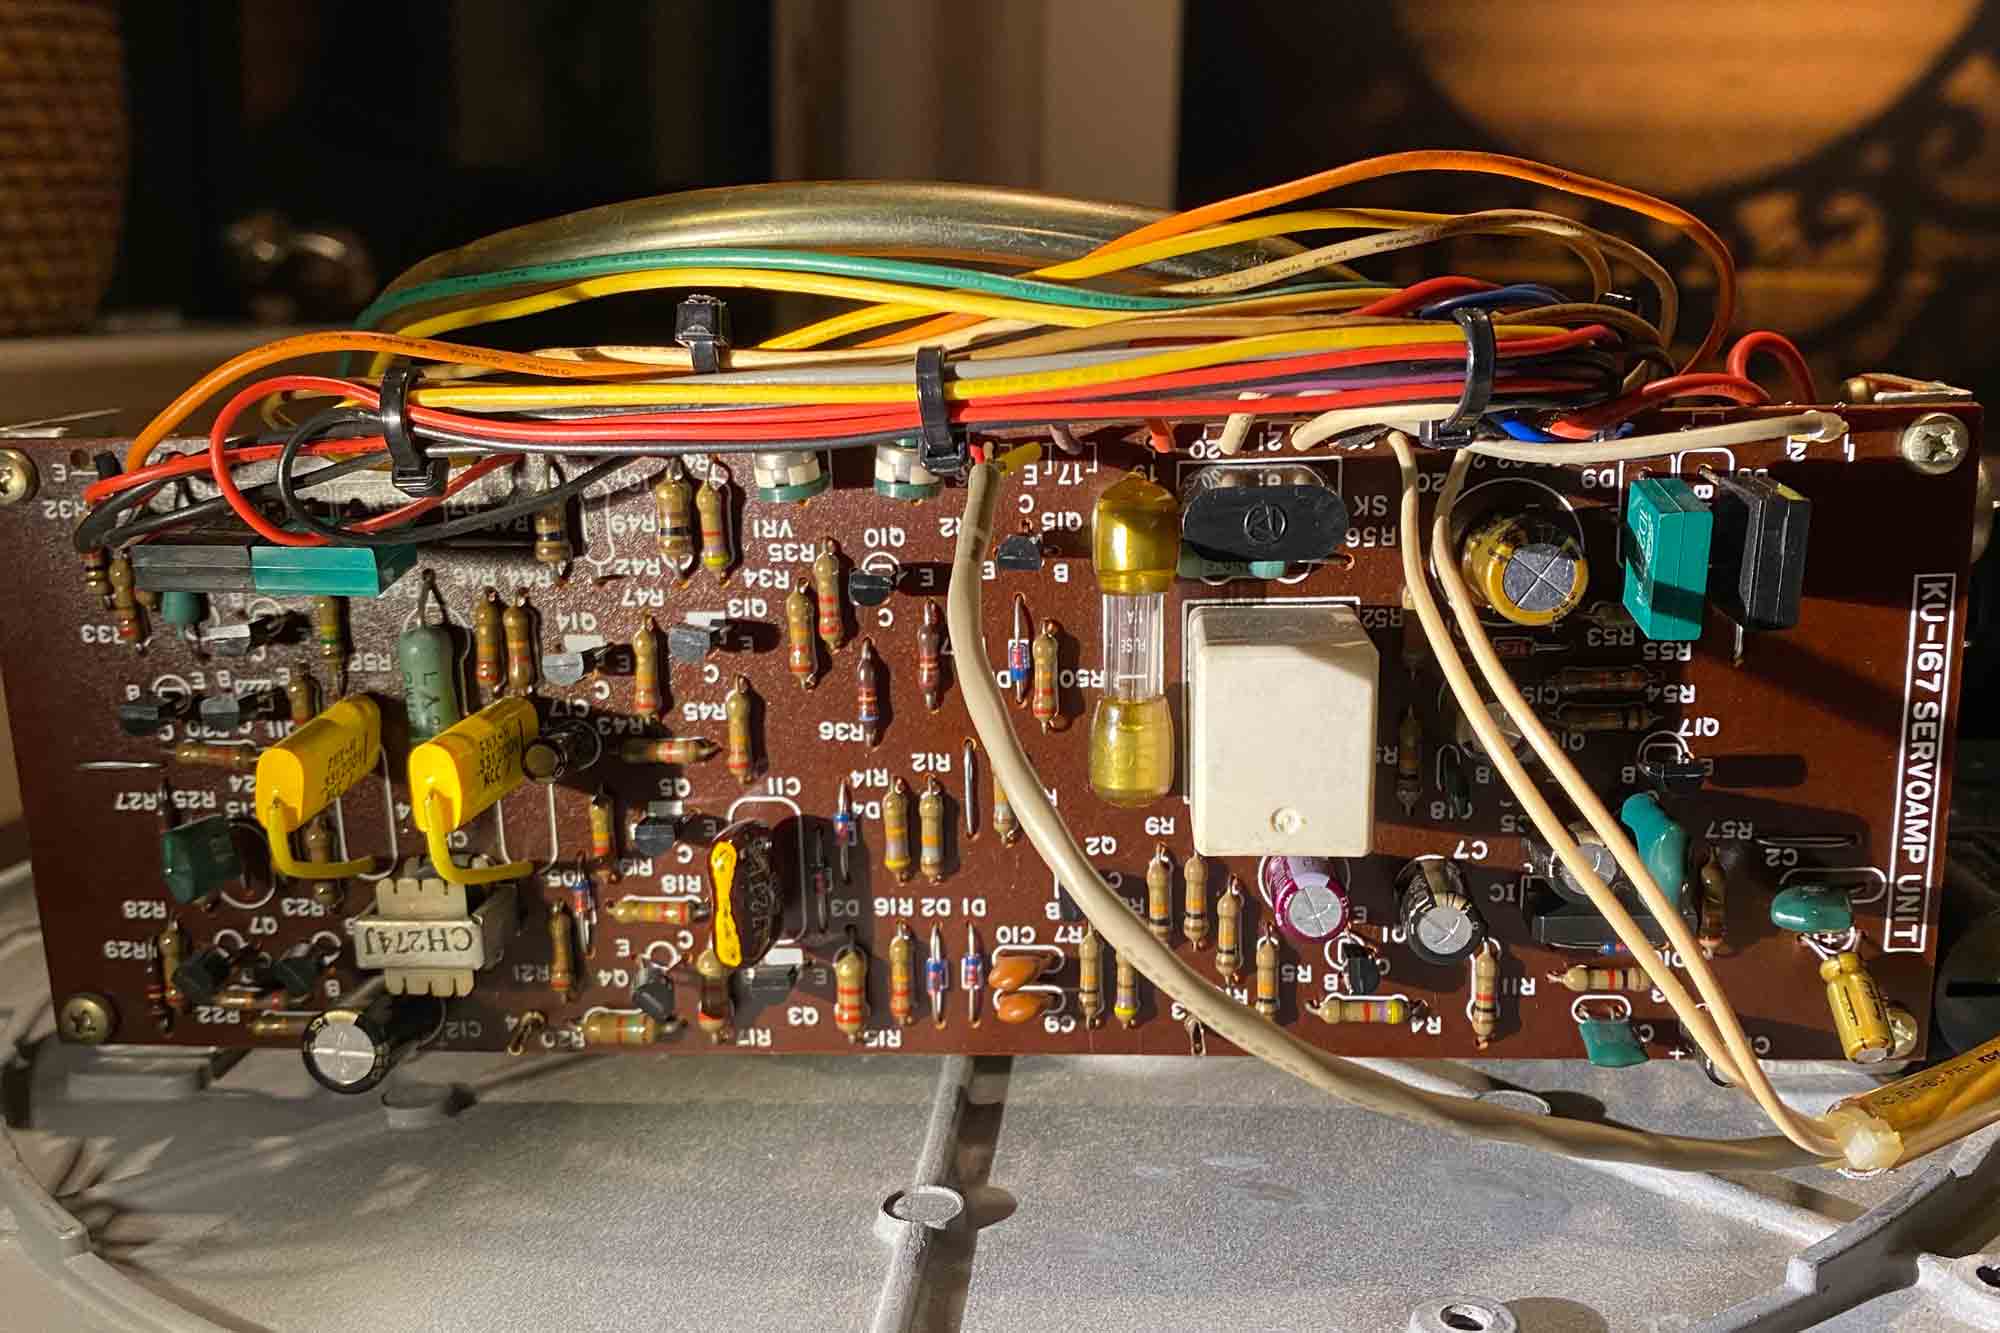
The unit is from 1972, and as any vintage electronics, it needs a complete recap.
So it is necessary to replace the 8 electrolytic capacitors by low ESR ones. If you decide to do the same, please note that the schematics available on the Vinyl Engine website are not necessarily accurate.
My model is 100V AC, and capacitor values may depend on input voltage.
Also some versions have 8 electrolytic capacitors, some others have 9. So I suggest to just look at what you have on your circuit board rather than relying on the schematics values.
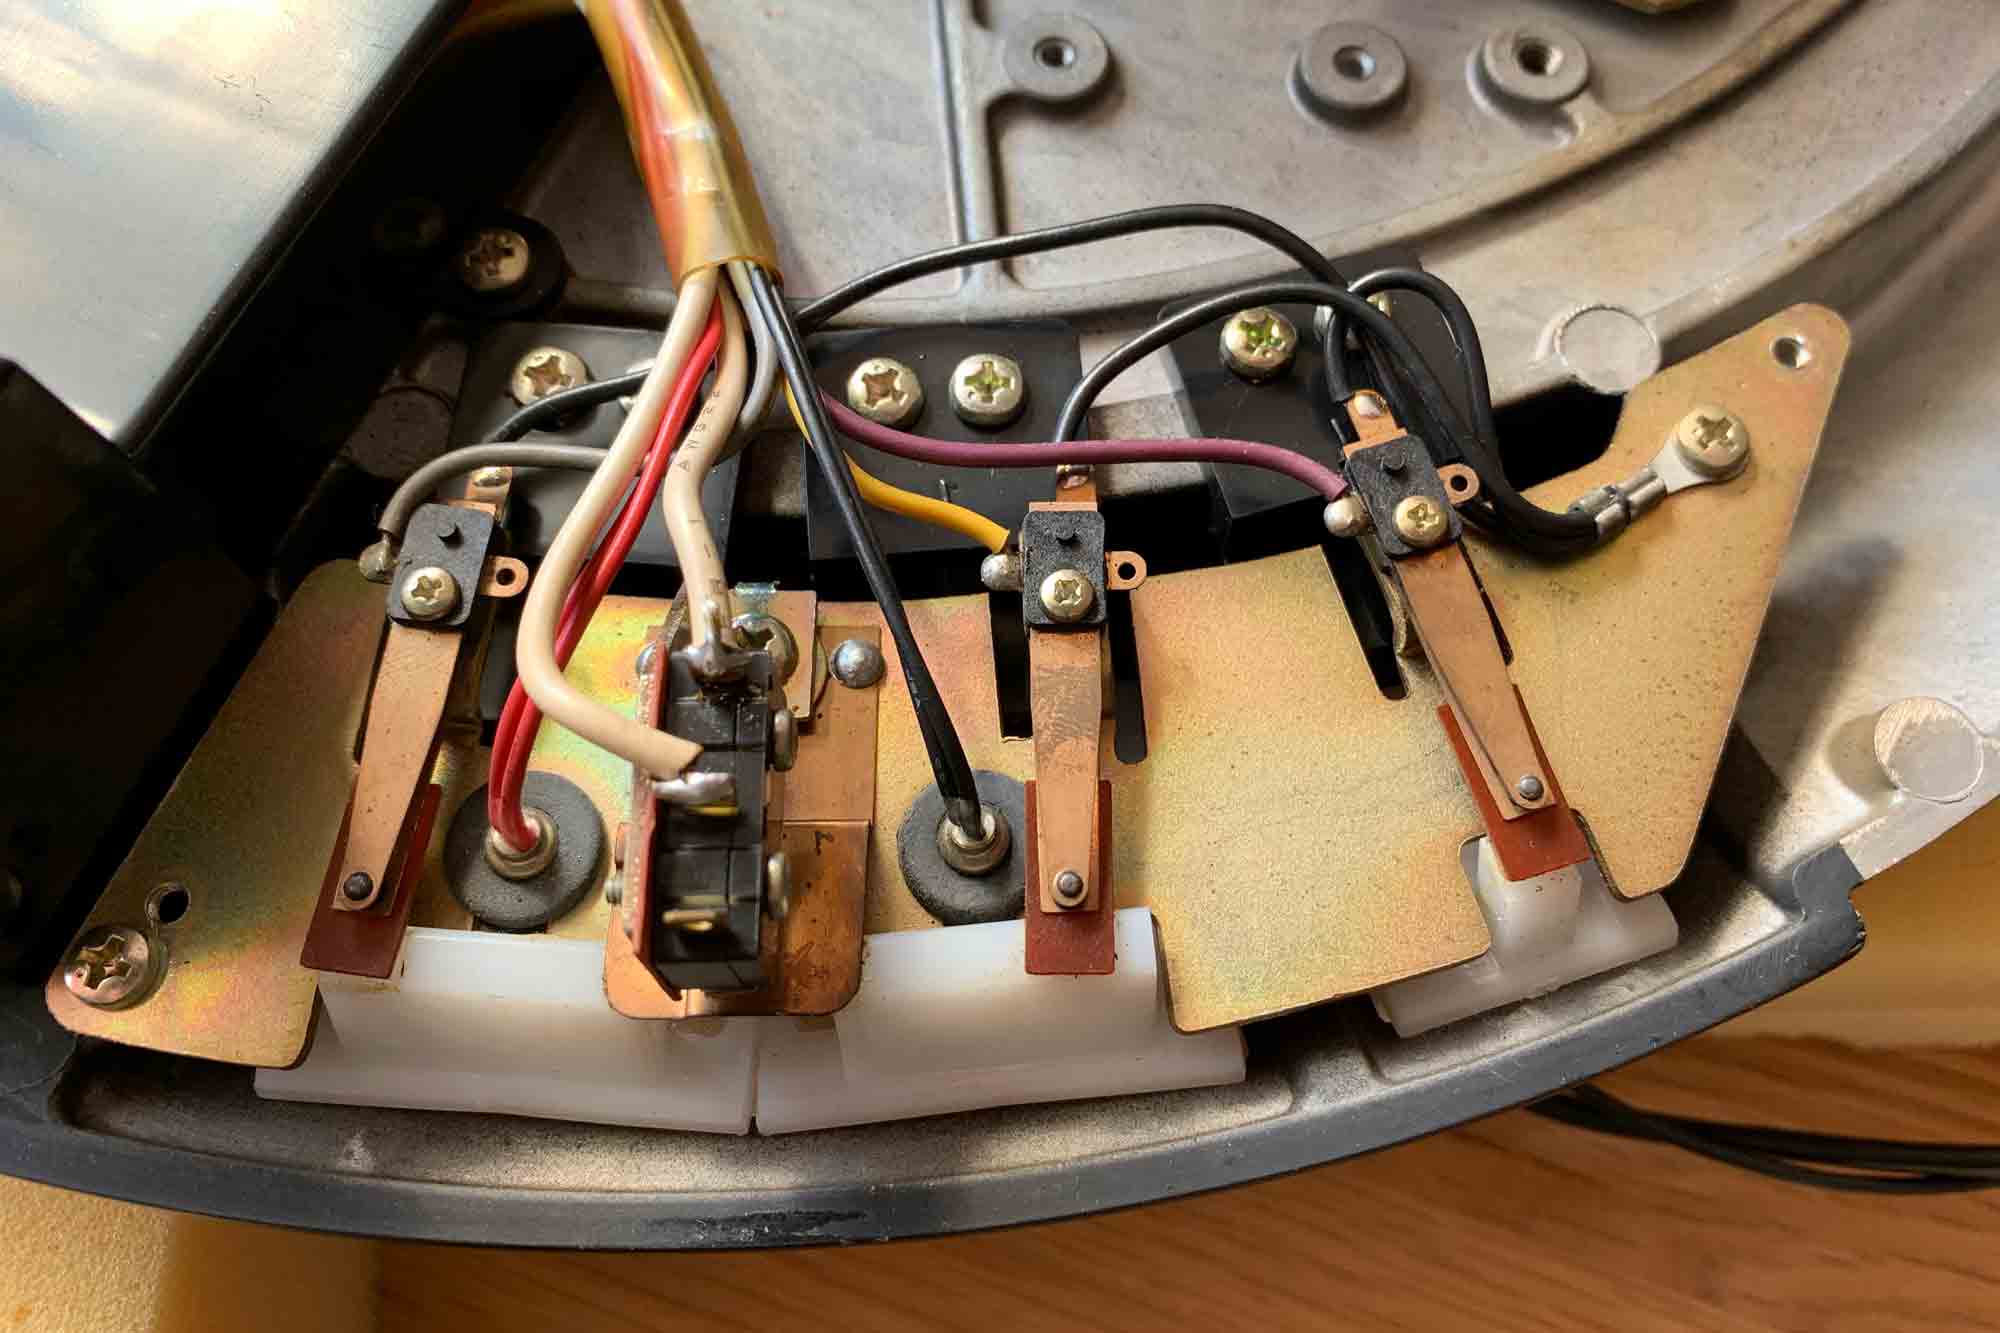
If the speed lock of your DP 3000 is sometimes erratic like this one, I searched online and found a Japanese Technician who services these units.
He explains how he solves the problem here.
Following his guidance, we can change 13 of the transistors by fresh ones.
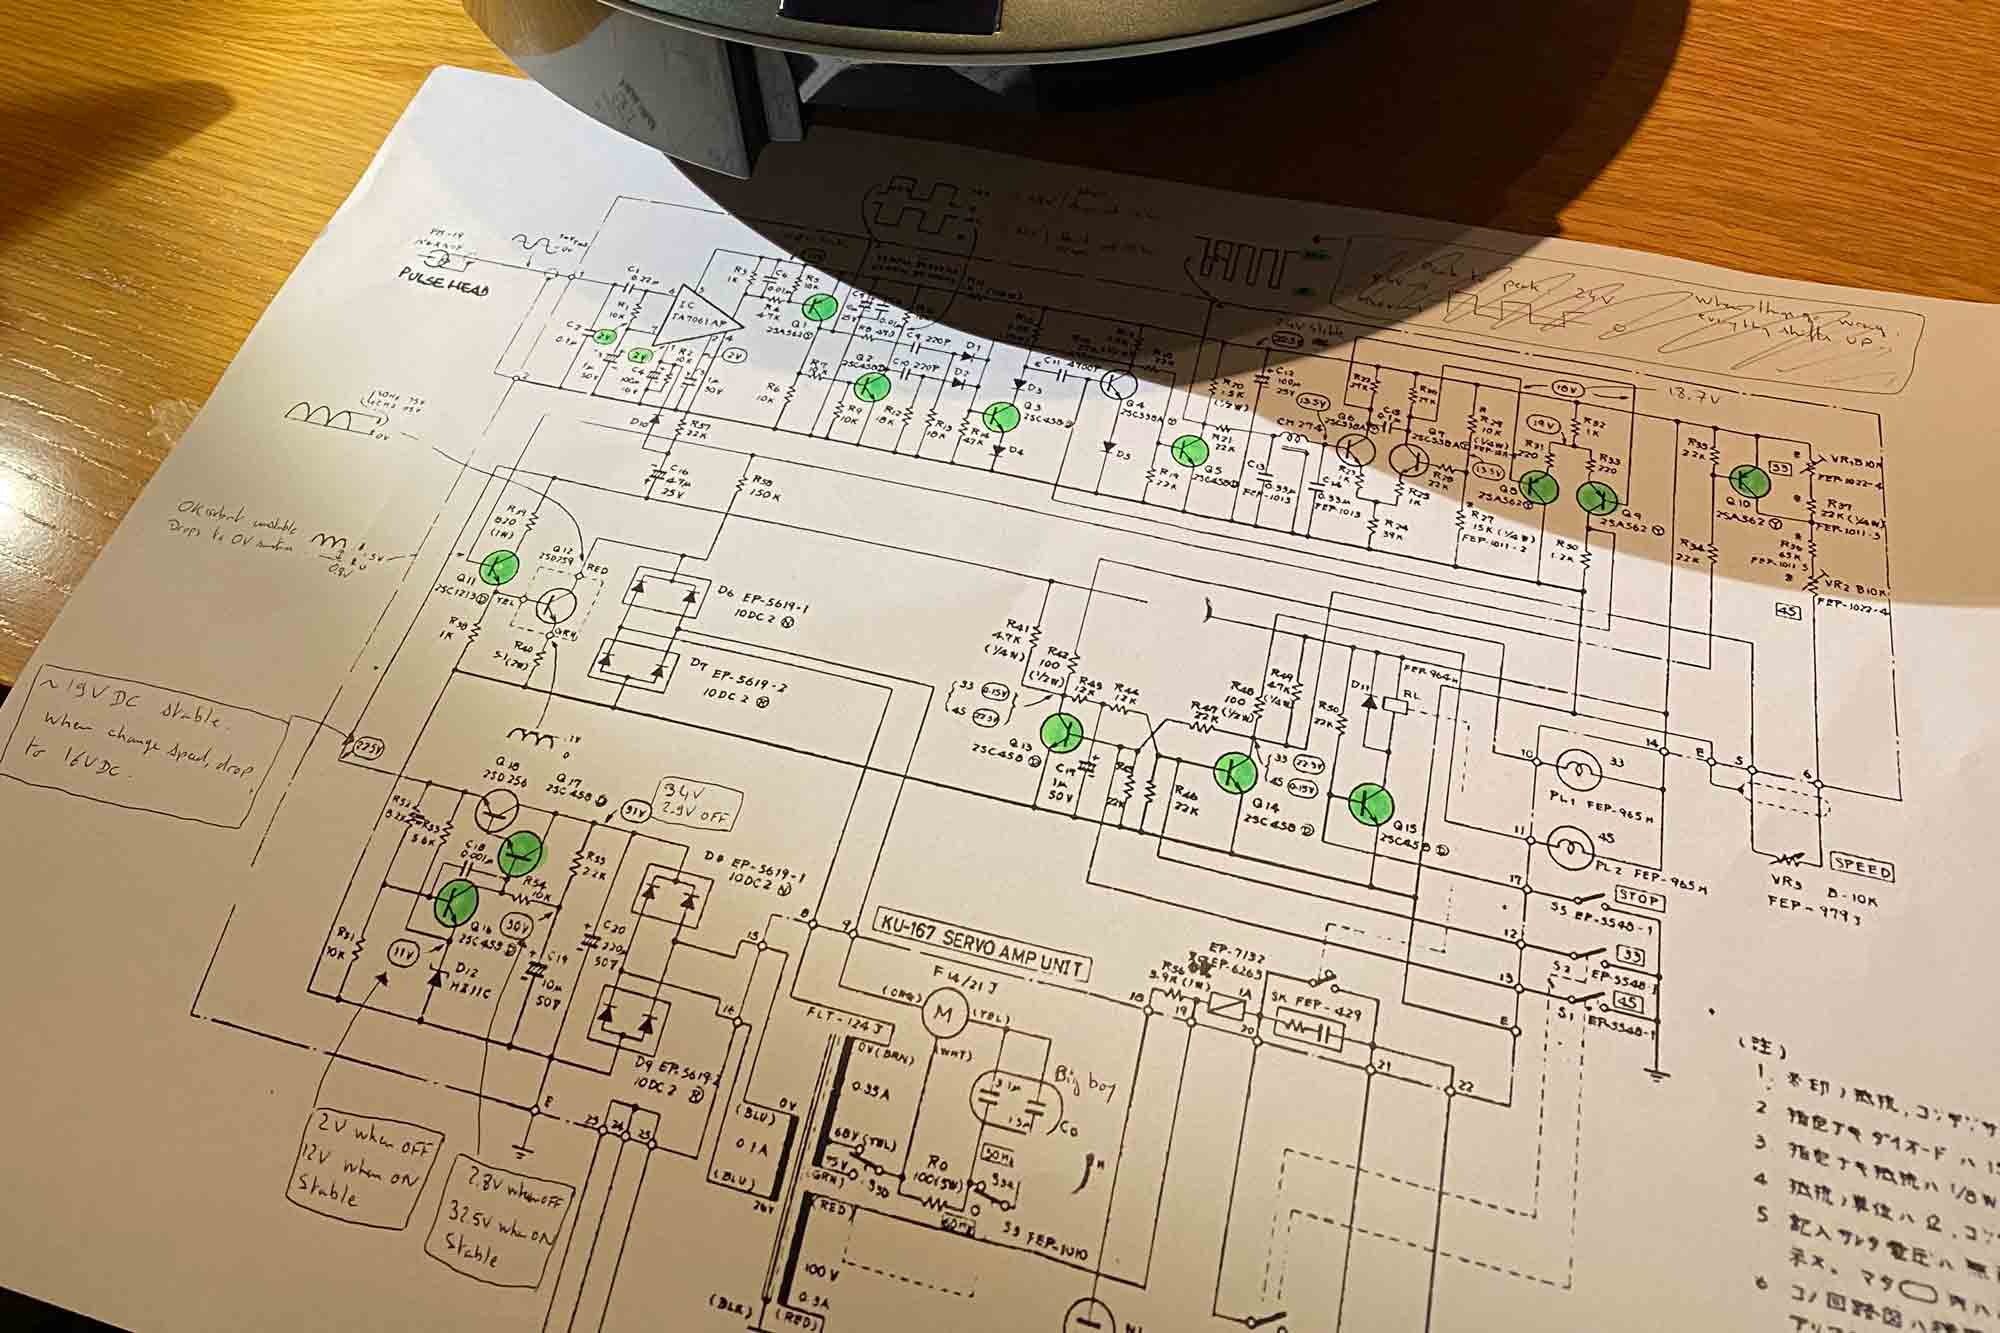
First, change the 2SA562 transistors. 4 in total.
Q1, Q8, Q9, and Q10.
Note that the schematics may not be fully accurate. So if you decide to change the transistors I recommend to check their models directly on the circuit board rather than relying on the schematics values.

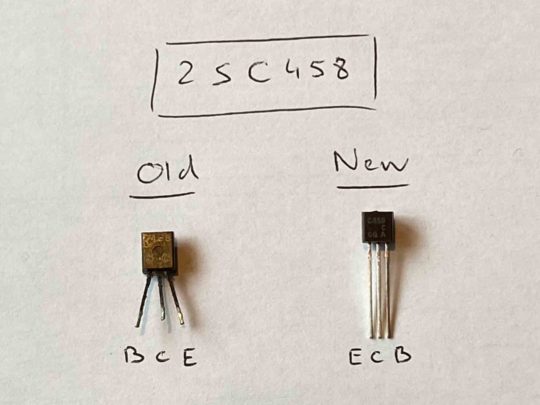
Then the 2SC458 transistors. 6 in total.
Namely Q2, Q3, Q5, Q13, Q14, and Q16.
If you decide to do the same, please see the old and new models have different pins for Base, Emitter and Collector. You can refer to the picture for more clarity.
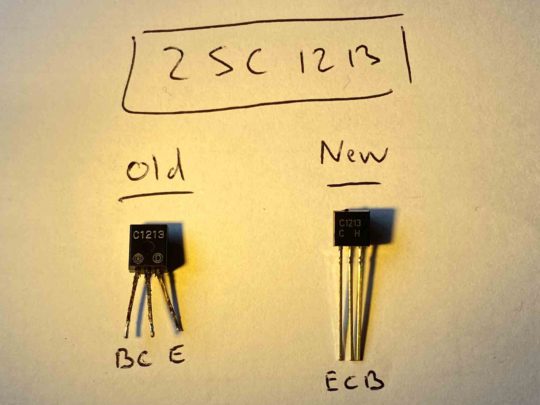
Then change the 2SC1213. 2 in total.
Namely Q11 and Q15. Please note there is also a difference in pins between the old and new models, as shown on the picture.
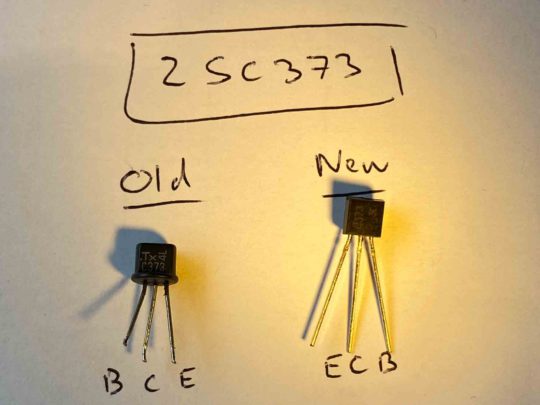
Finally, change the 2SC373. 1 in total.
Namely Q17. Please note there is also a difference in pins between the old and new models, as shown on the picture.
The circuit board work is now complete.
It is then necessary to adjust the speed consistency between 33 and 45rpm with the dedicated potentiometers. The procedure is described in the user manual.
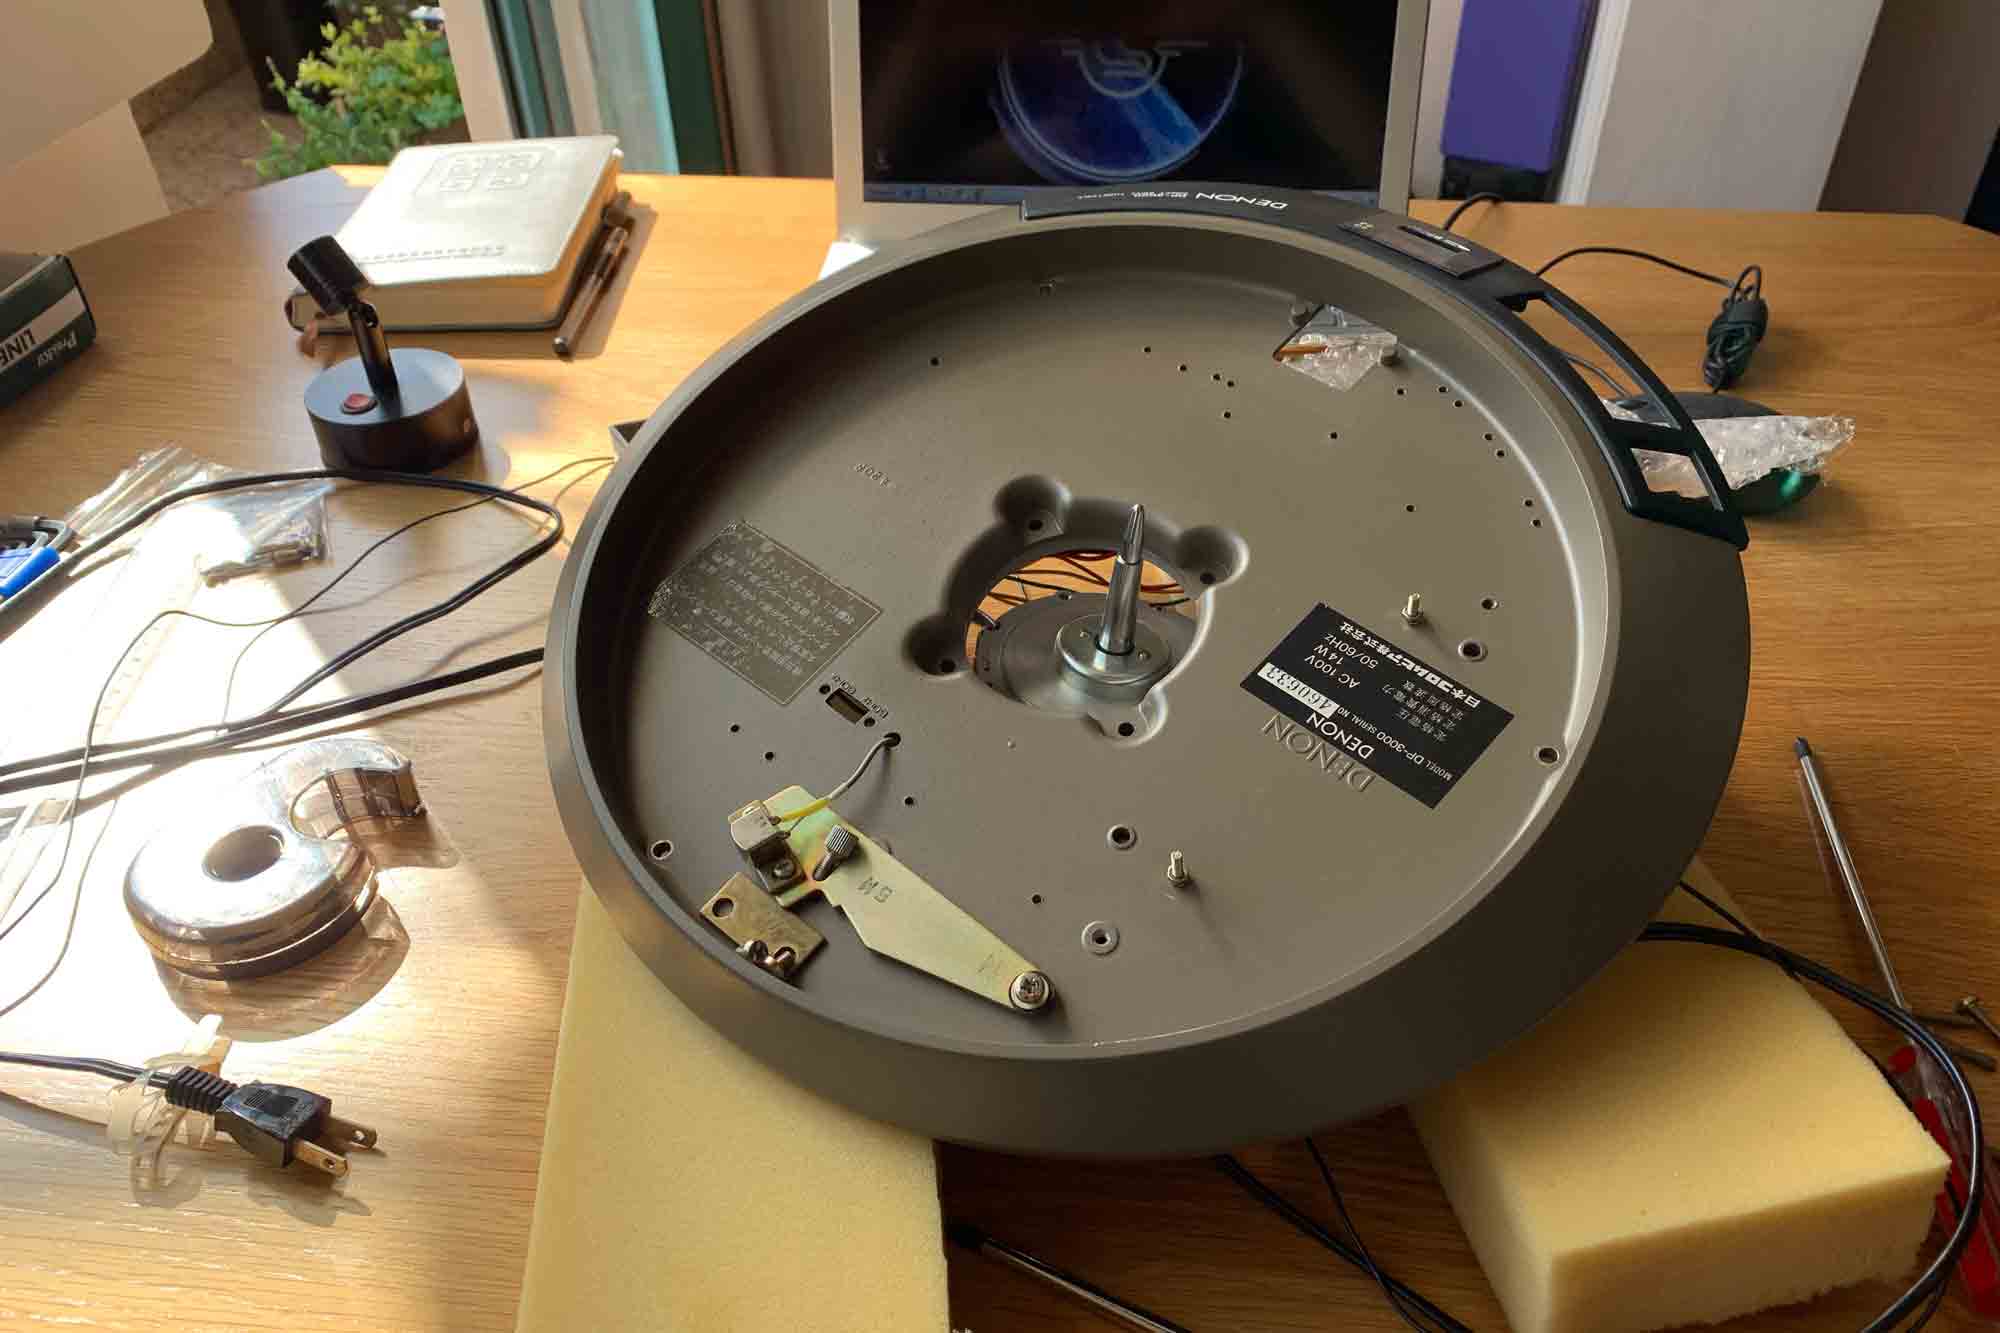
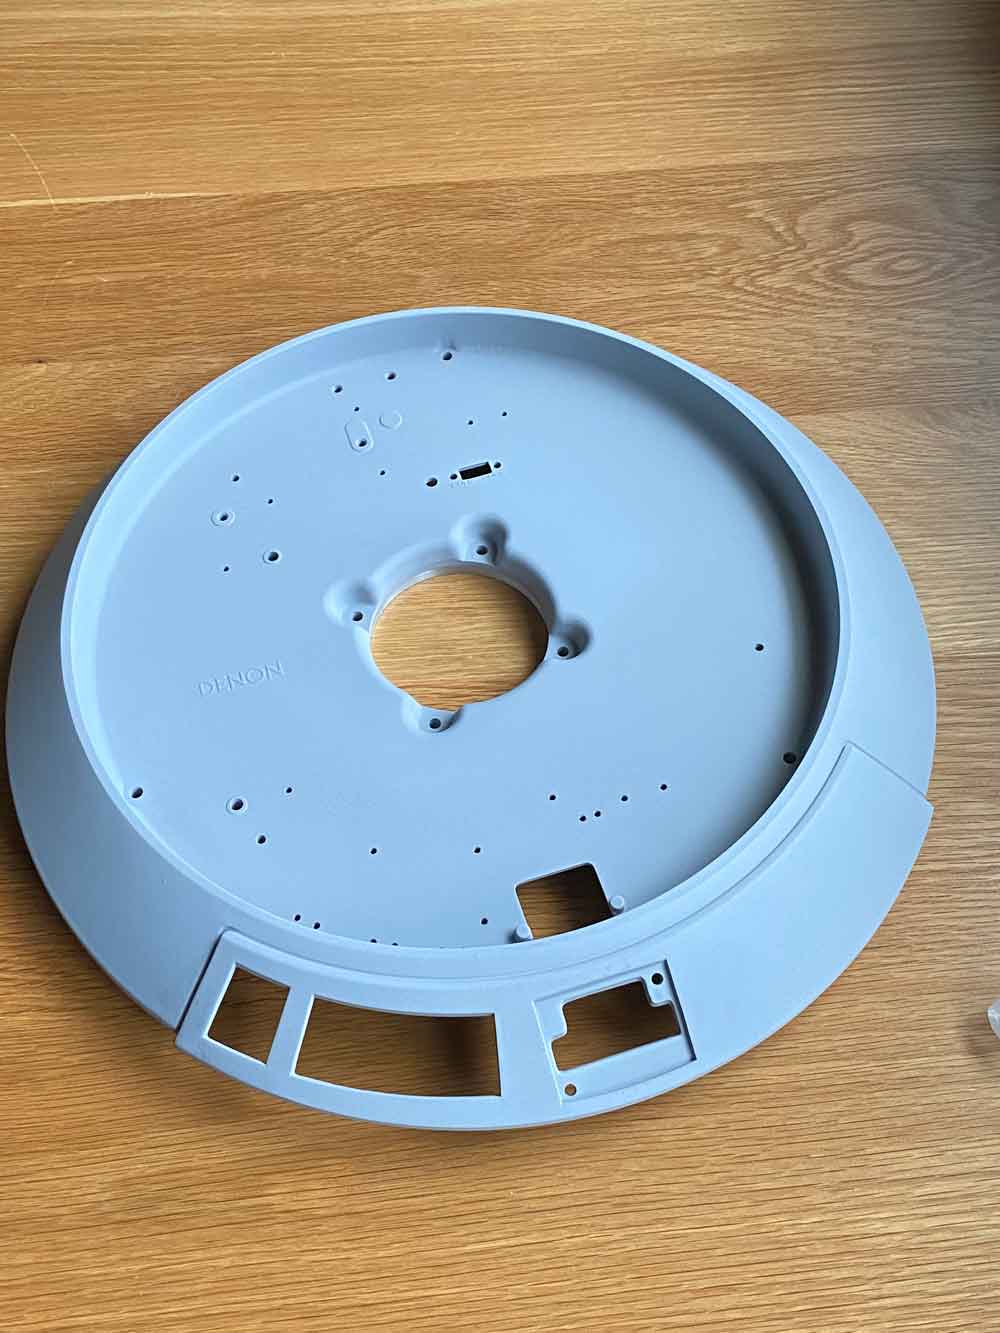
As you will see in the next chapter, I completely dismantled the unit to replace the paint. I could therefore do a deep cleaning of all components, and especially the contactors attached to the control buttons.
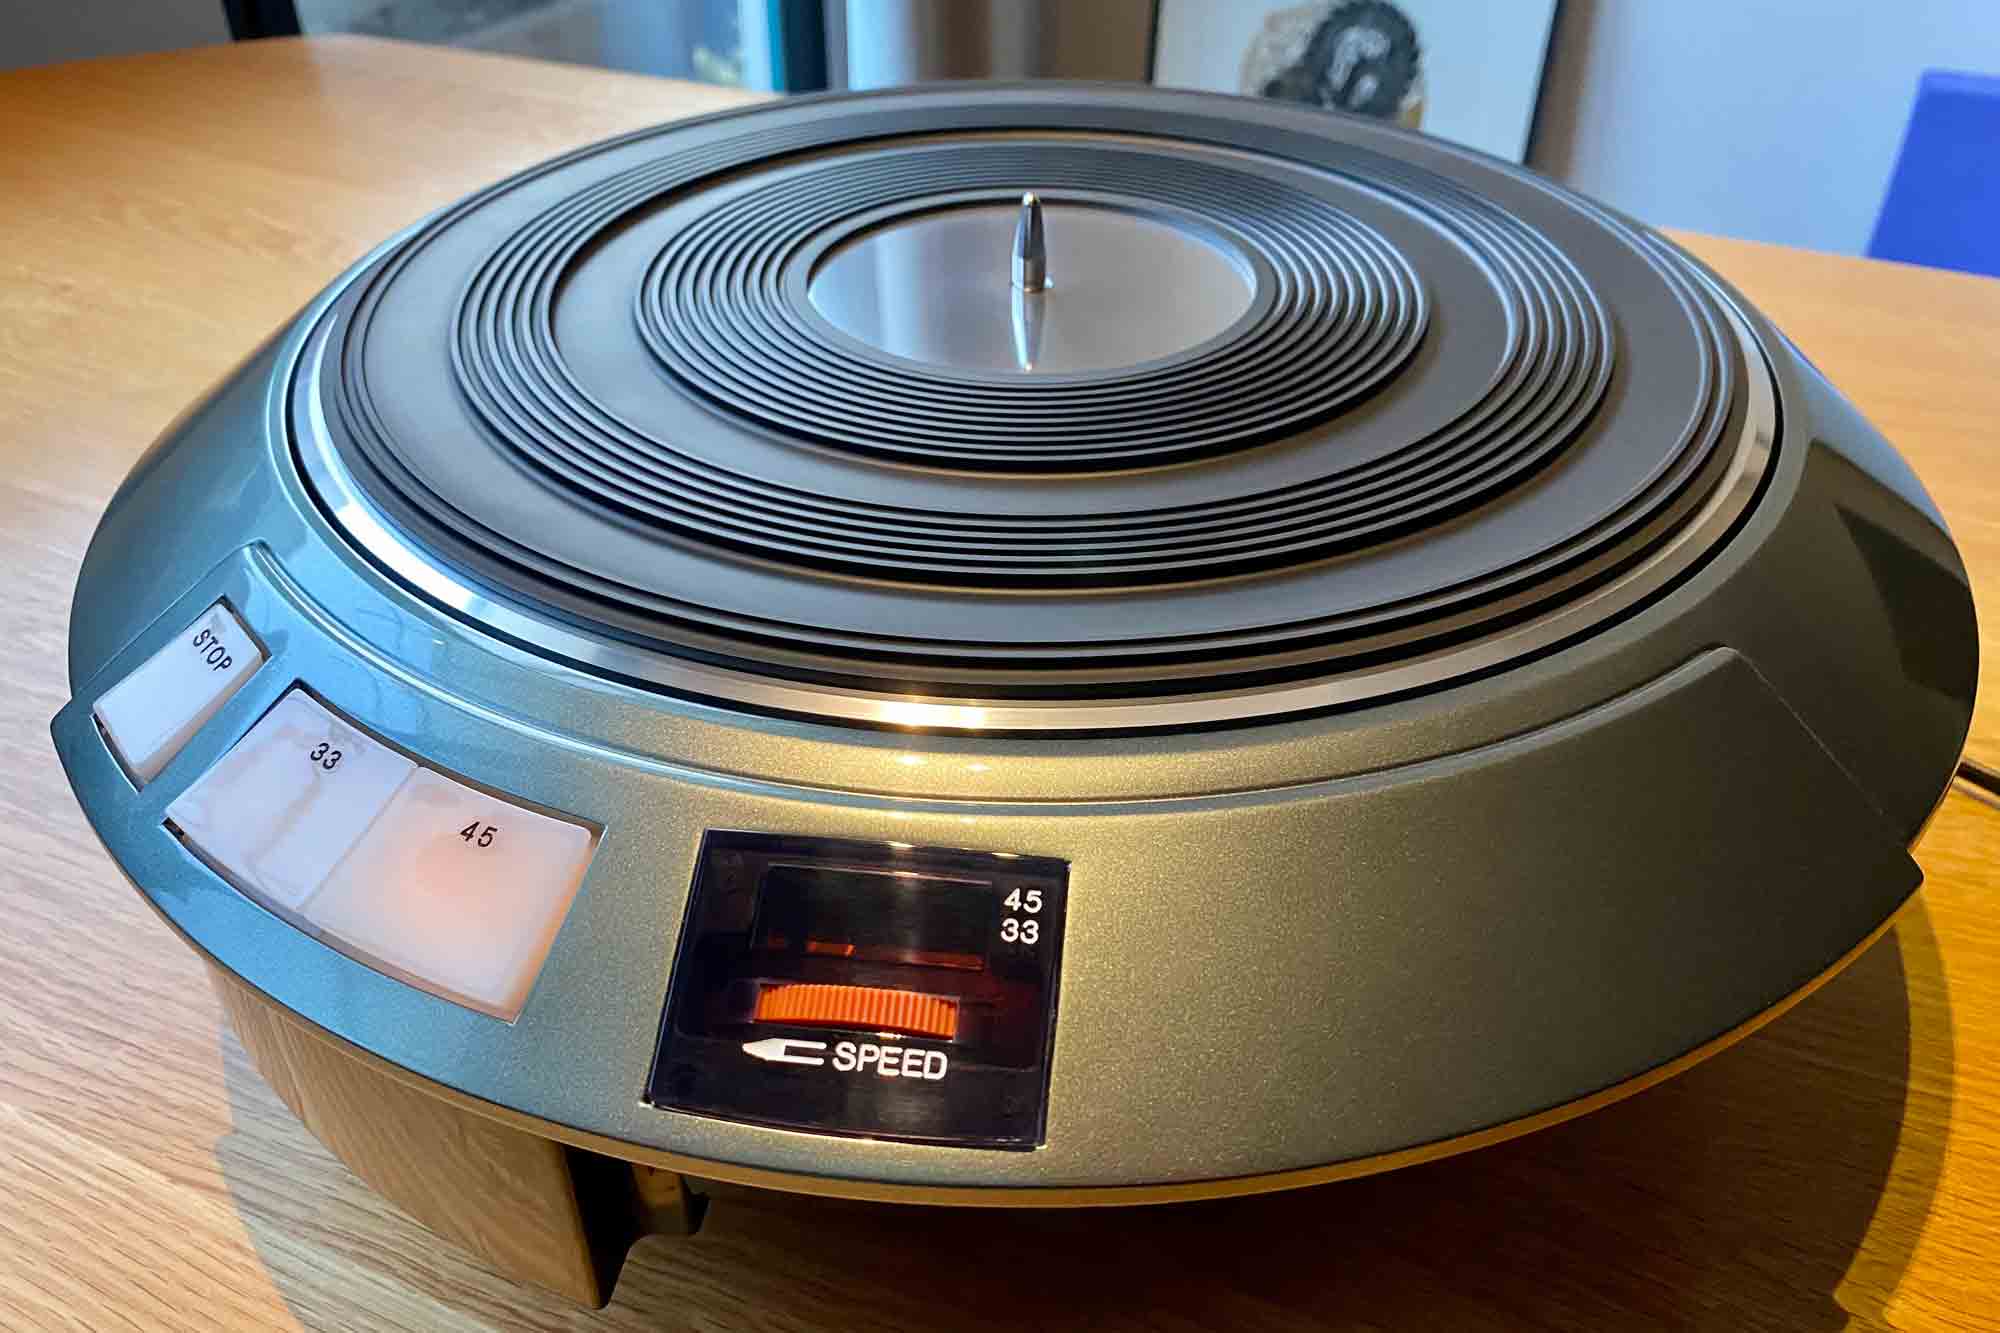
Esthetic Modifications
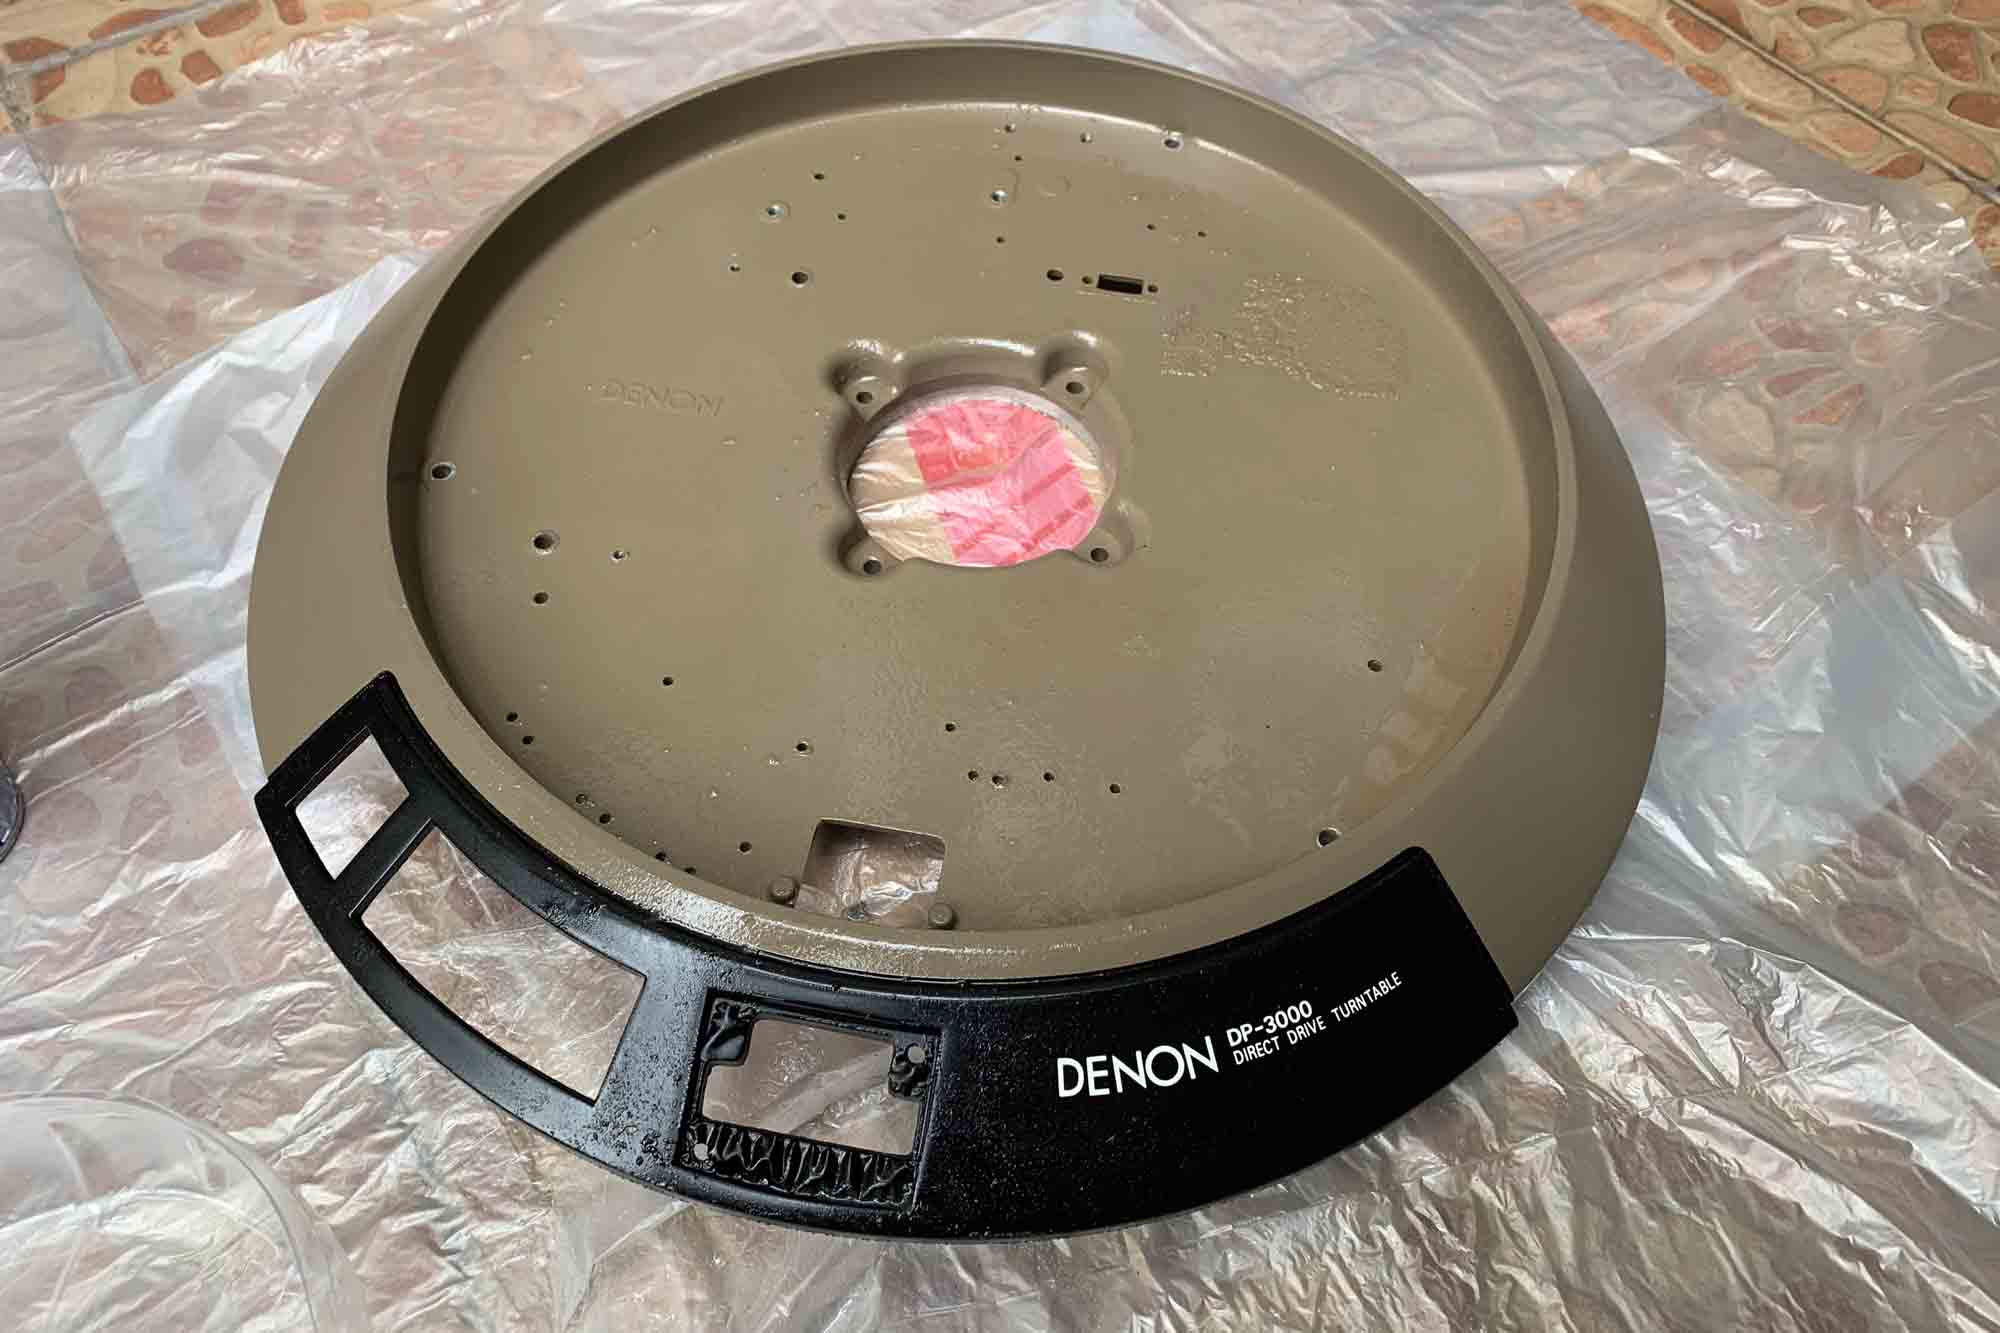
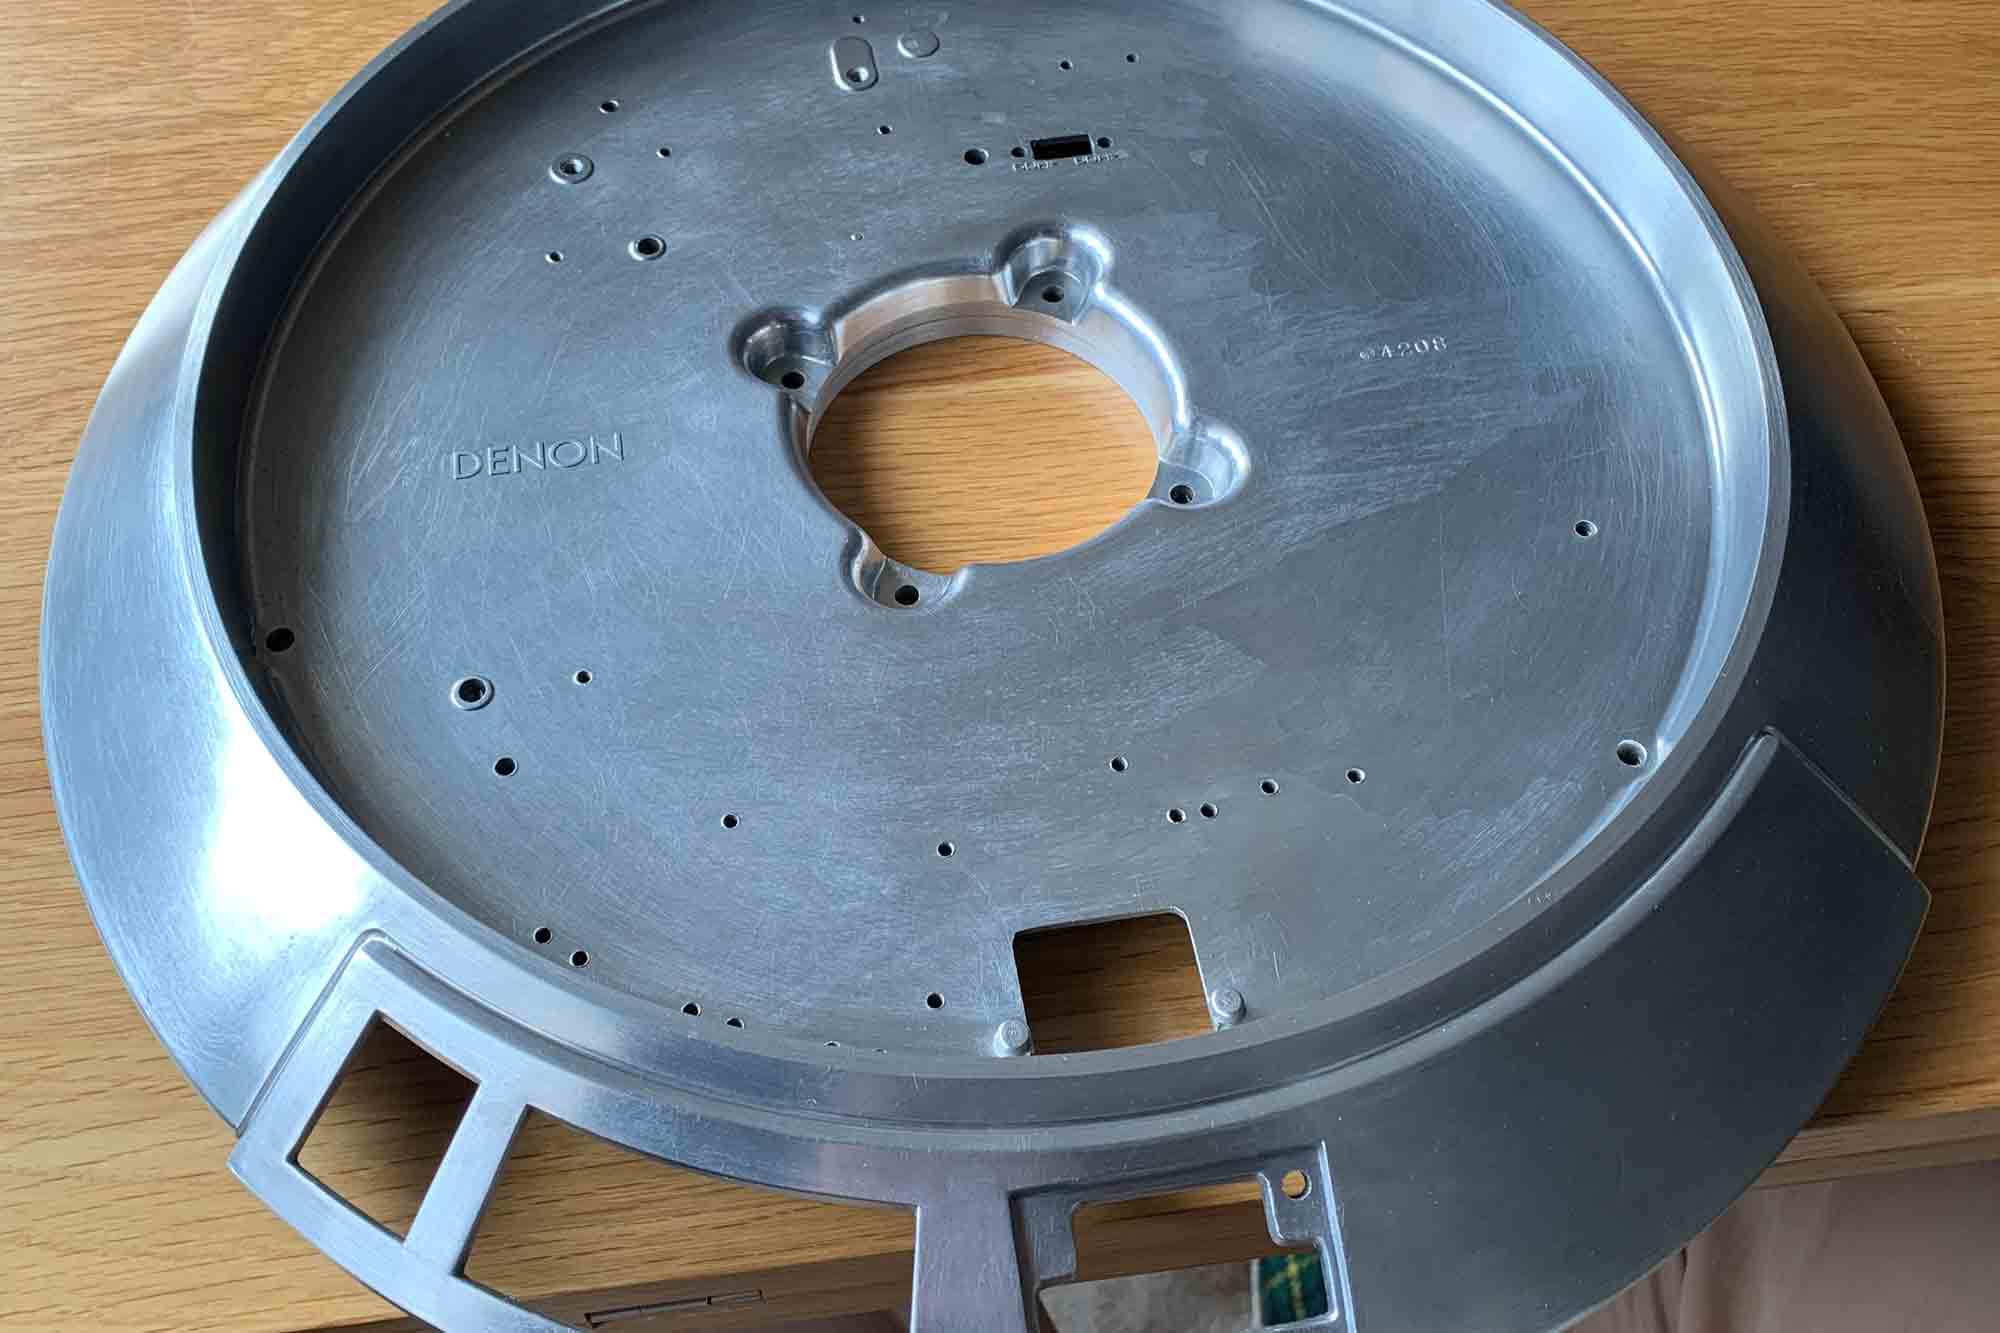
The Denon DP 3000 is a great turntable, but I don’t really like its colors. Furthermore, the paint was a bit tired here and there, so I decided to get the chassis to bare metal and start a new finish from there.
Complete disassembly of the chassis
Removal of the original paint from the chassis
Now we have the bare metal, and the paint job can start!
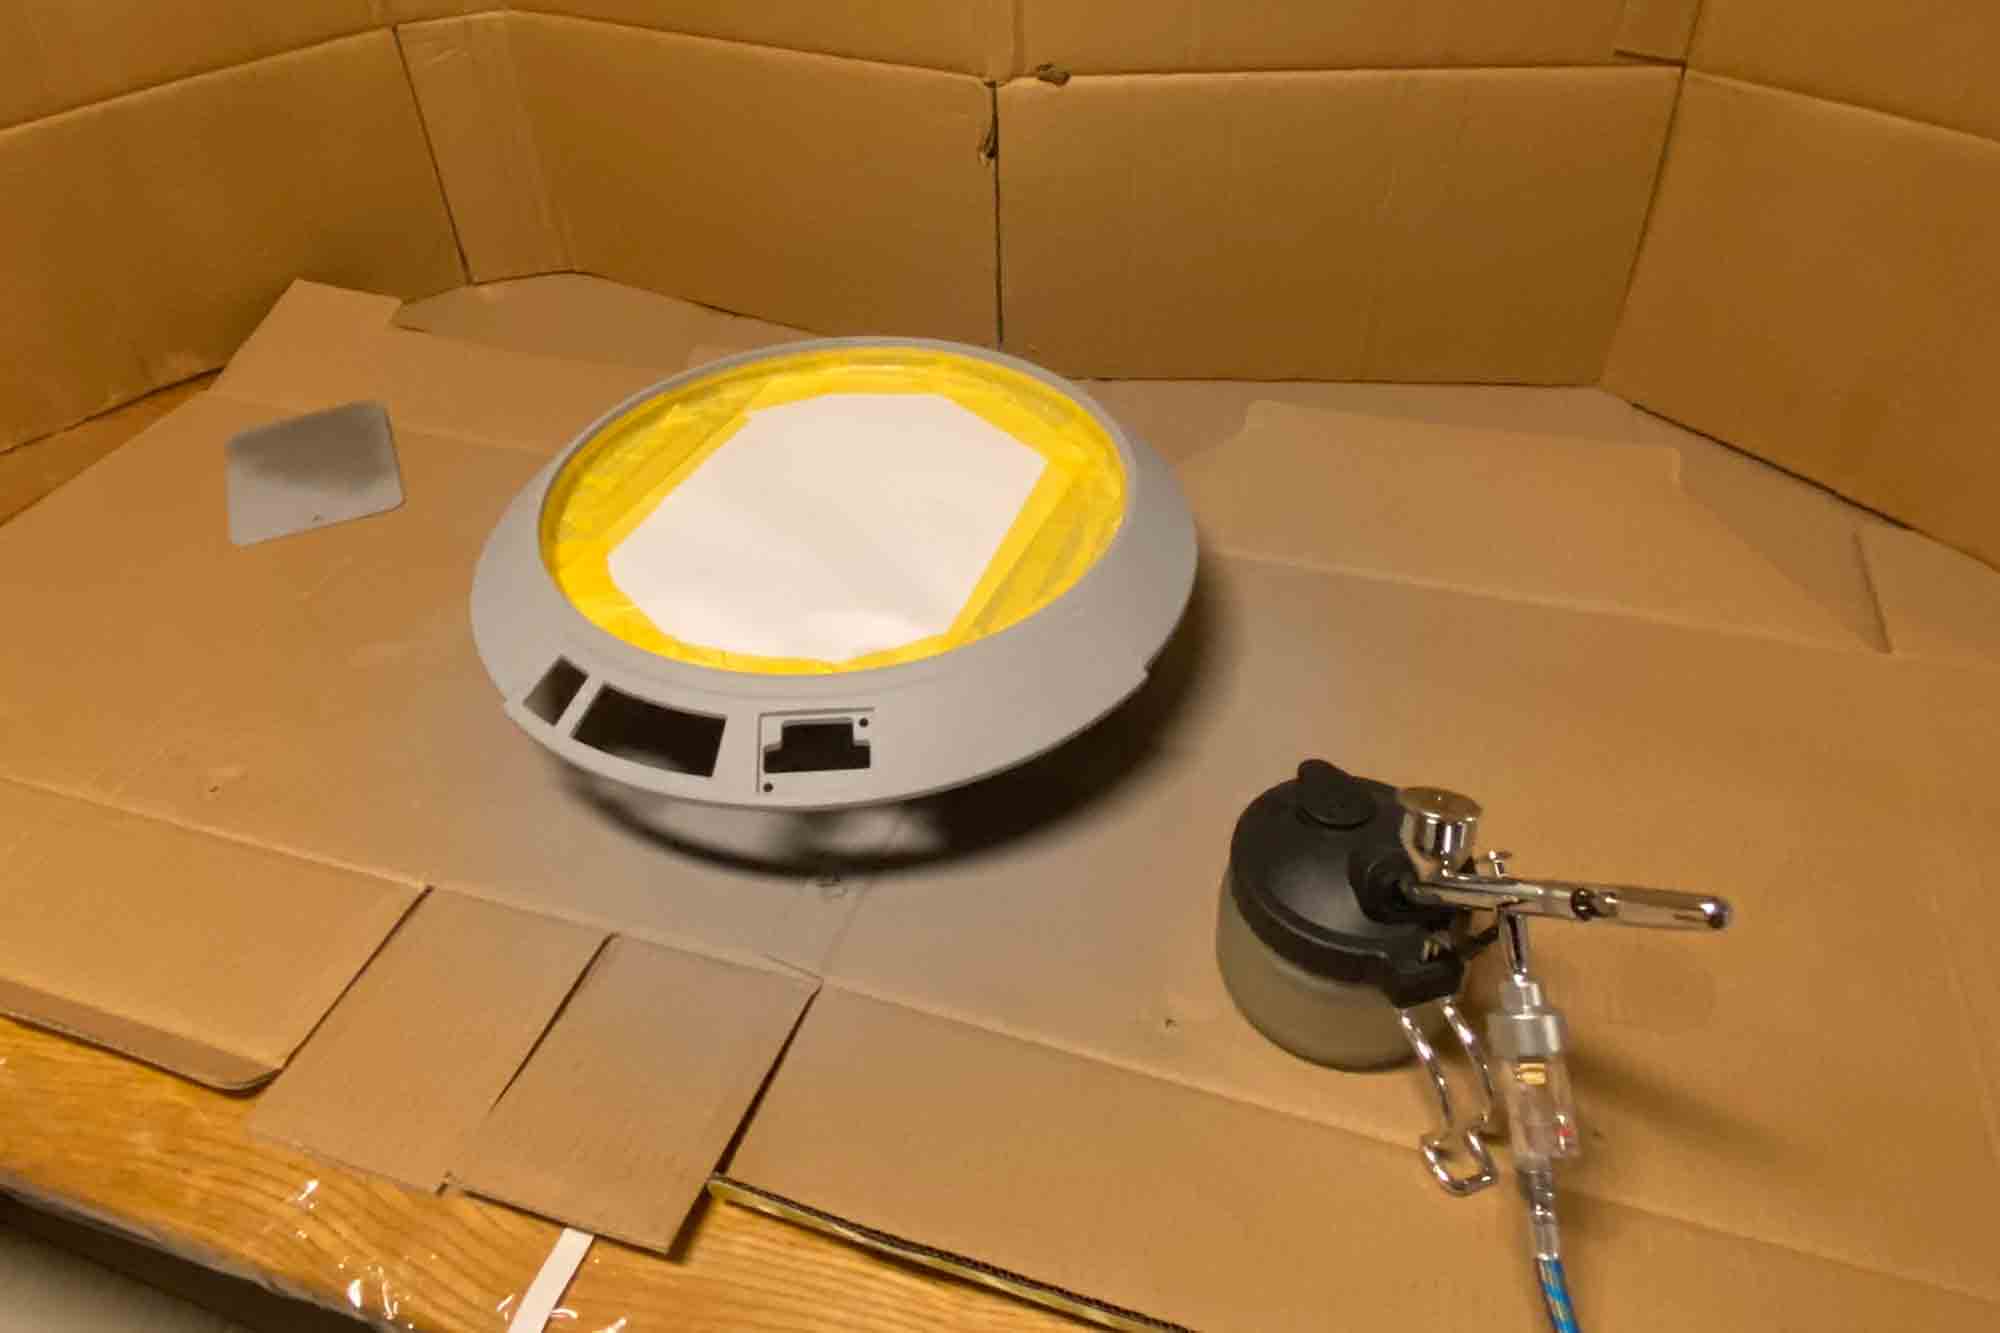
Primer application with an airbrush.
Many trials and errors at that stage. Make sure the primer is adapted to the type of paint you want to use.
I tried automotive paint, but in the end I went for a metallic lacquer paint.
Primer finished and sanded.
Here an attempt with 2 colors. Very difficult to have a clean joint line between colors, and the result is not pleasing to me.

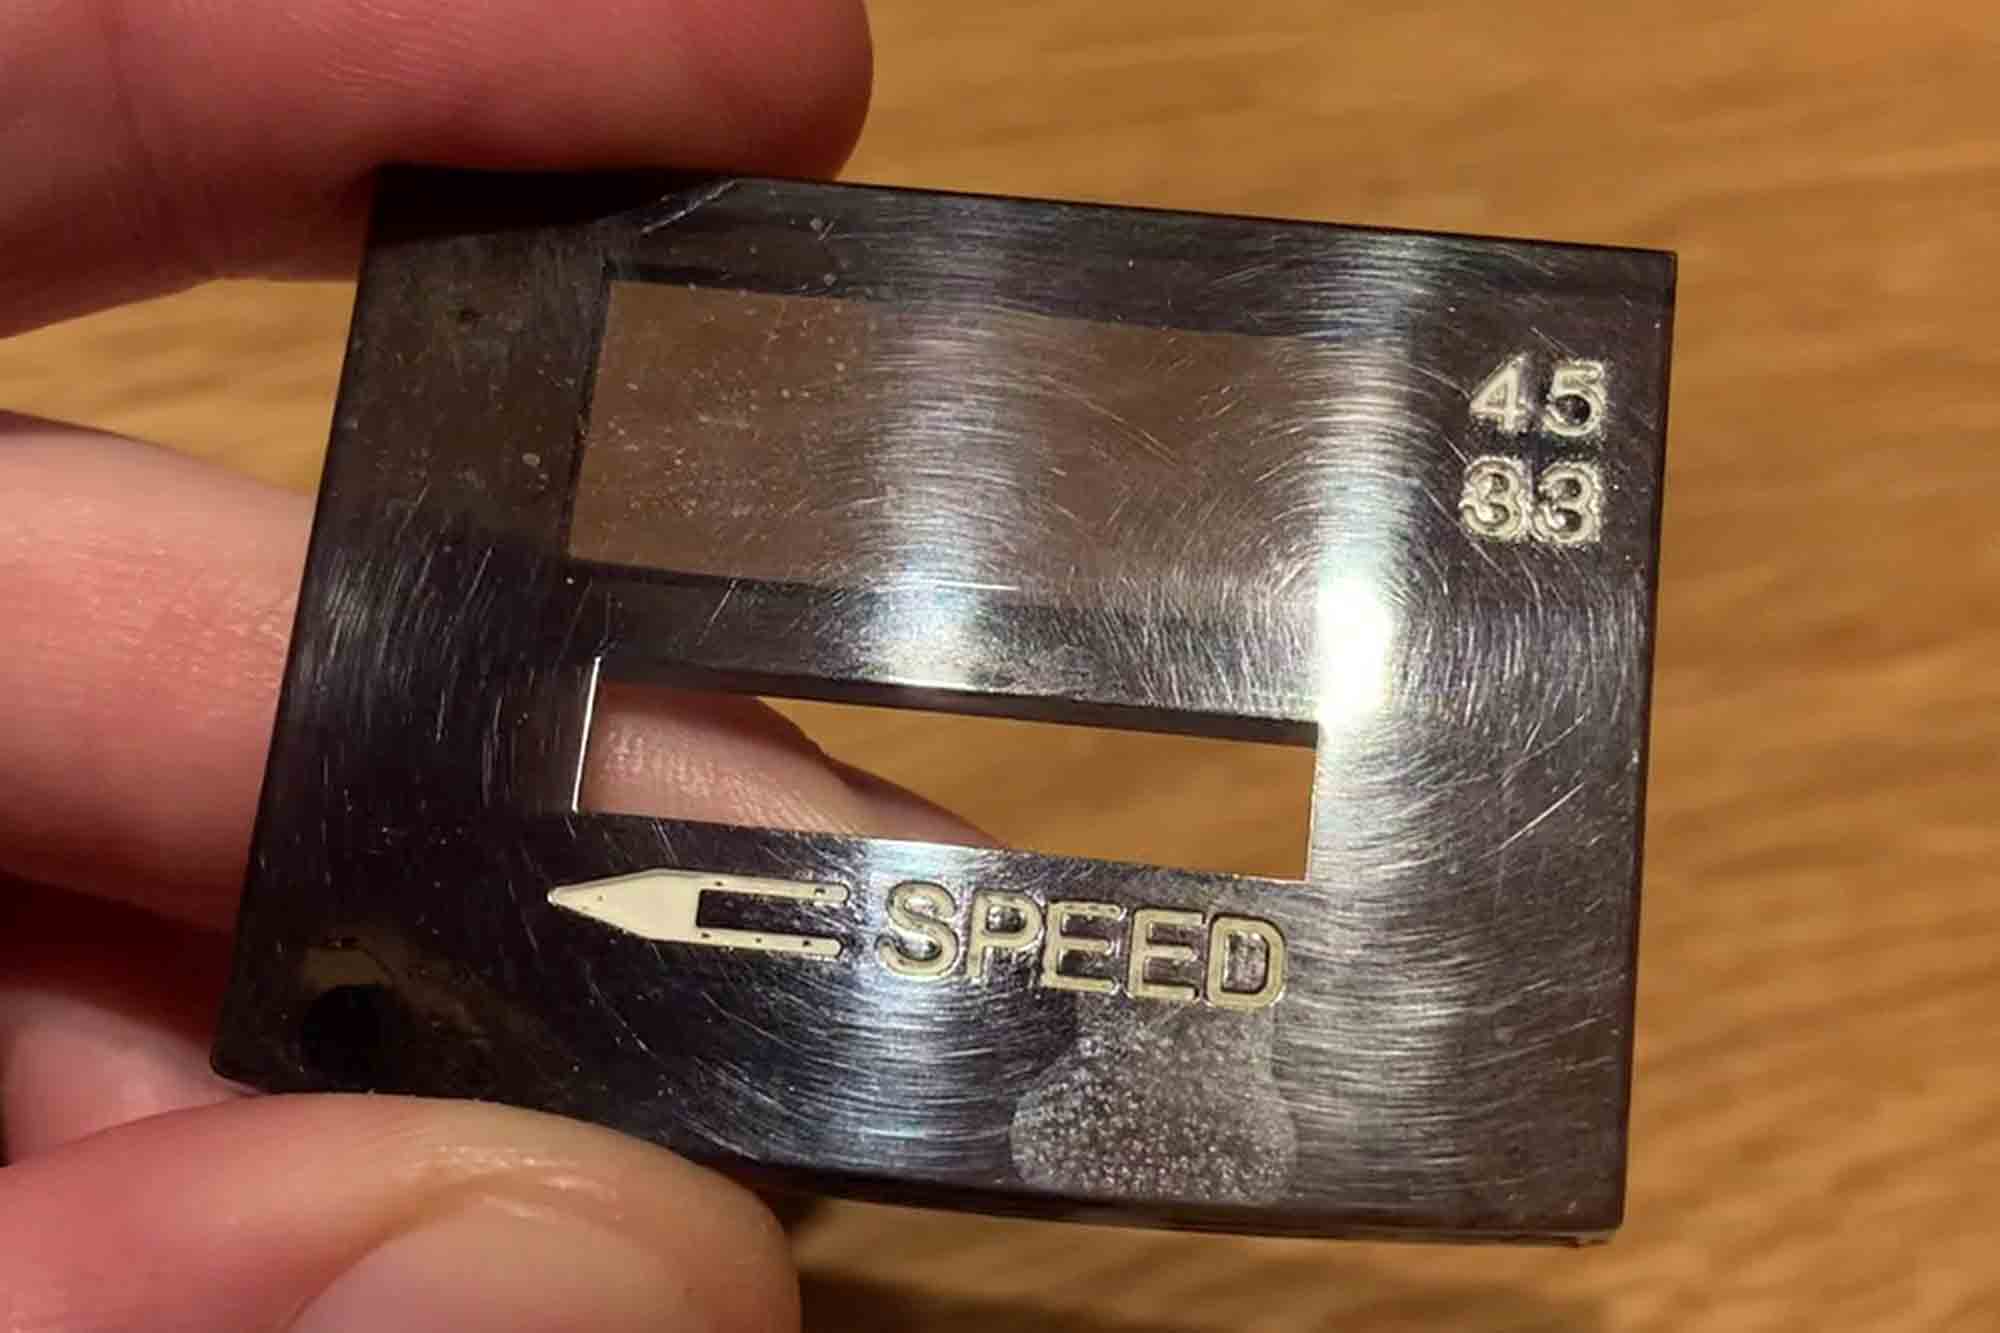
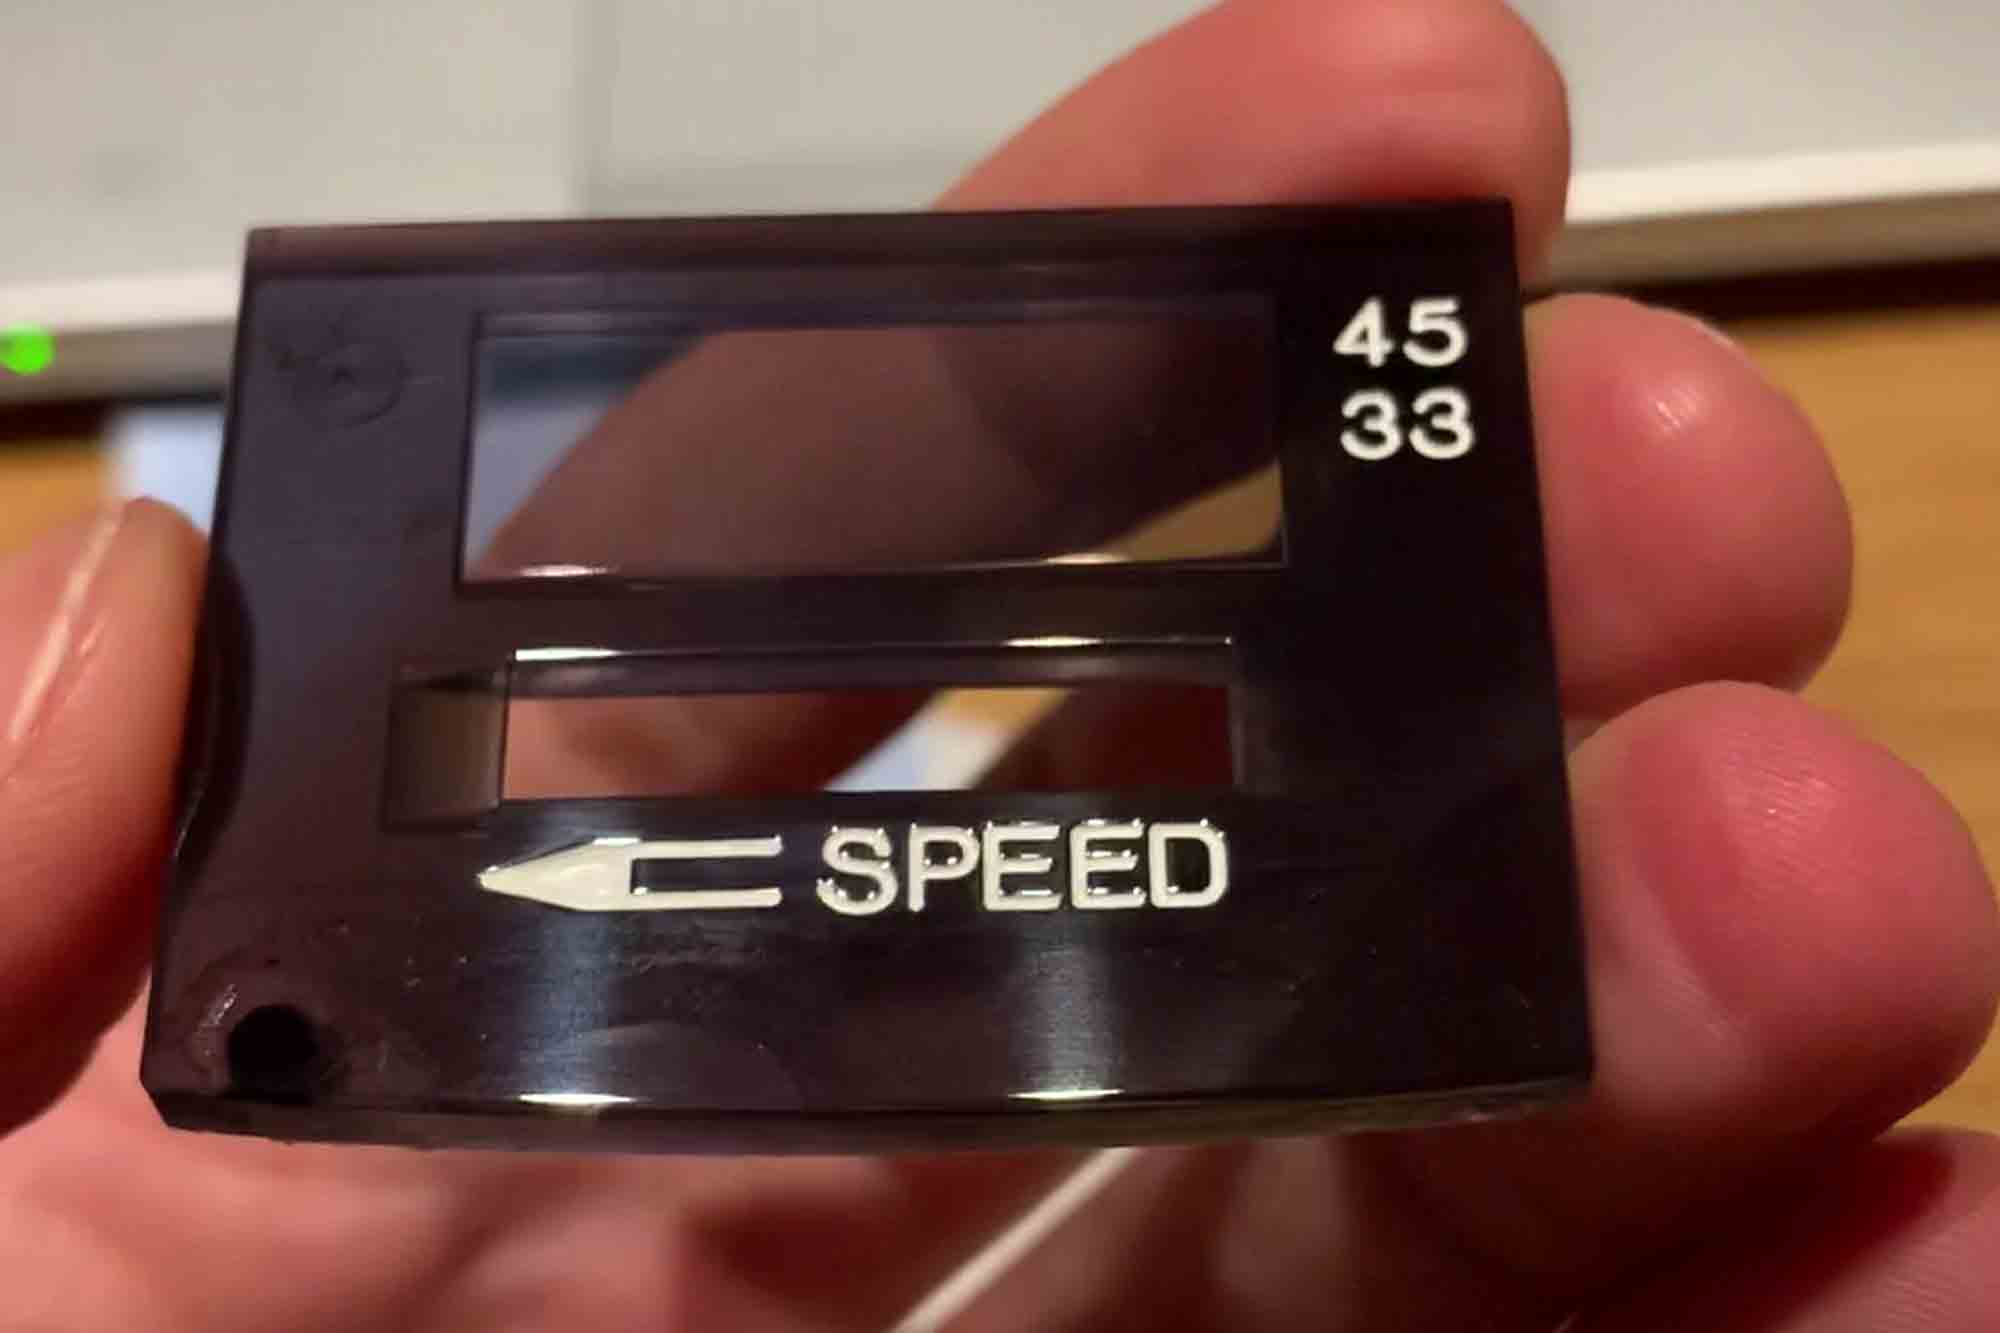
Besides the chassis, the plastic window is in a bad state, with many scratches and fading paint.
One solution is to fill the grooves with fresh paint. I use a liquid paint pen to do so.
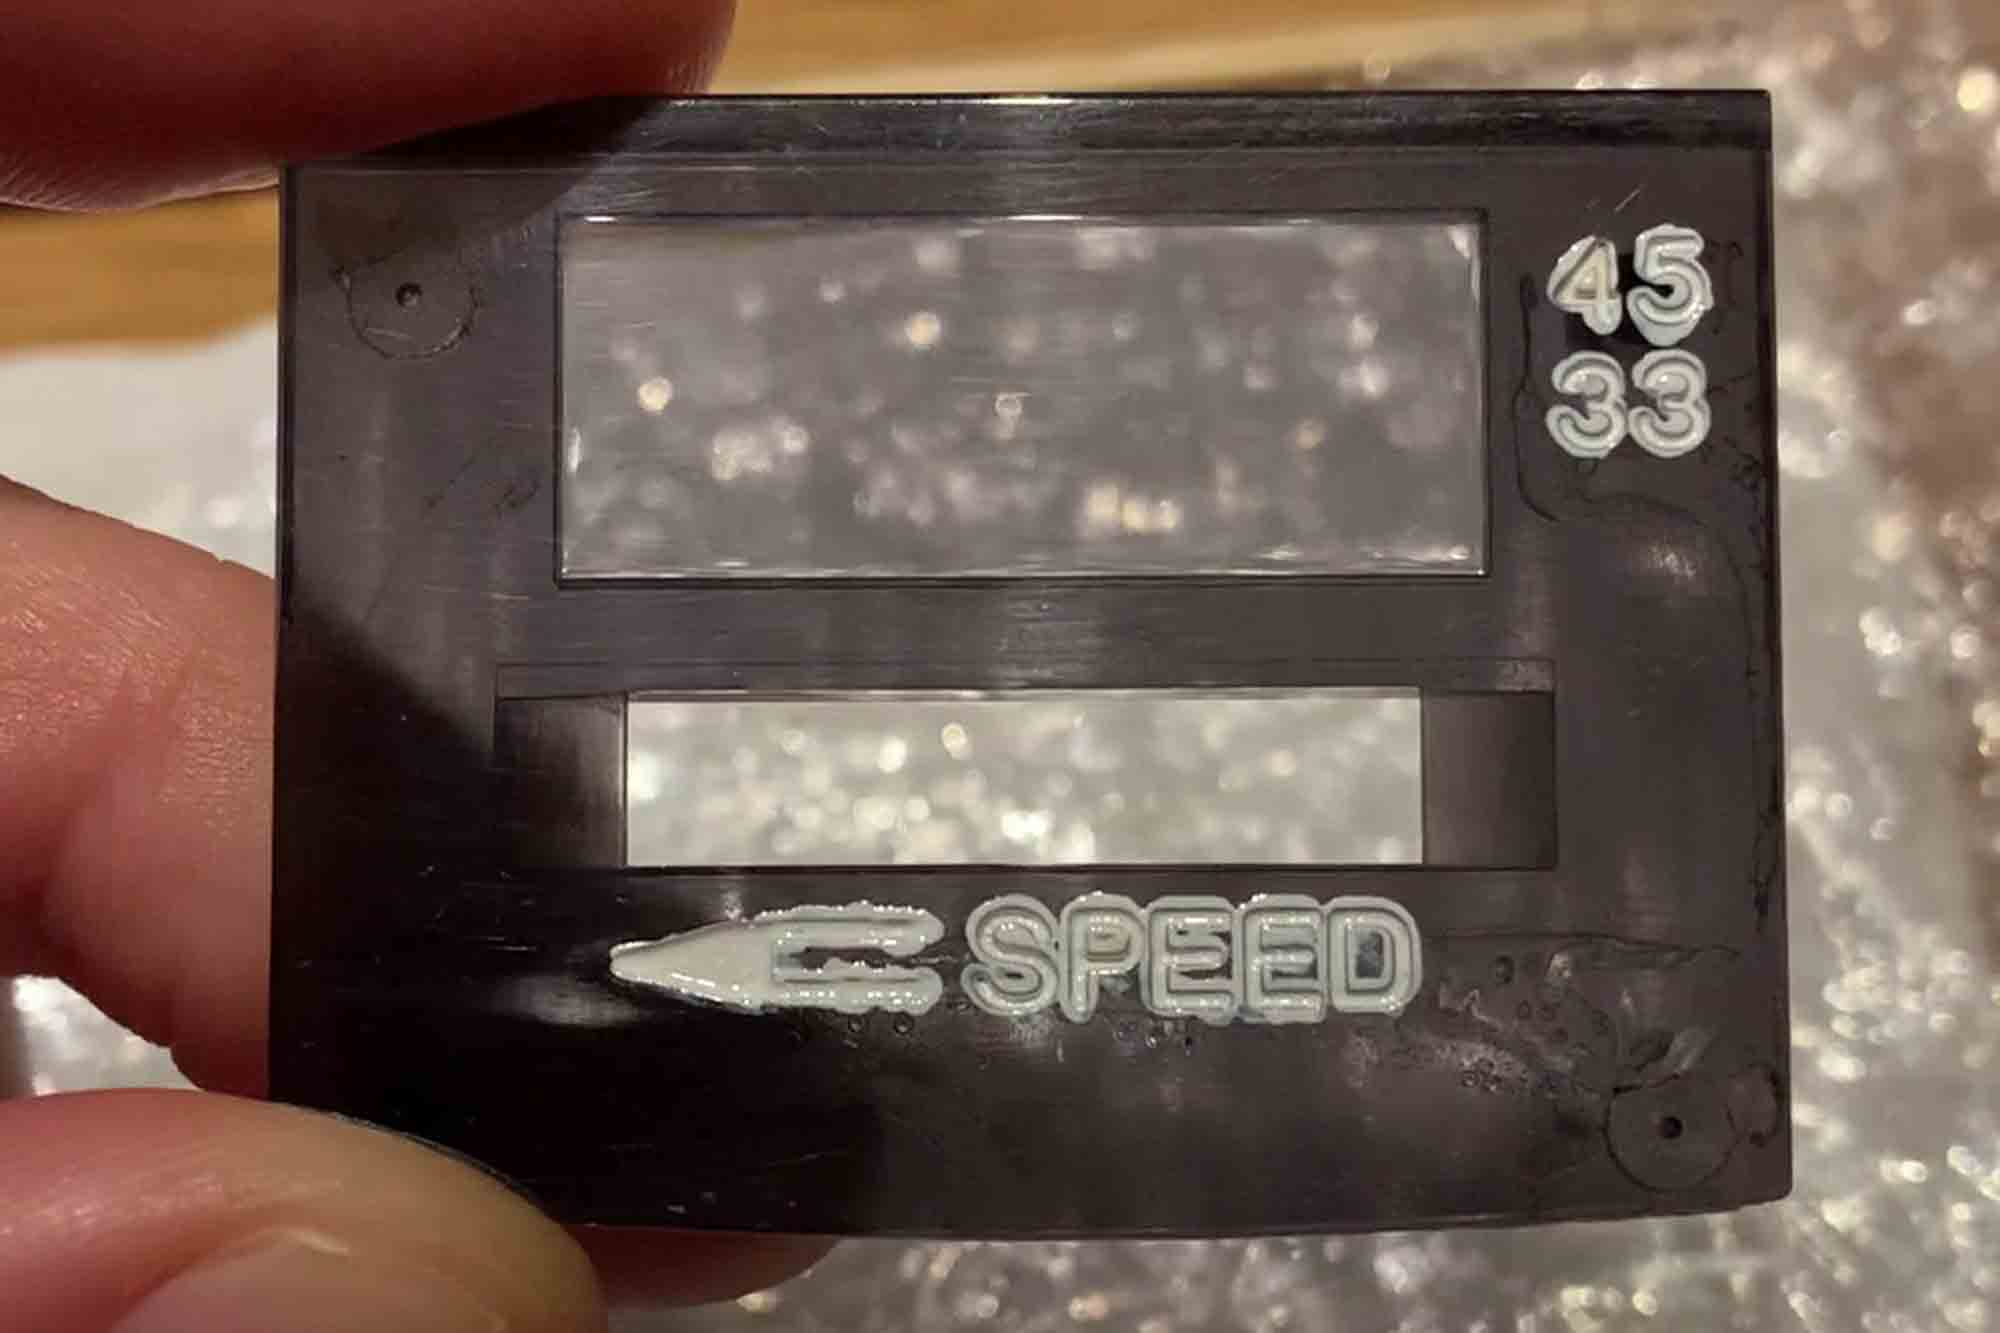
Once done, I polish the face with an acrylic polish to remove all scratches and the surplus paint.
The rubber mat shows some signs of dryness, as well as unaesthetic marks. The solution for this is to apply some CARPRO Perl.
You can find an interesting thread on the Lenco Heaven forum here about the procedure to follow.
It works quite well.
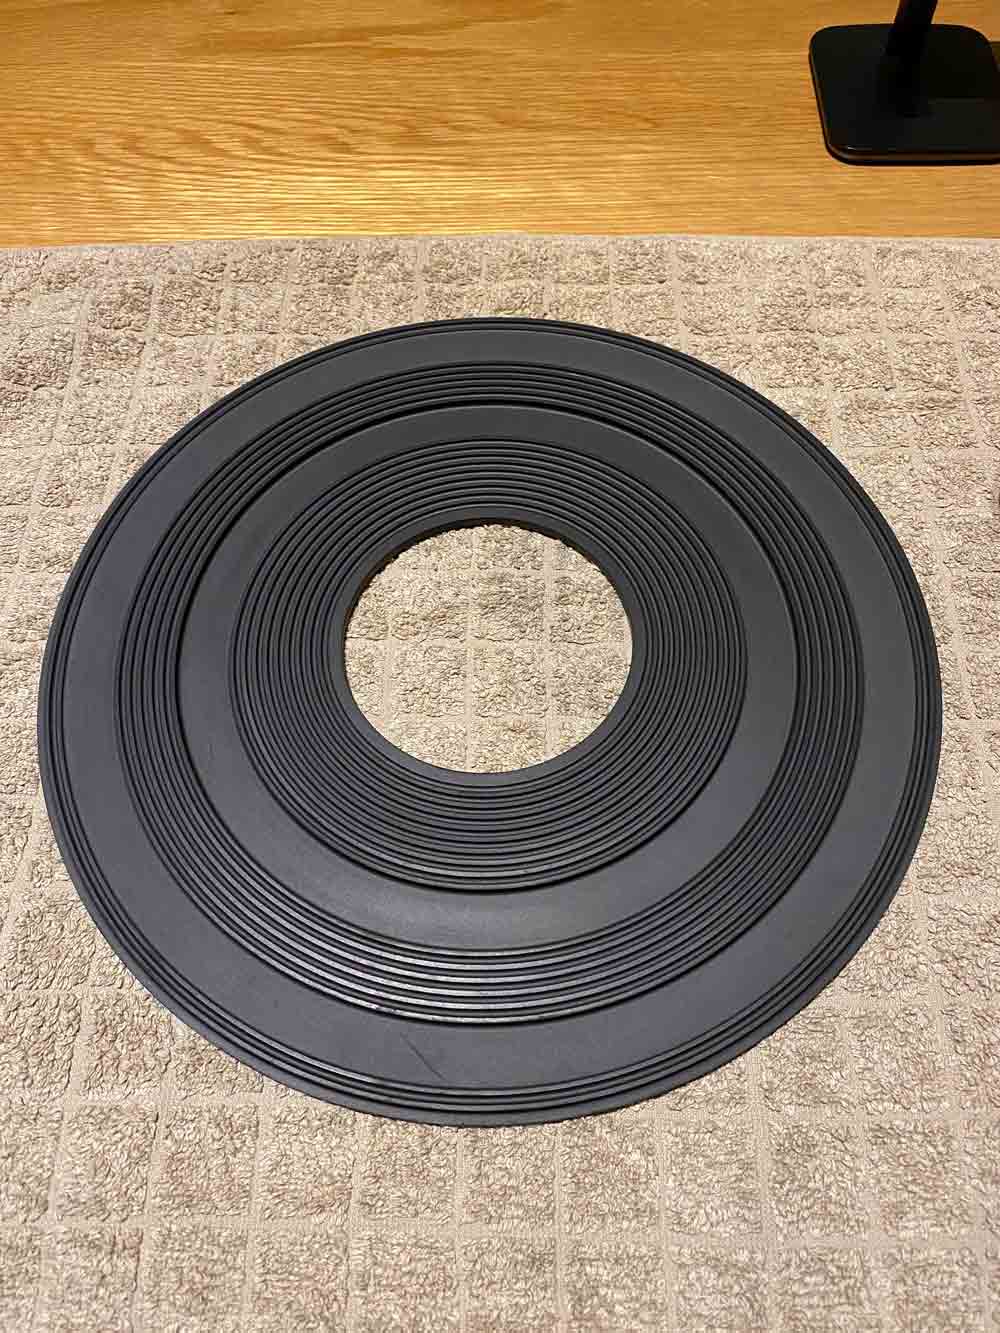
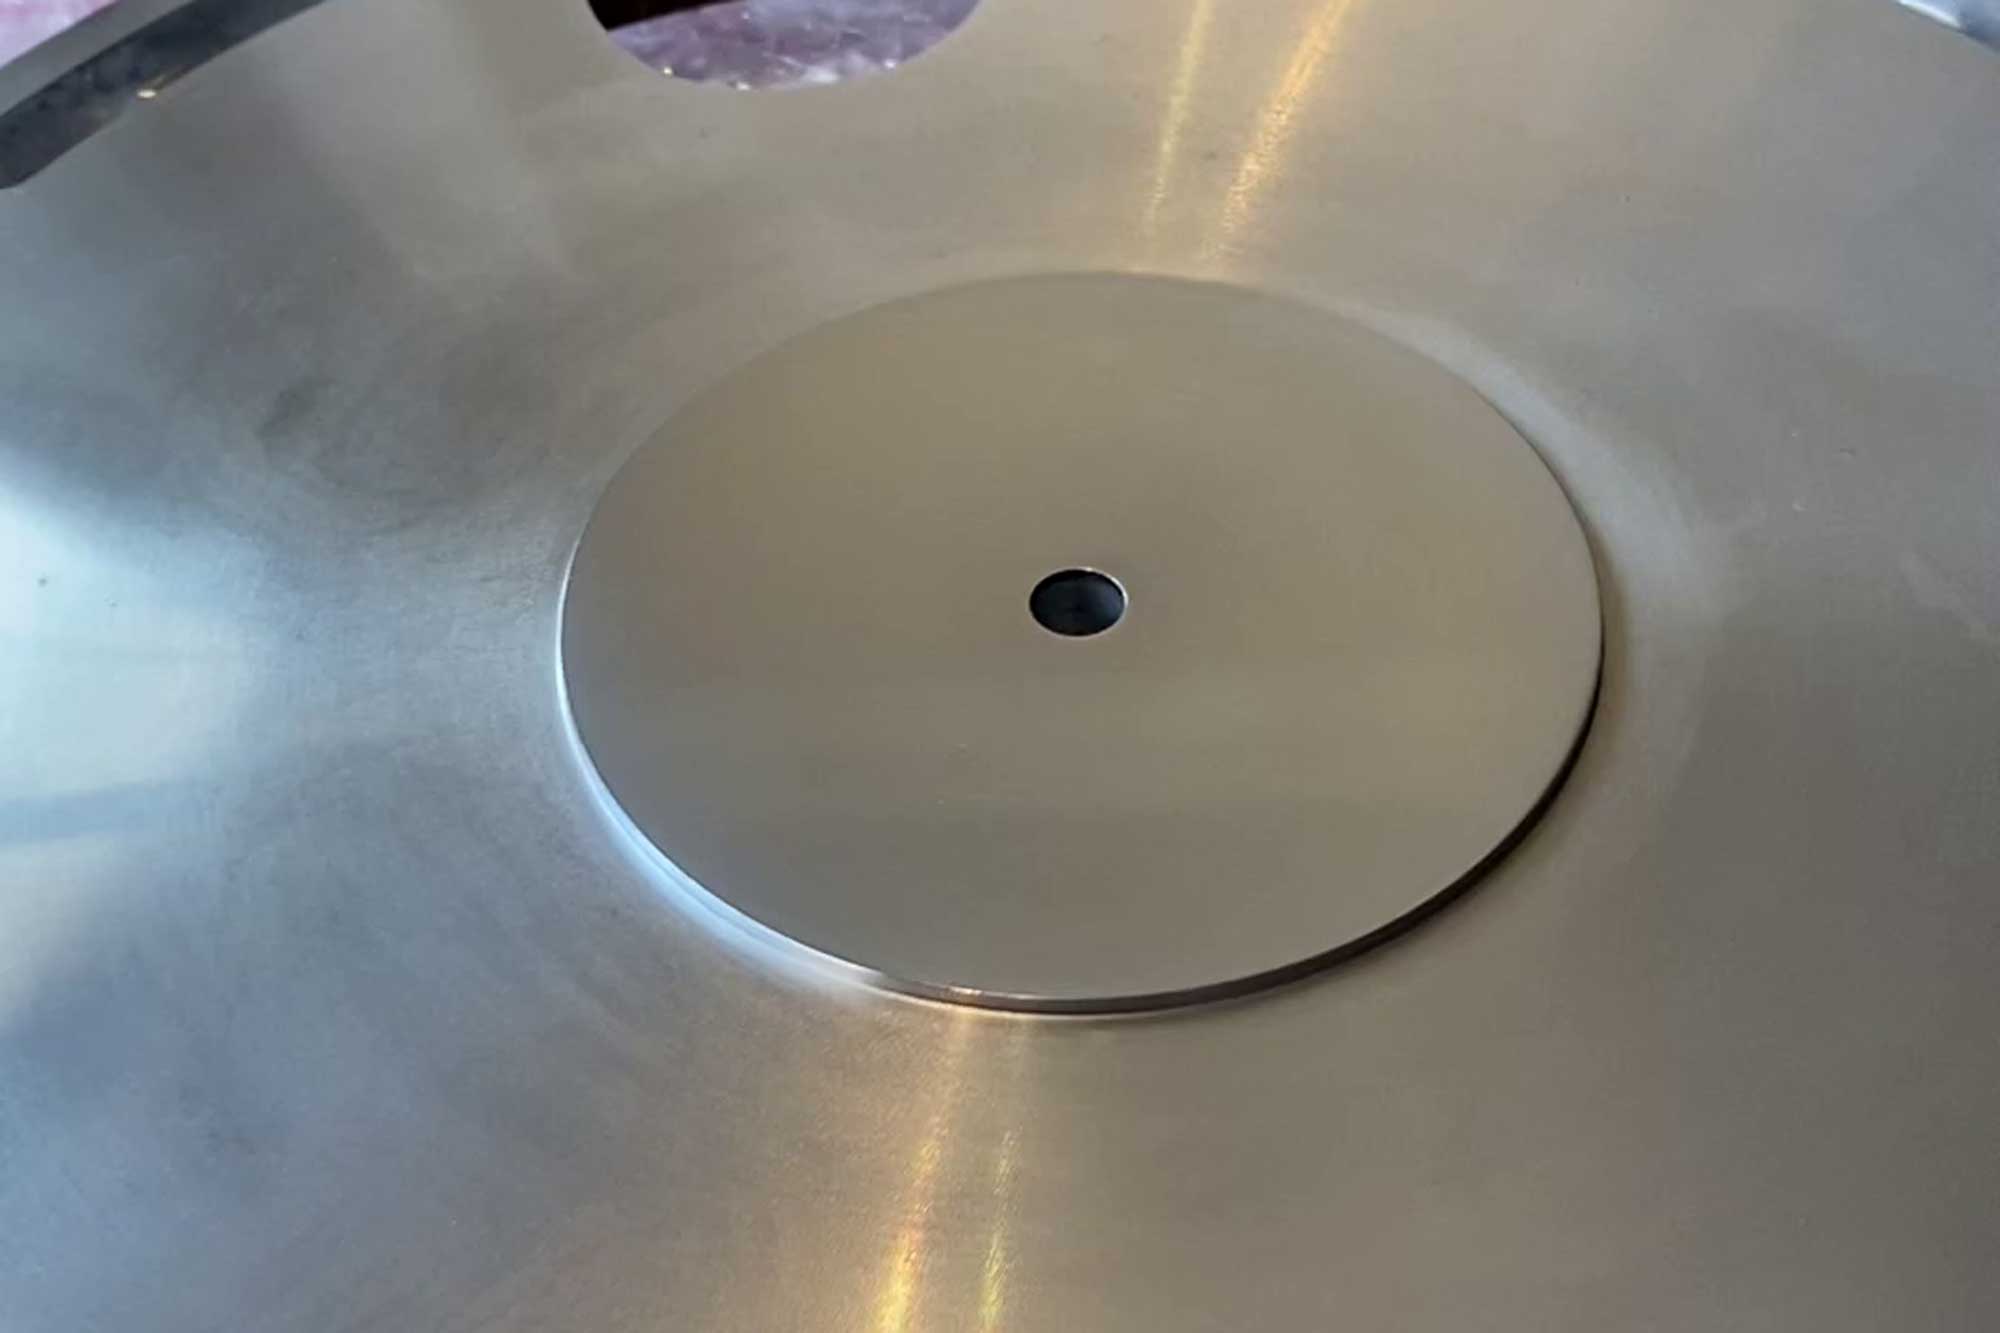
After cleaning the platter (be careful not to touch the strip of magnetic paint in the inside), I polished the mat center to a shinier finish. I could not obtain a mirror like finish, but the outcome is much better looking than the original to my eyes.
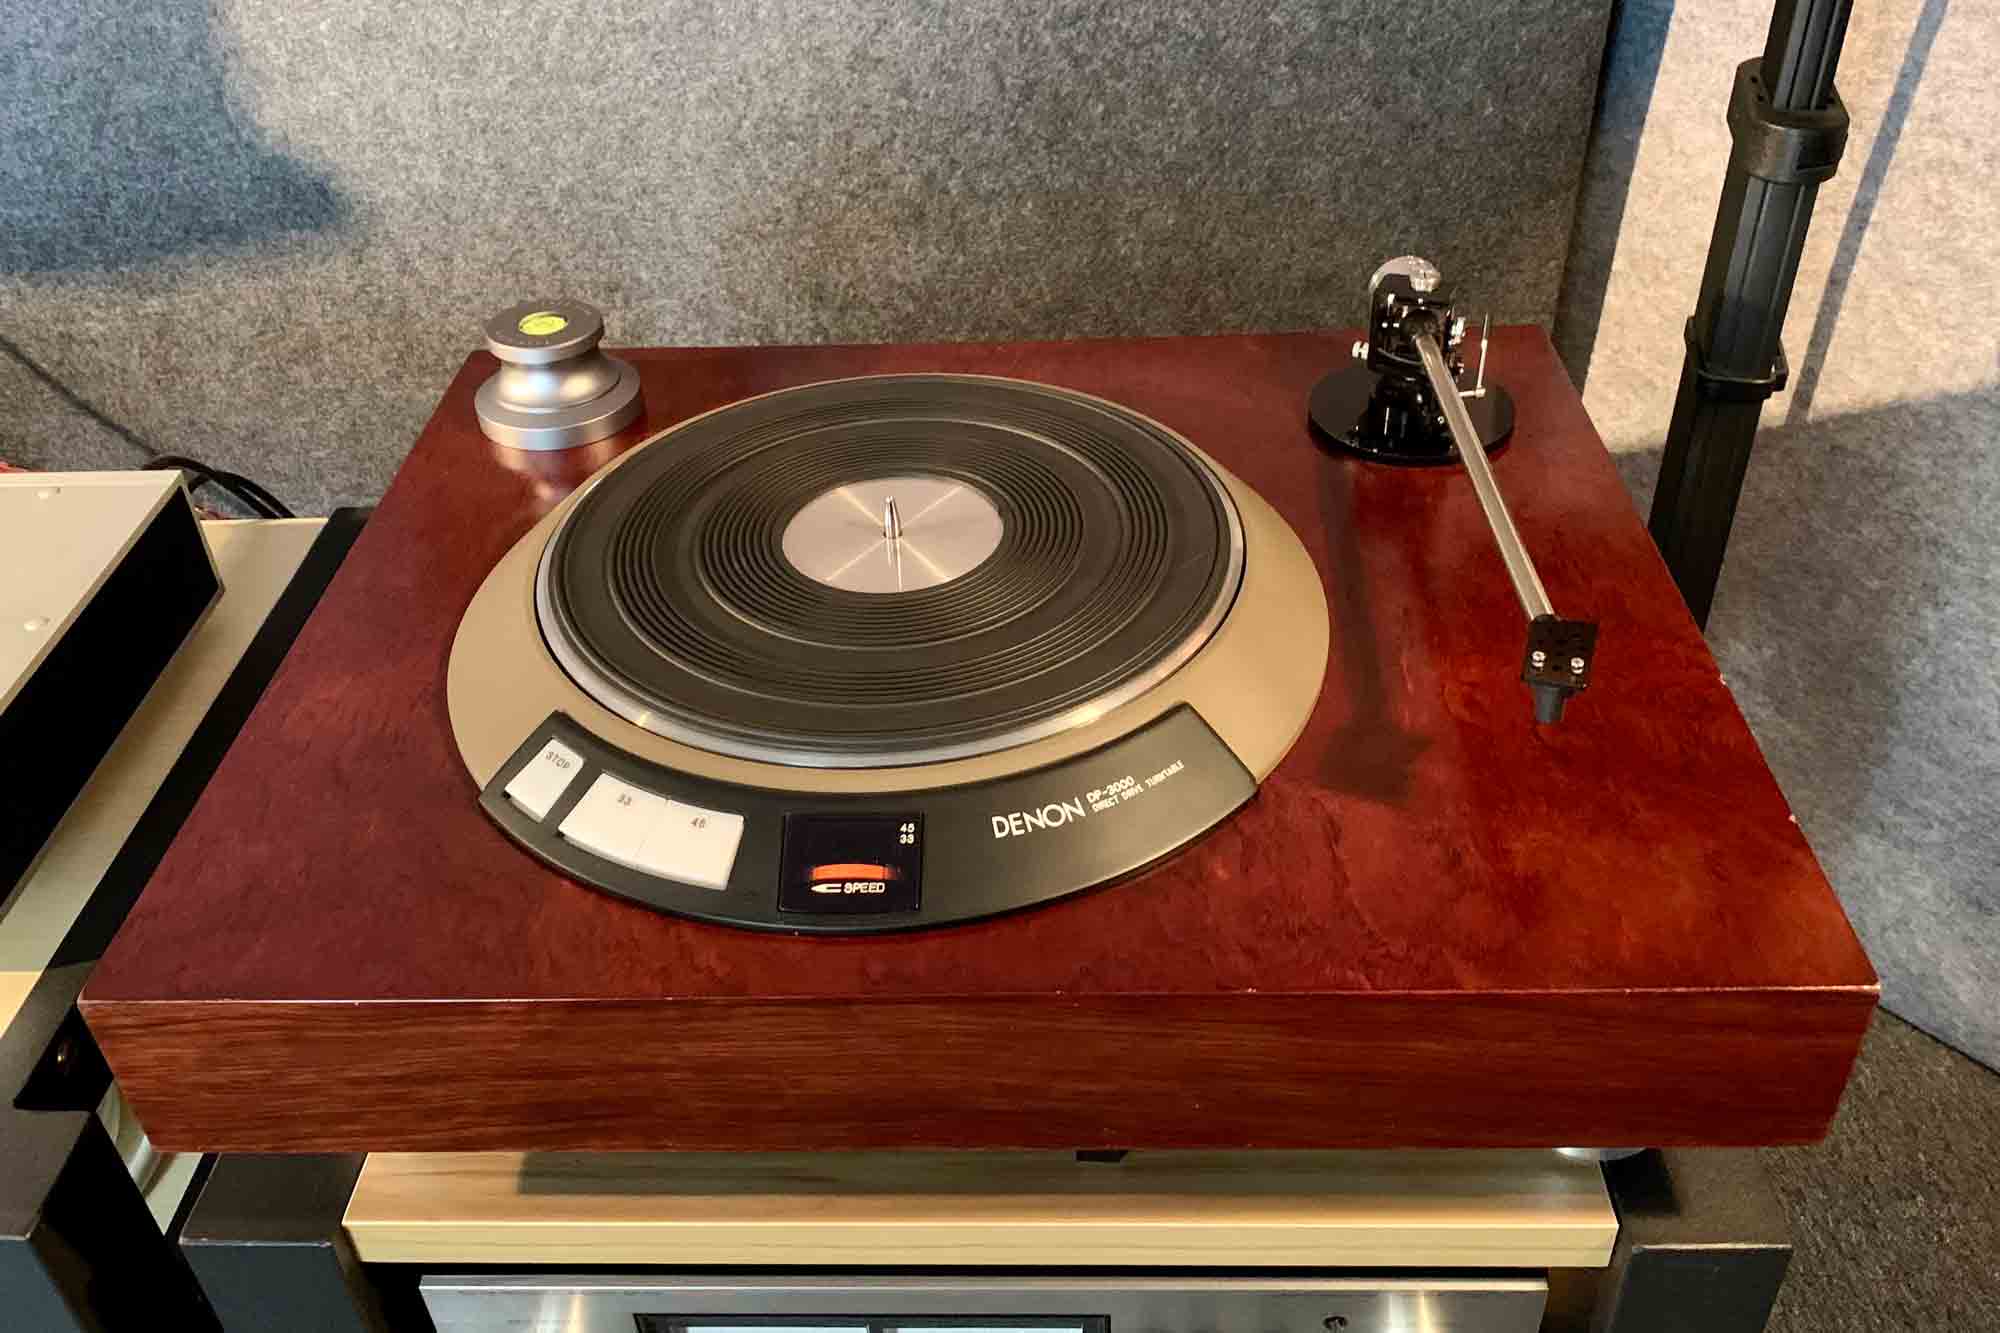
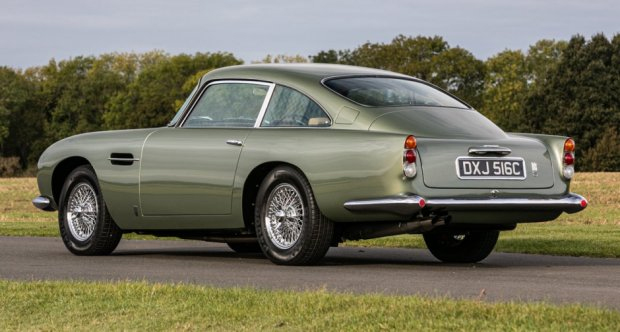
Regarding the color, finally let’s go for a California Sage, as for vintage Aston Martins 🙂
The DIY color mix to arrive at the desired result is quite long, but we will eventually get there.
Happy with the result, the unit is now ready!
Let’s work on the next item now…
2. The Custom Plinth
Introduction
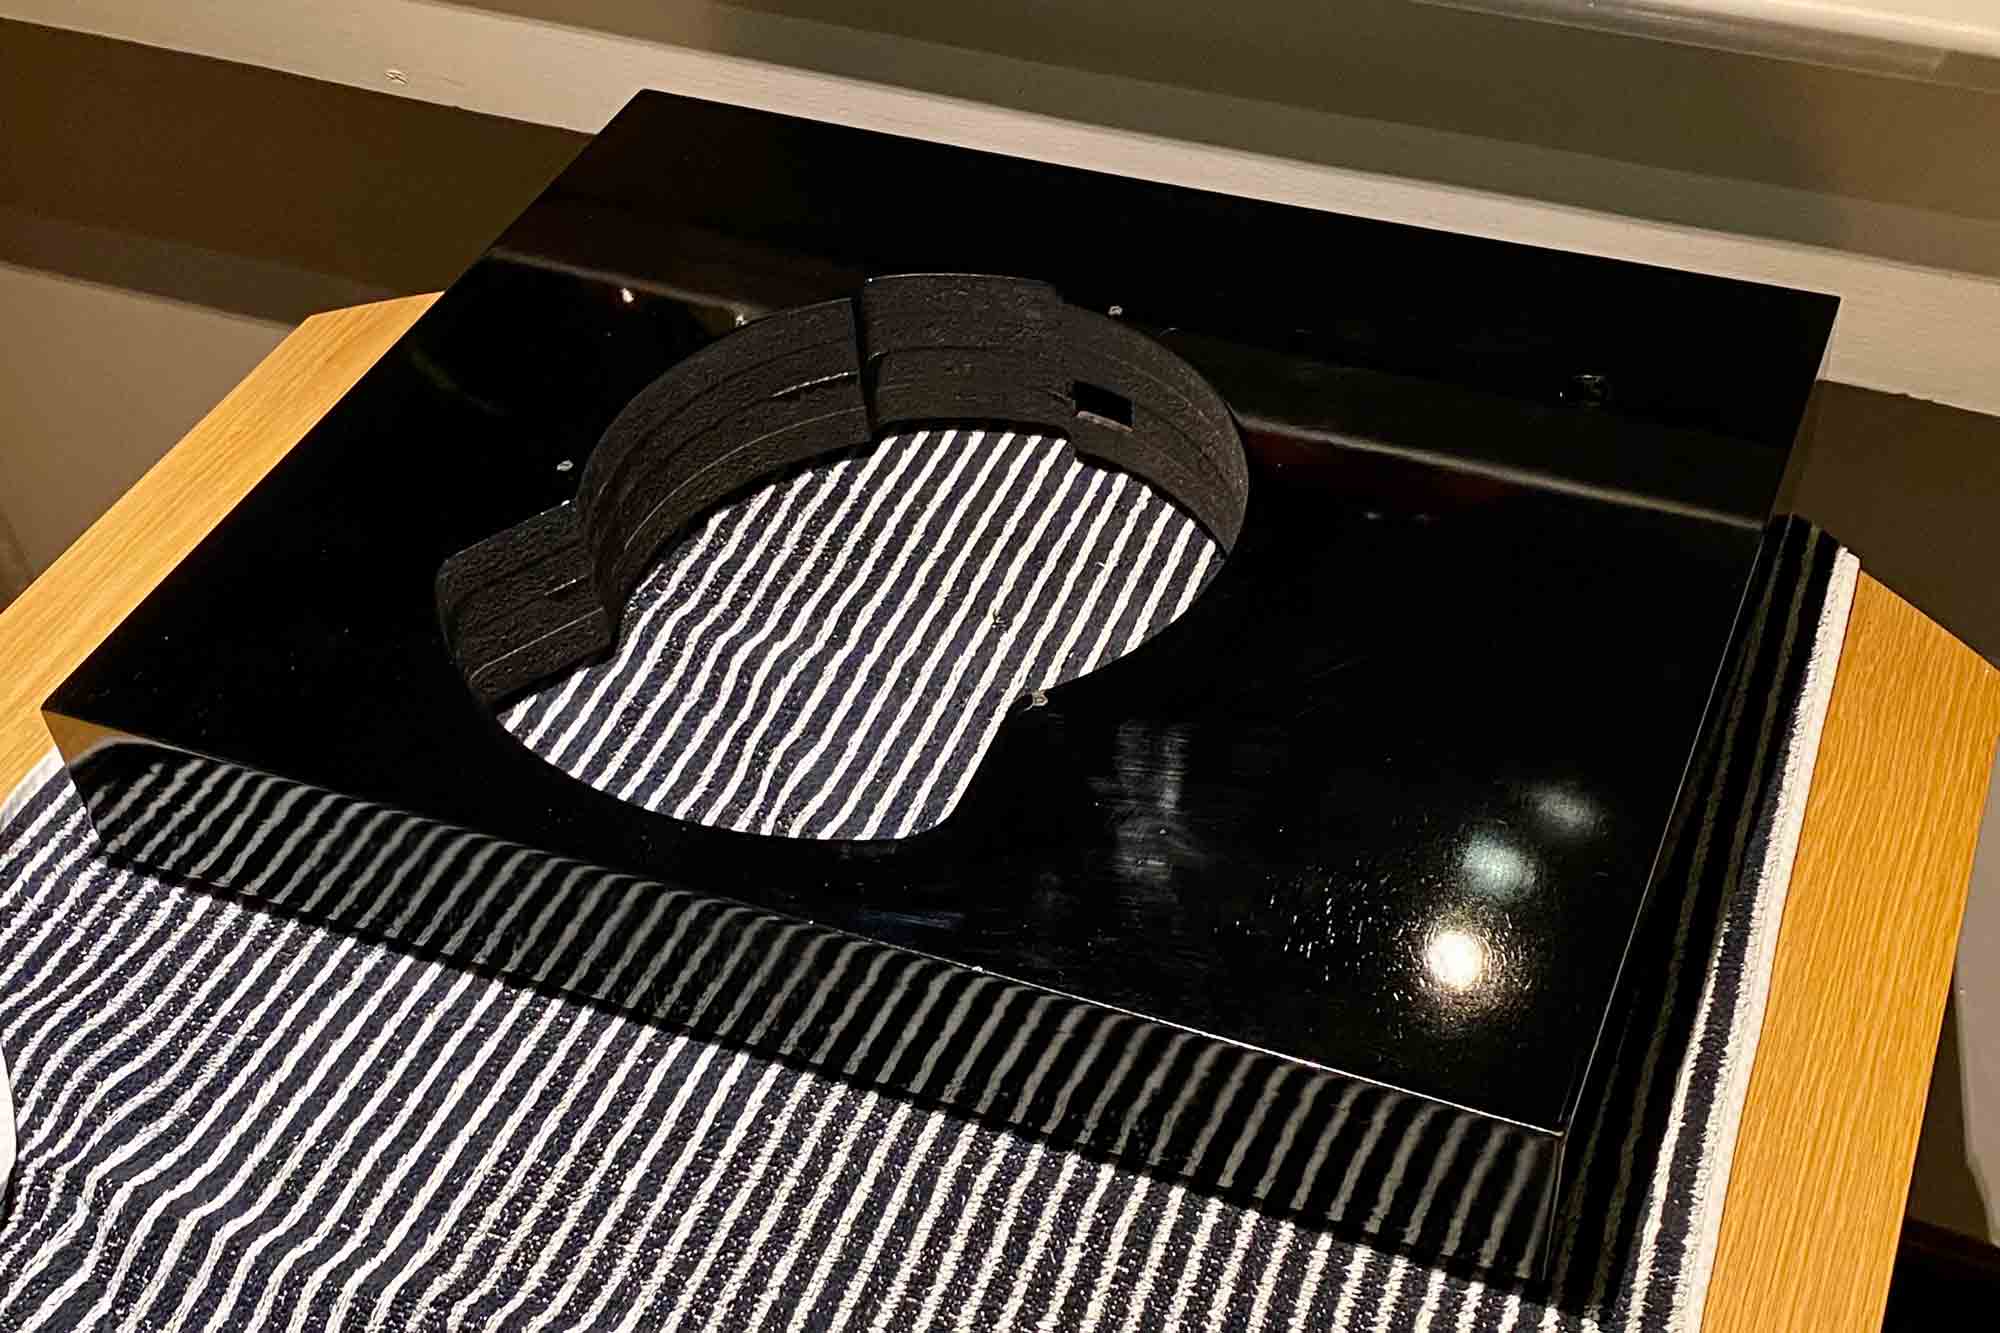
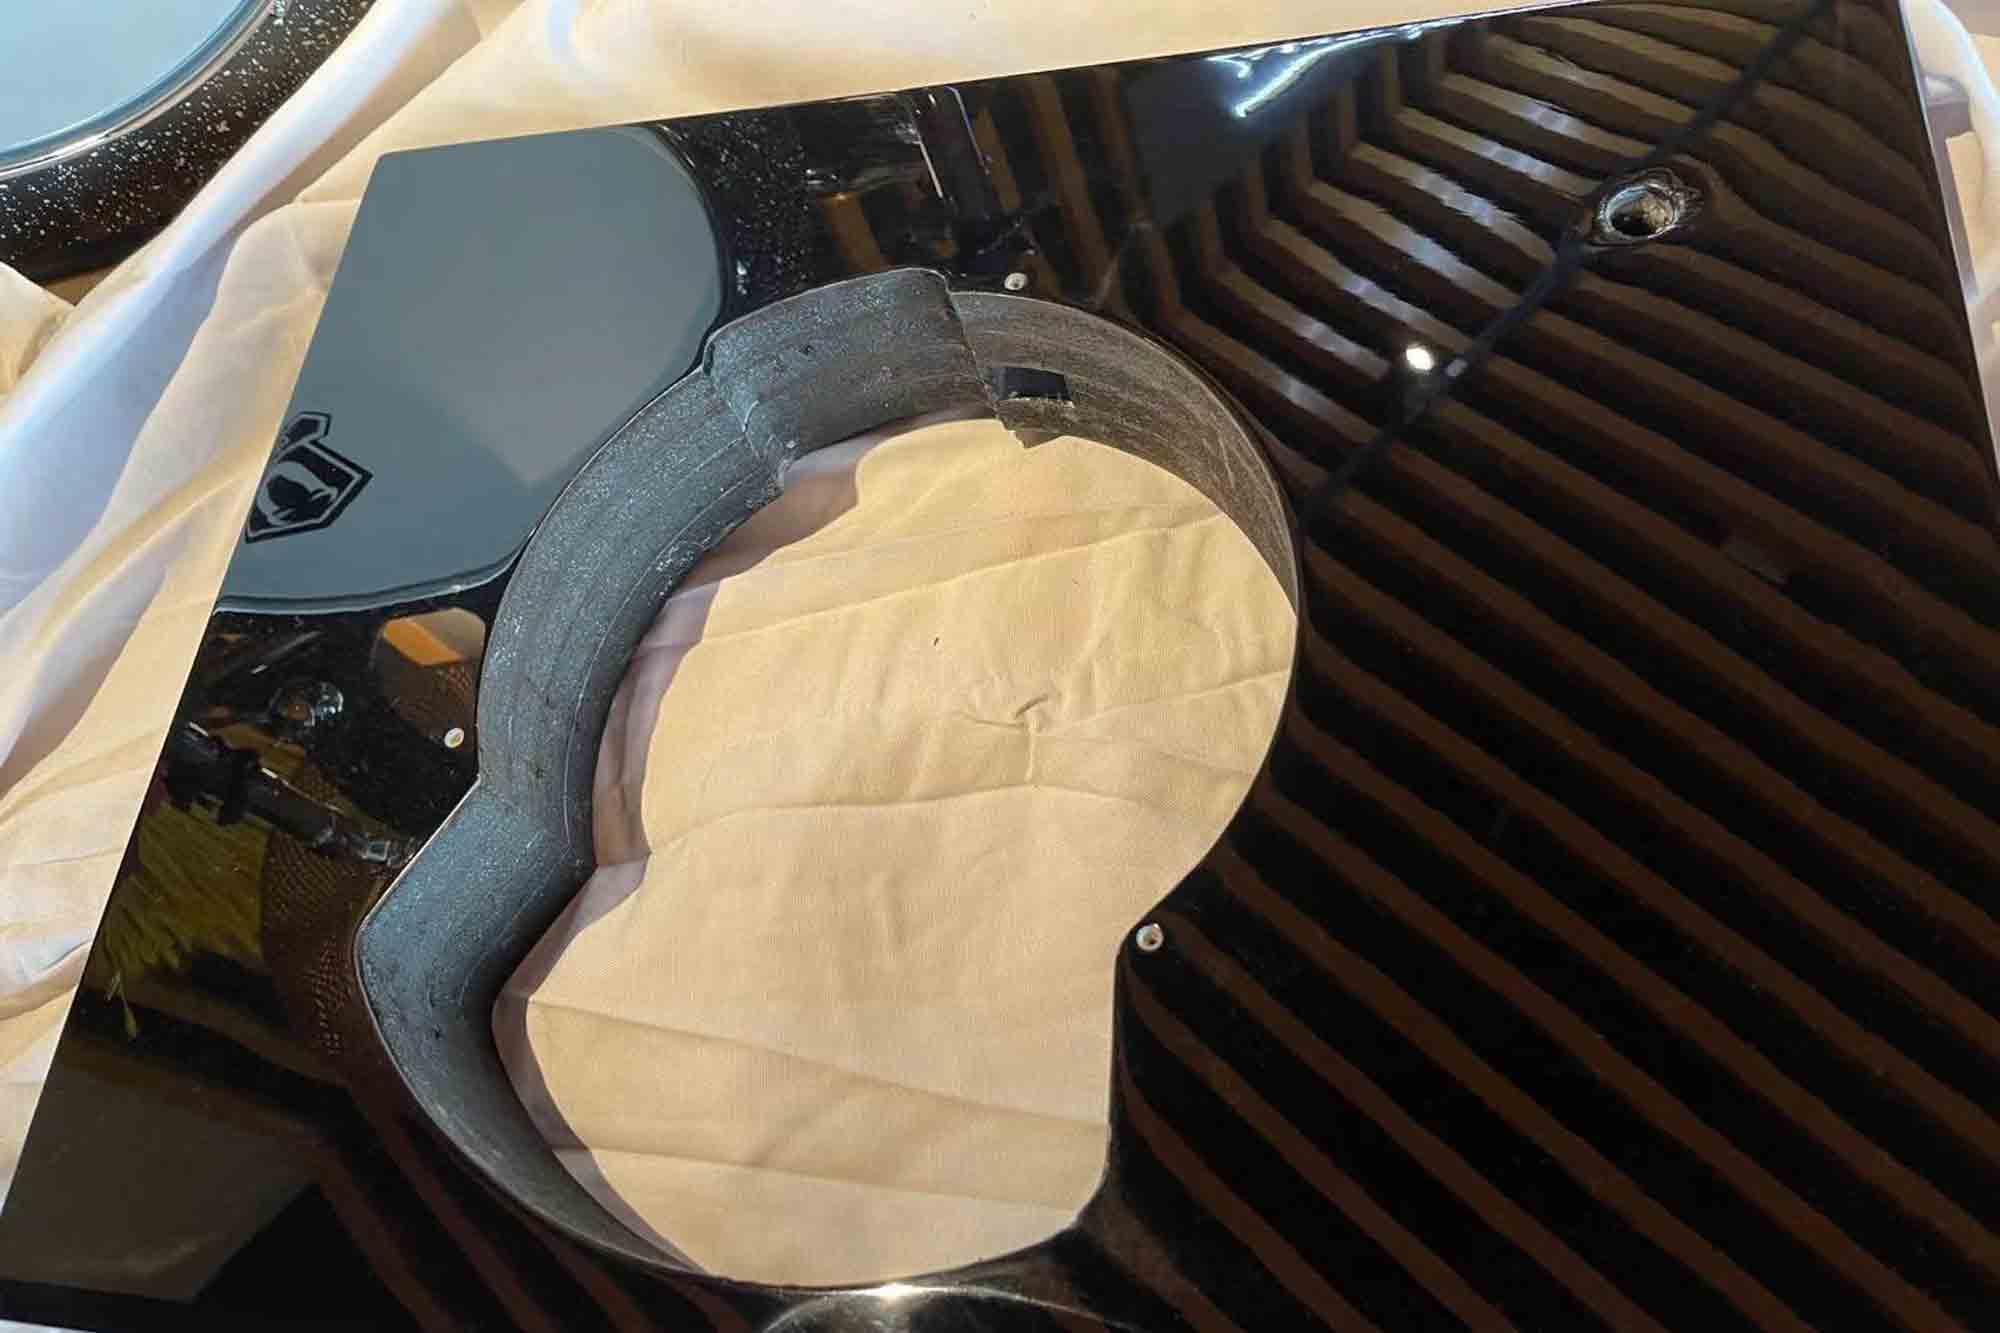
The custom plinth consists in 4 MDF boards of 2cm thickness, glued together. MDF was chosen for its outstanding cabinetry properties.
The Denon DP 3000 mounting template was CNC machined in the boards and 2 holes were cleared for tonearms. At the back, 3 holes were drilled for power and tonearm cables.
The outer dimensions are 60 x 48 x 8cm. A massive piece of wood, finished with a rosewood veneer.
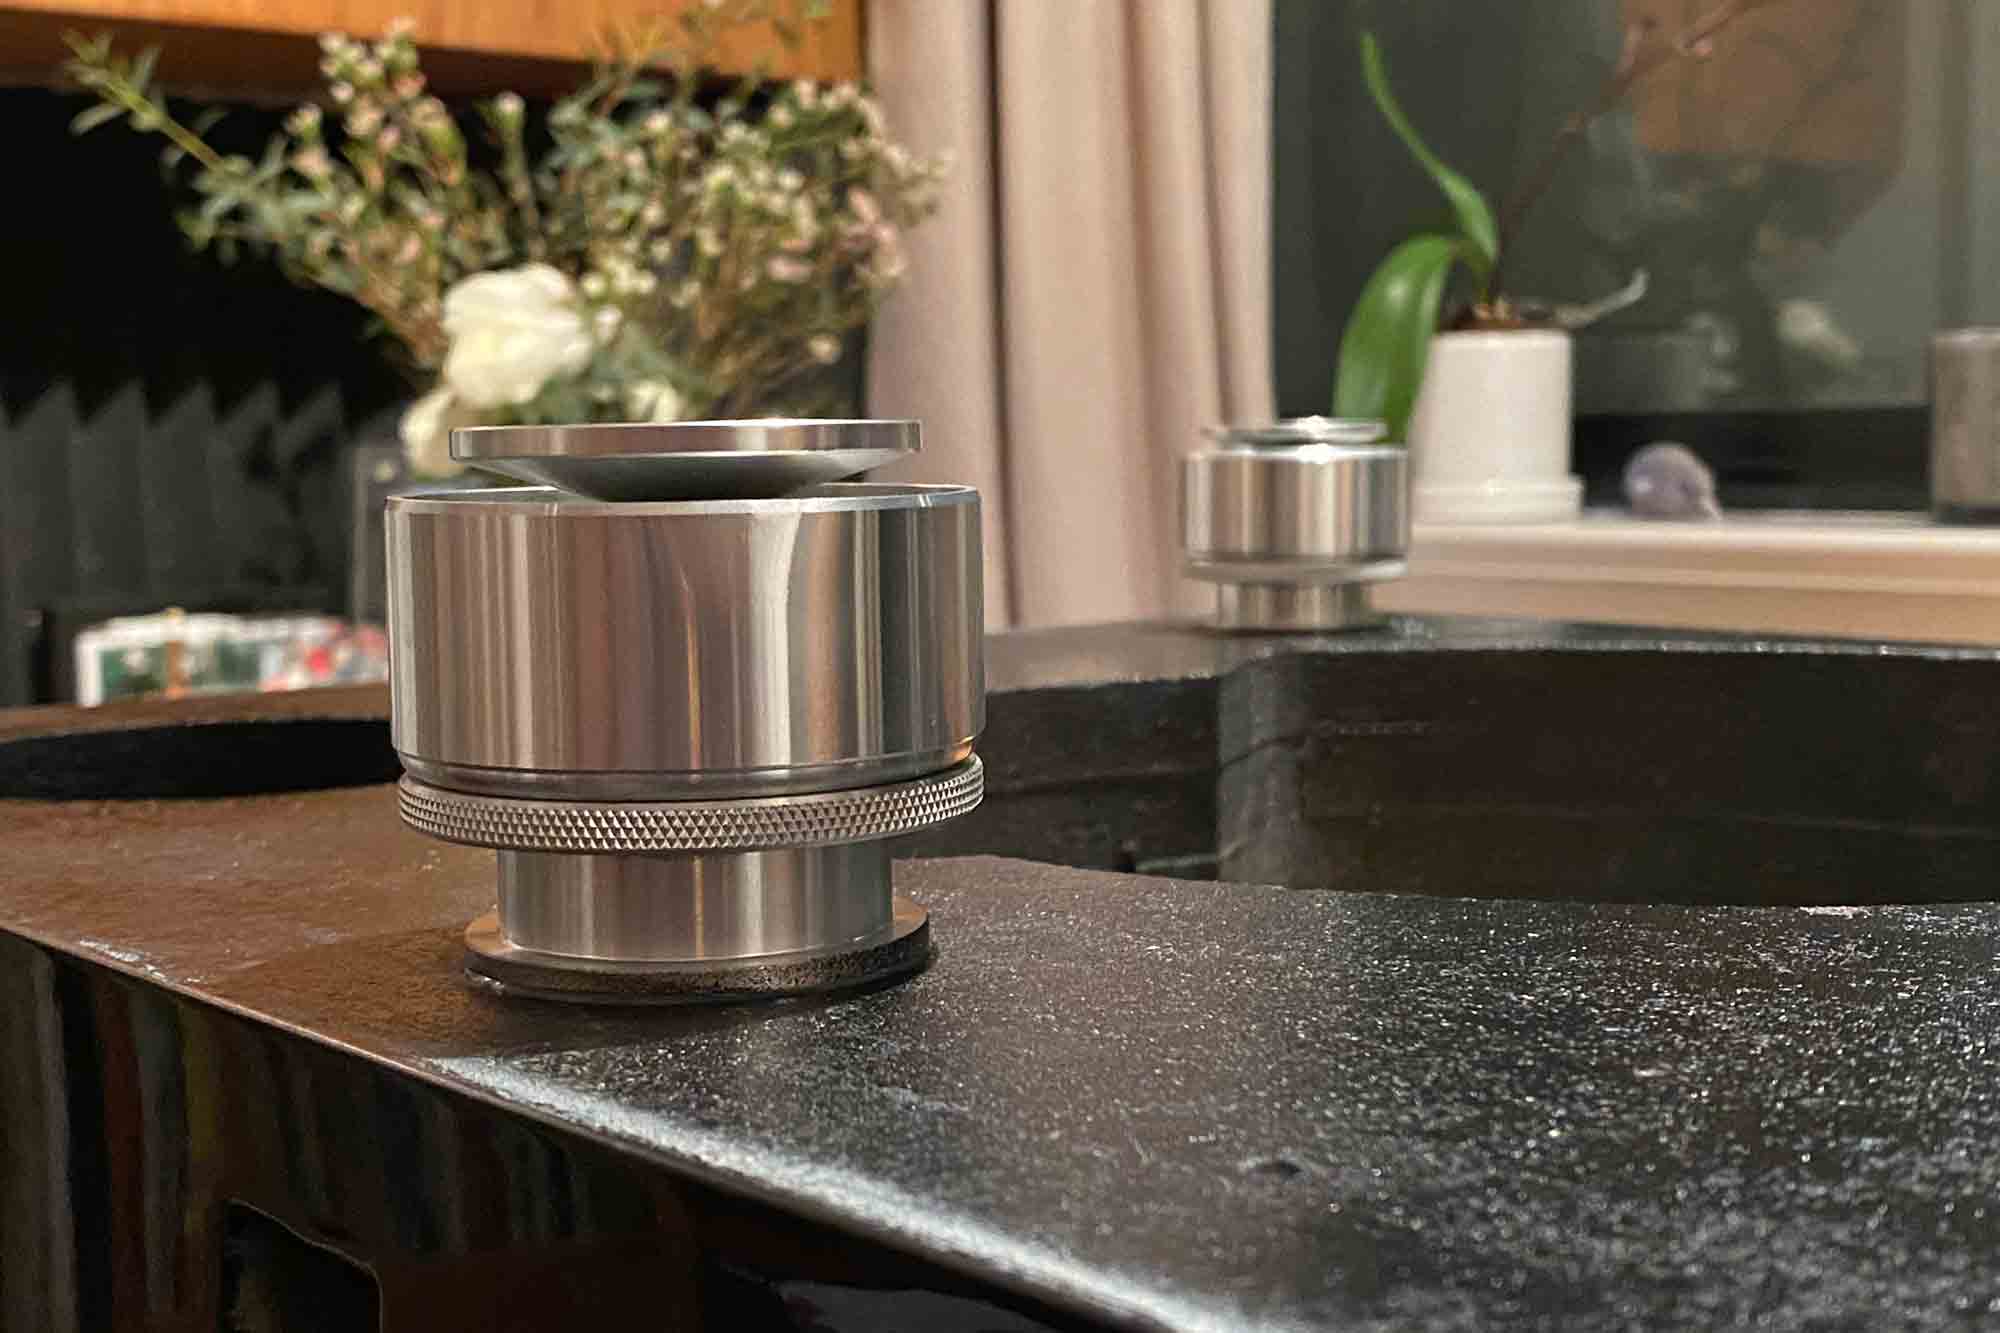
It is equipped with 3 high quality adjustable feet for stability and decoupling with the supporting plan.
Structural Changes
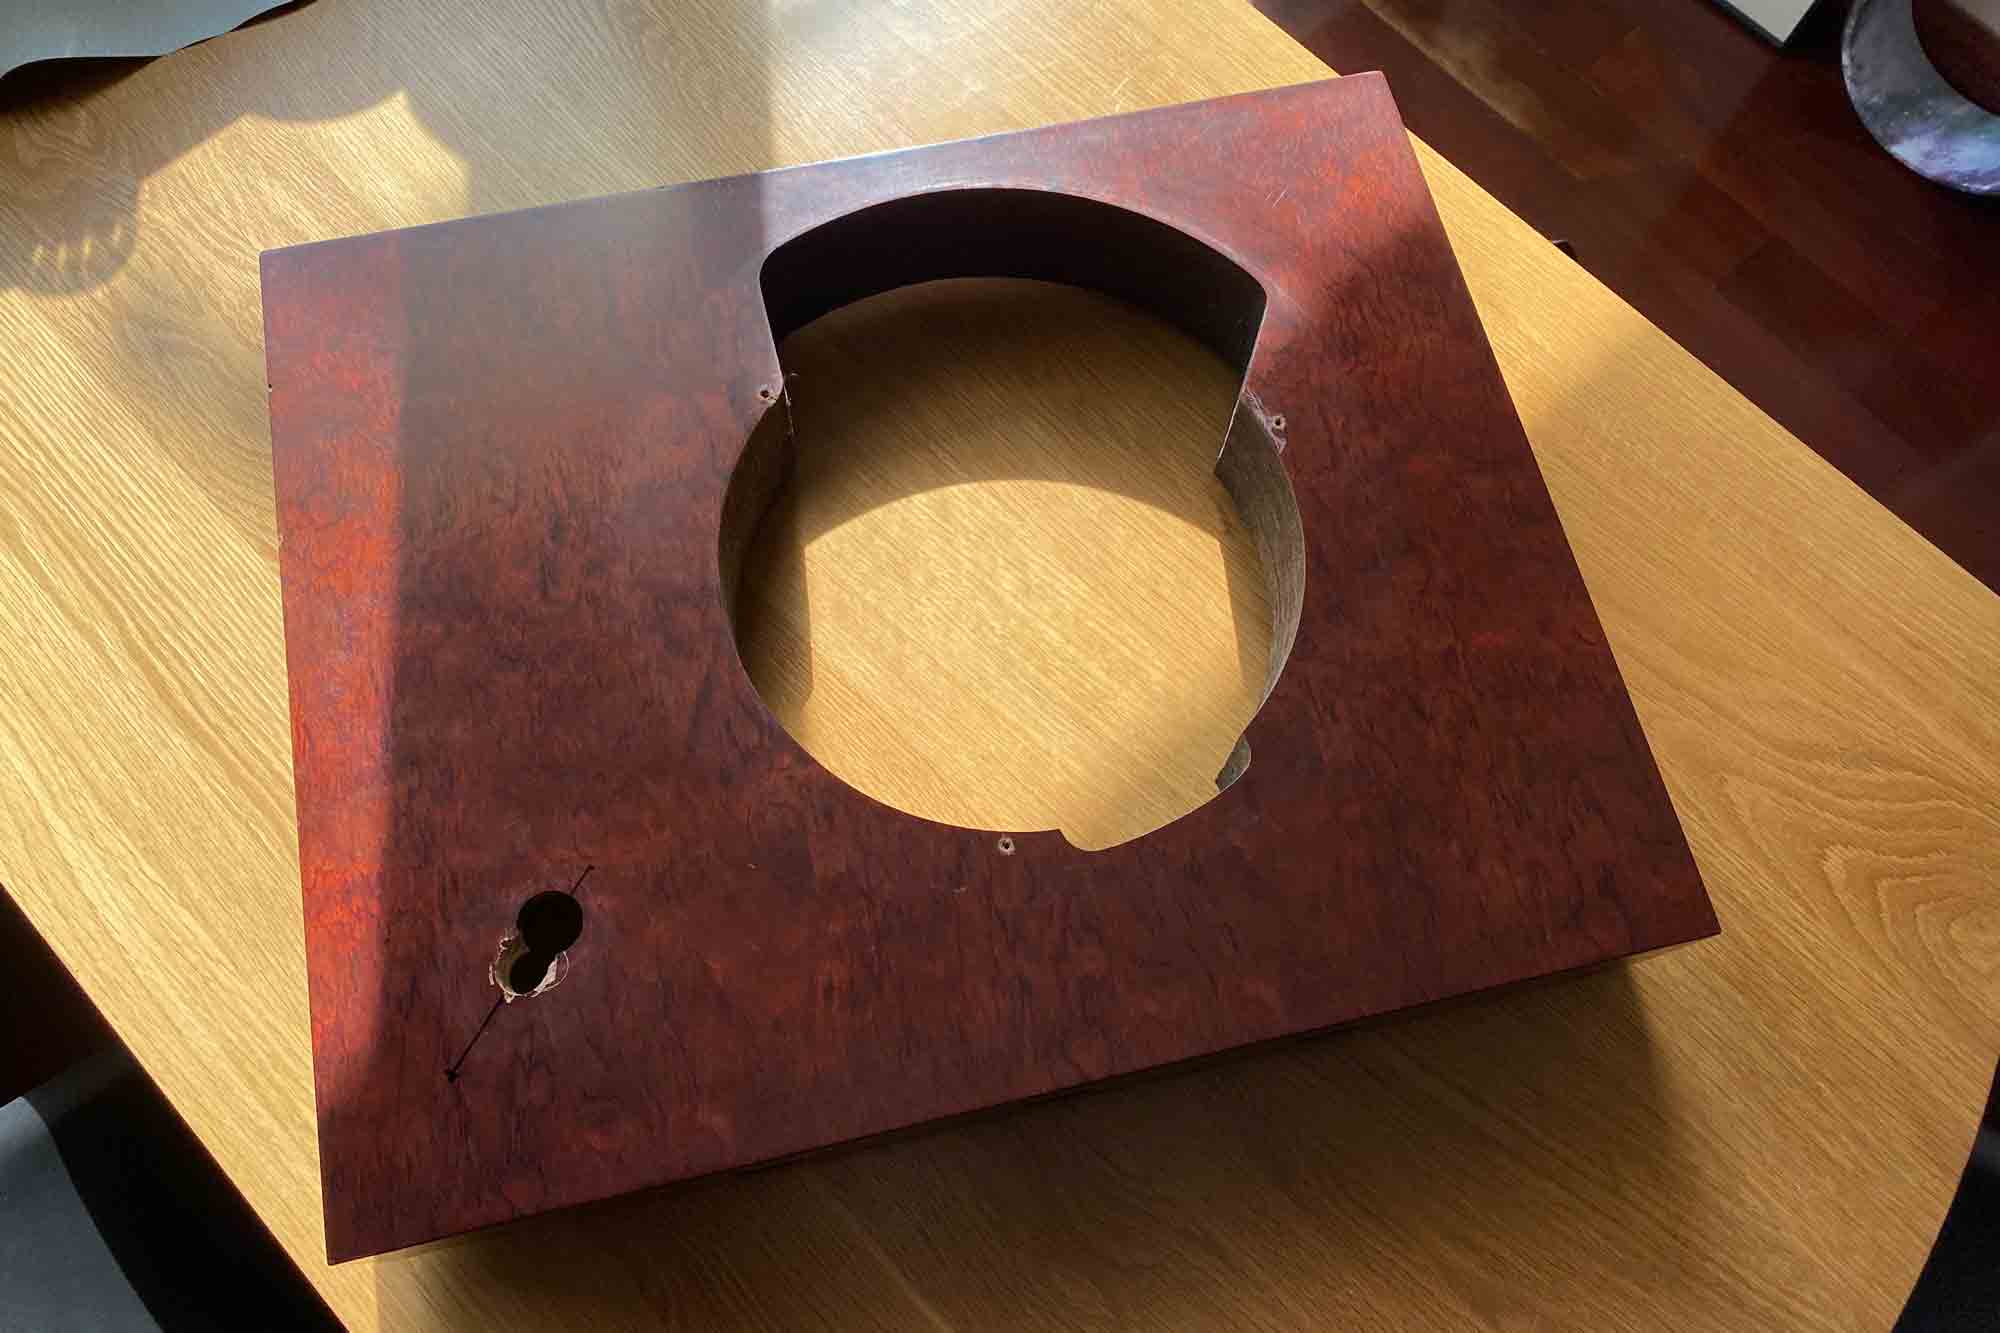
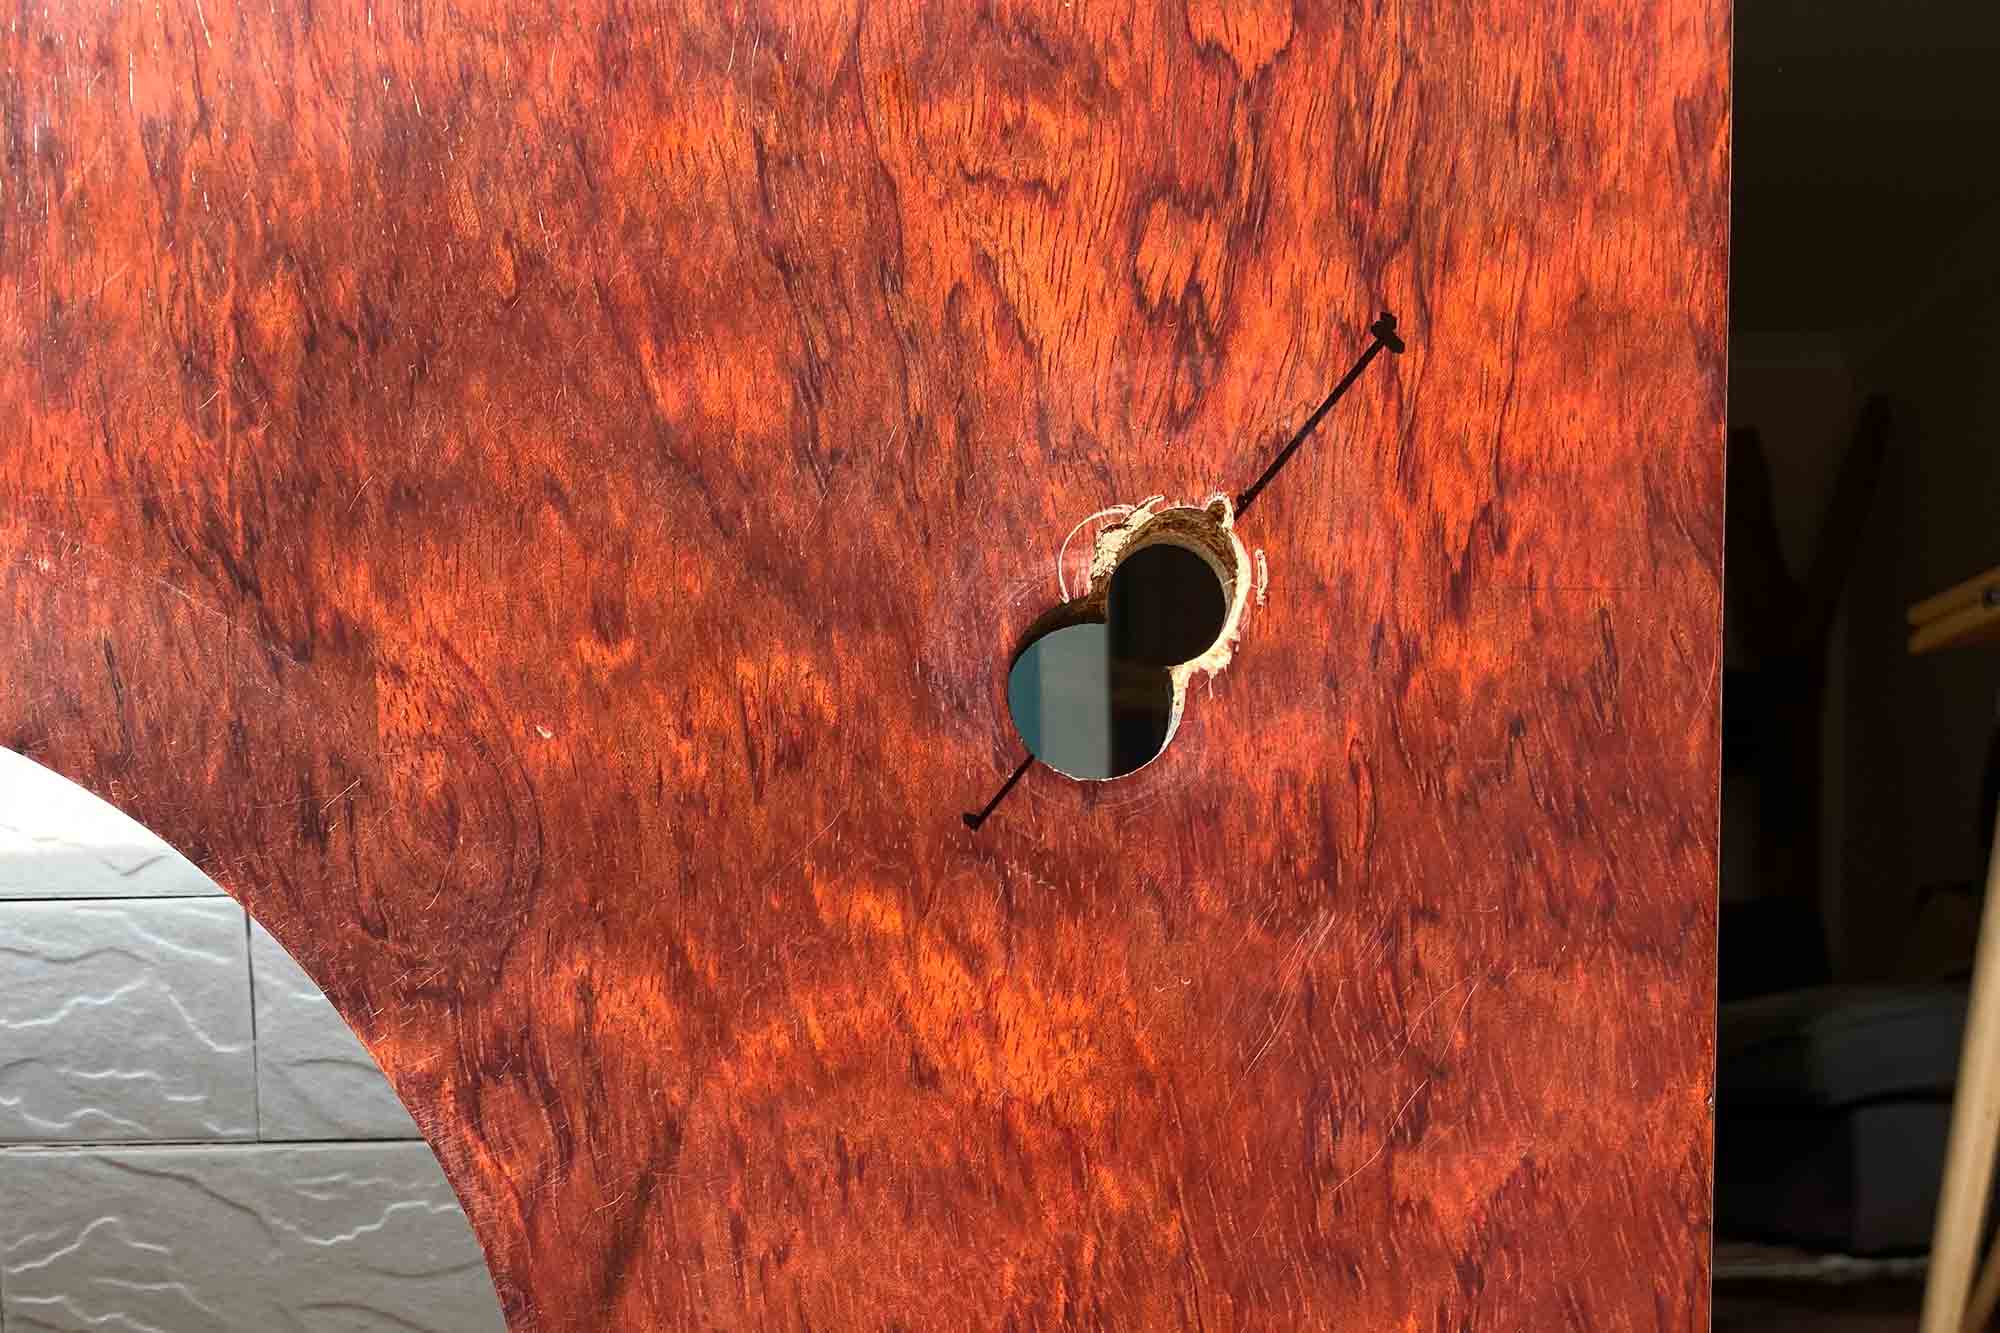
Apparently an initial tonearm hole had been drilled for a 10 inch tonearm.
Later on, a second hole was drilled to fit the 12 inch tonearm, but the work was sloppy and after checking the exact overhang requirements for the Brinkmann tonearm, this second hole was 6 mm too far from the motor spindle.
A 6 mm offset is small per se, but for a cartridge overhang setting it is huge…
The main work therefore consists in filling the existing holes, and drill a new one at the exact required distance from the motor spindle.
Esthetic Modifications
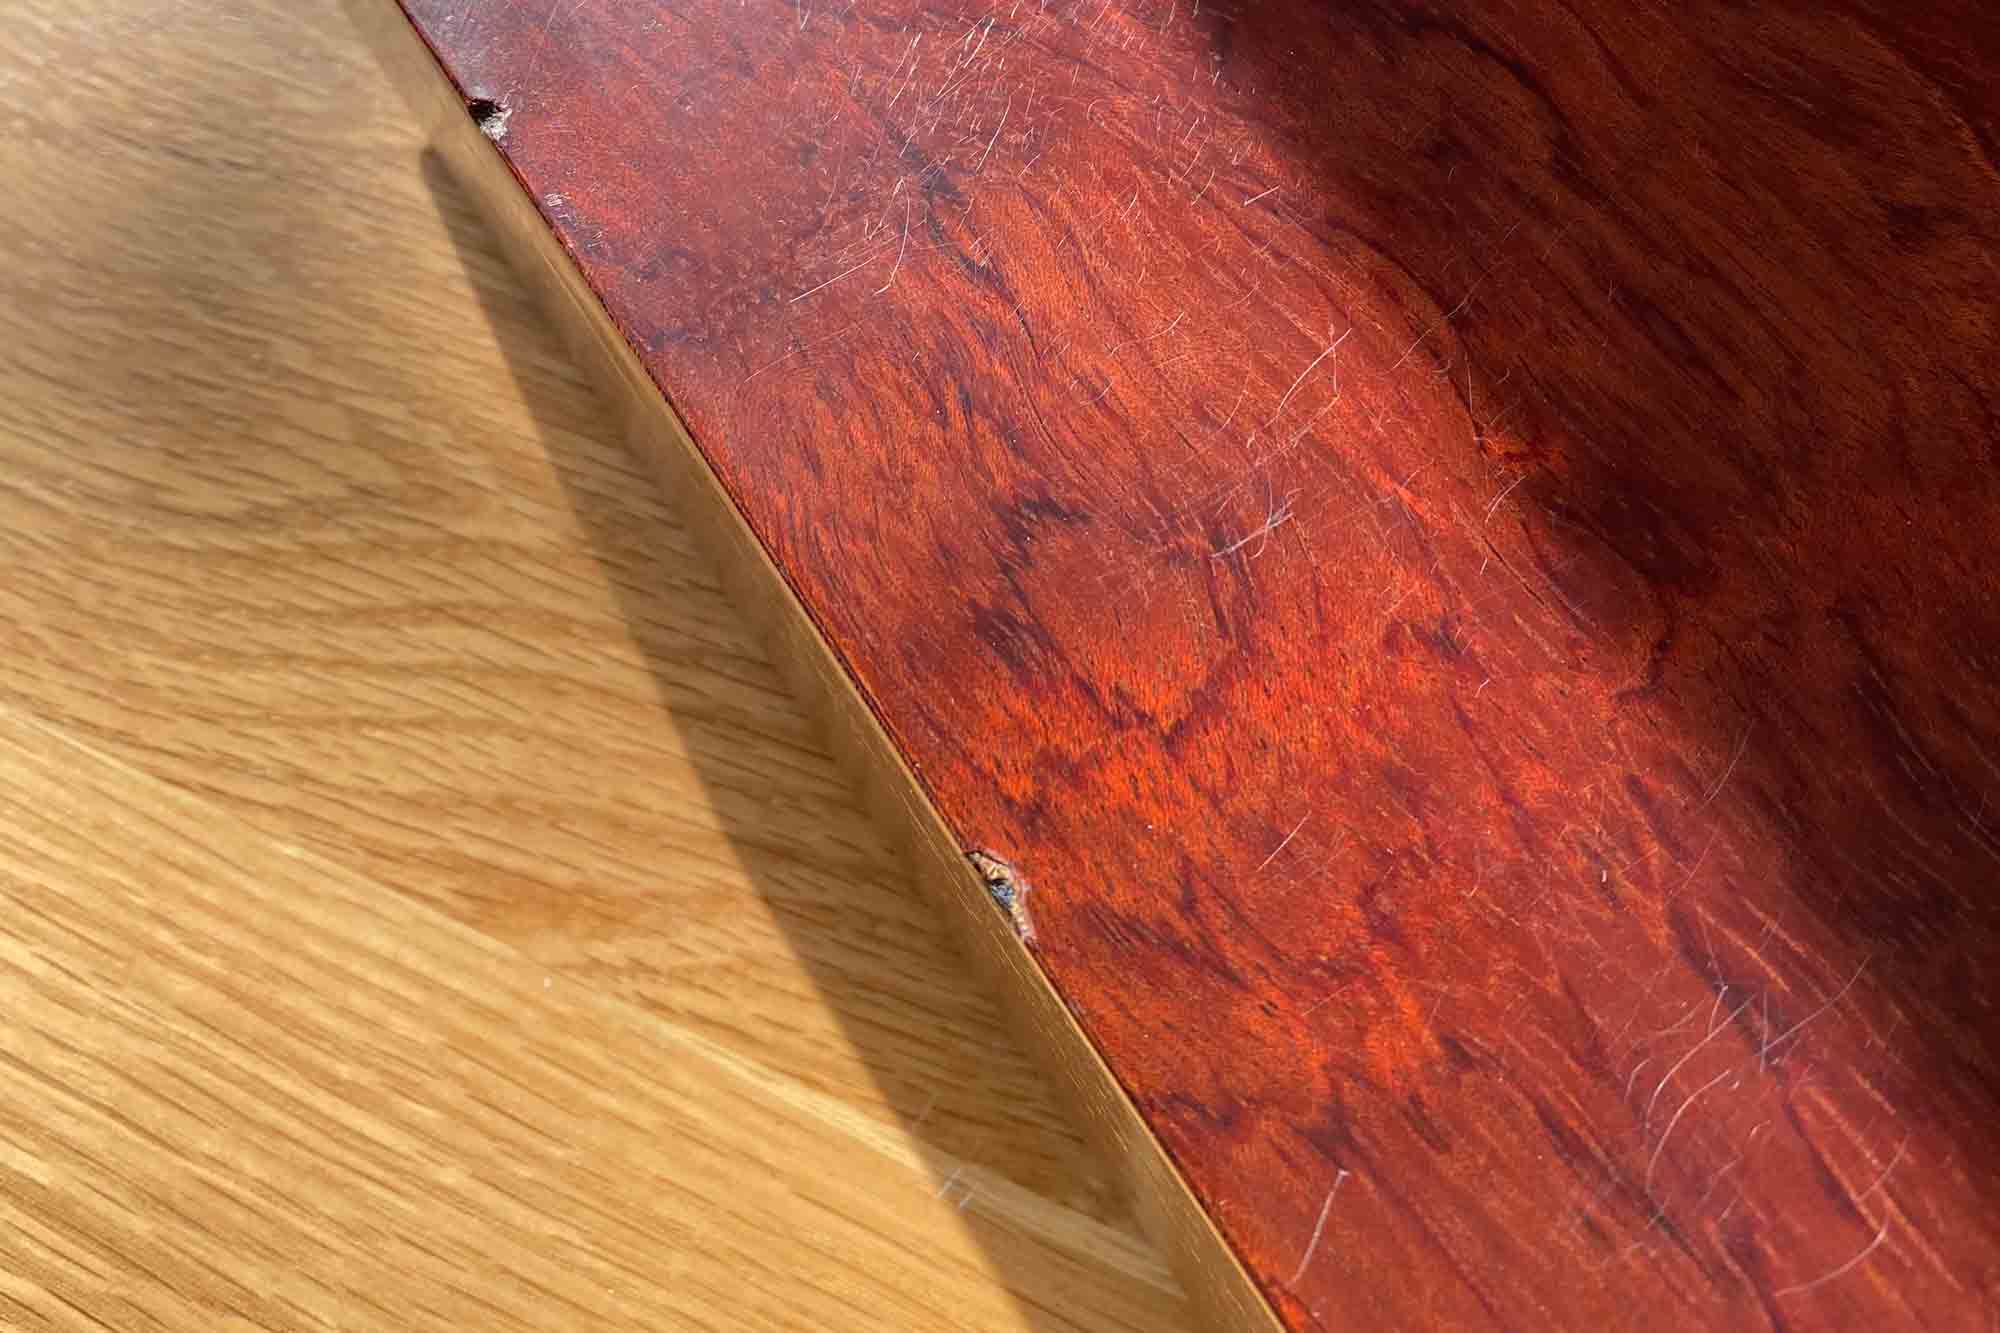
The rosewood finish is very, very tired. There are lots of scratches and several notches.
Let’s refinish the entire plinth. In glossy black please!
I don’t have the space and gear to do that myself, so I had to source suppliers to do it for me.
The first attempt was with a furniture shop. The sales lady said they repainted some speakers and other hi-fi devices before.
They sent the plinth to their factory and this is what I got back.
The notches are all gone, but the paint job is awful…
The second attempt was with a piano shop. They put me in contact with the lacquer man in charge of restoring Steinway & Sons piano when they get damaged when shipping to Shanghai.
This finish is real piano lacquer. Even if it is not perfect, the result is quite beautiful and I am very pleased with it.
It is now time to clean the feet and align them on the plinth, as they were slightly offset.
They are fixed with screws and epoxy glue, and provide excellent damping.
3. The Brinkmann 12.1 tonearm
Introduction
By definition, when tracking a record with a rotational tonearm, the cantilever is aligned perfectly perpendicular to the groove in only two instances.
The longer the arm, the smaller the offset error will be between these two instances, meaning less distortion. This is especially audible towards the end of a record, when the tracking error angle is maximum.
According to the highly regarded manufacturer: “this explains why LPs tracked with the 12.1-inch long arm sound just a tad more poised, relaxed and natural. No rose is without thorns however: there are not that many turntables that can accommodate the 12.1”
You can find a complete review of the tonearm here.
The necessary distance from the arm pivot and the motor spindle is 292 mm. And the good news is the center of the tonearm hole is now exactly at that distance 🙂
Installation
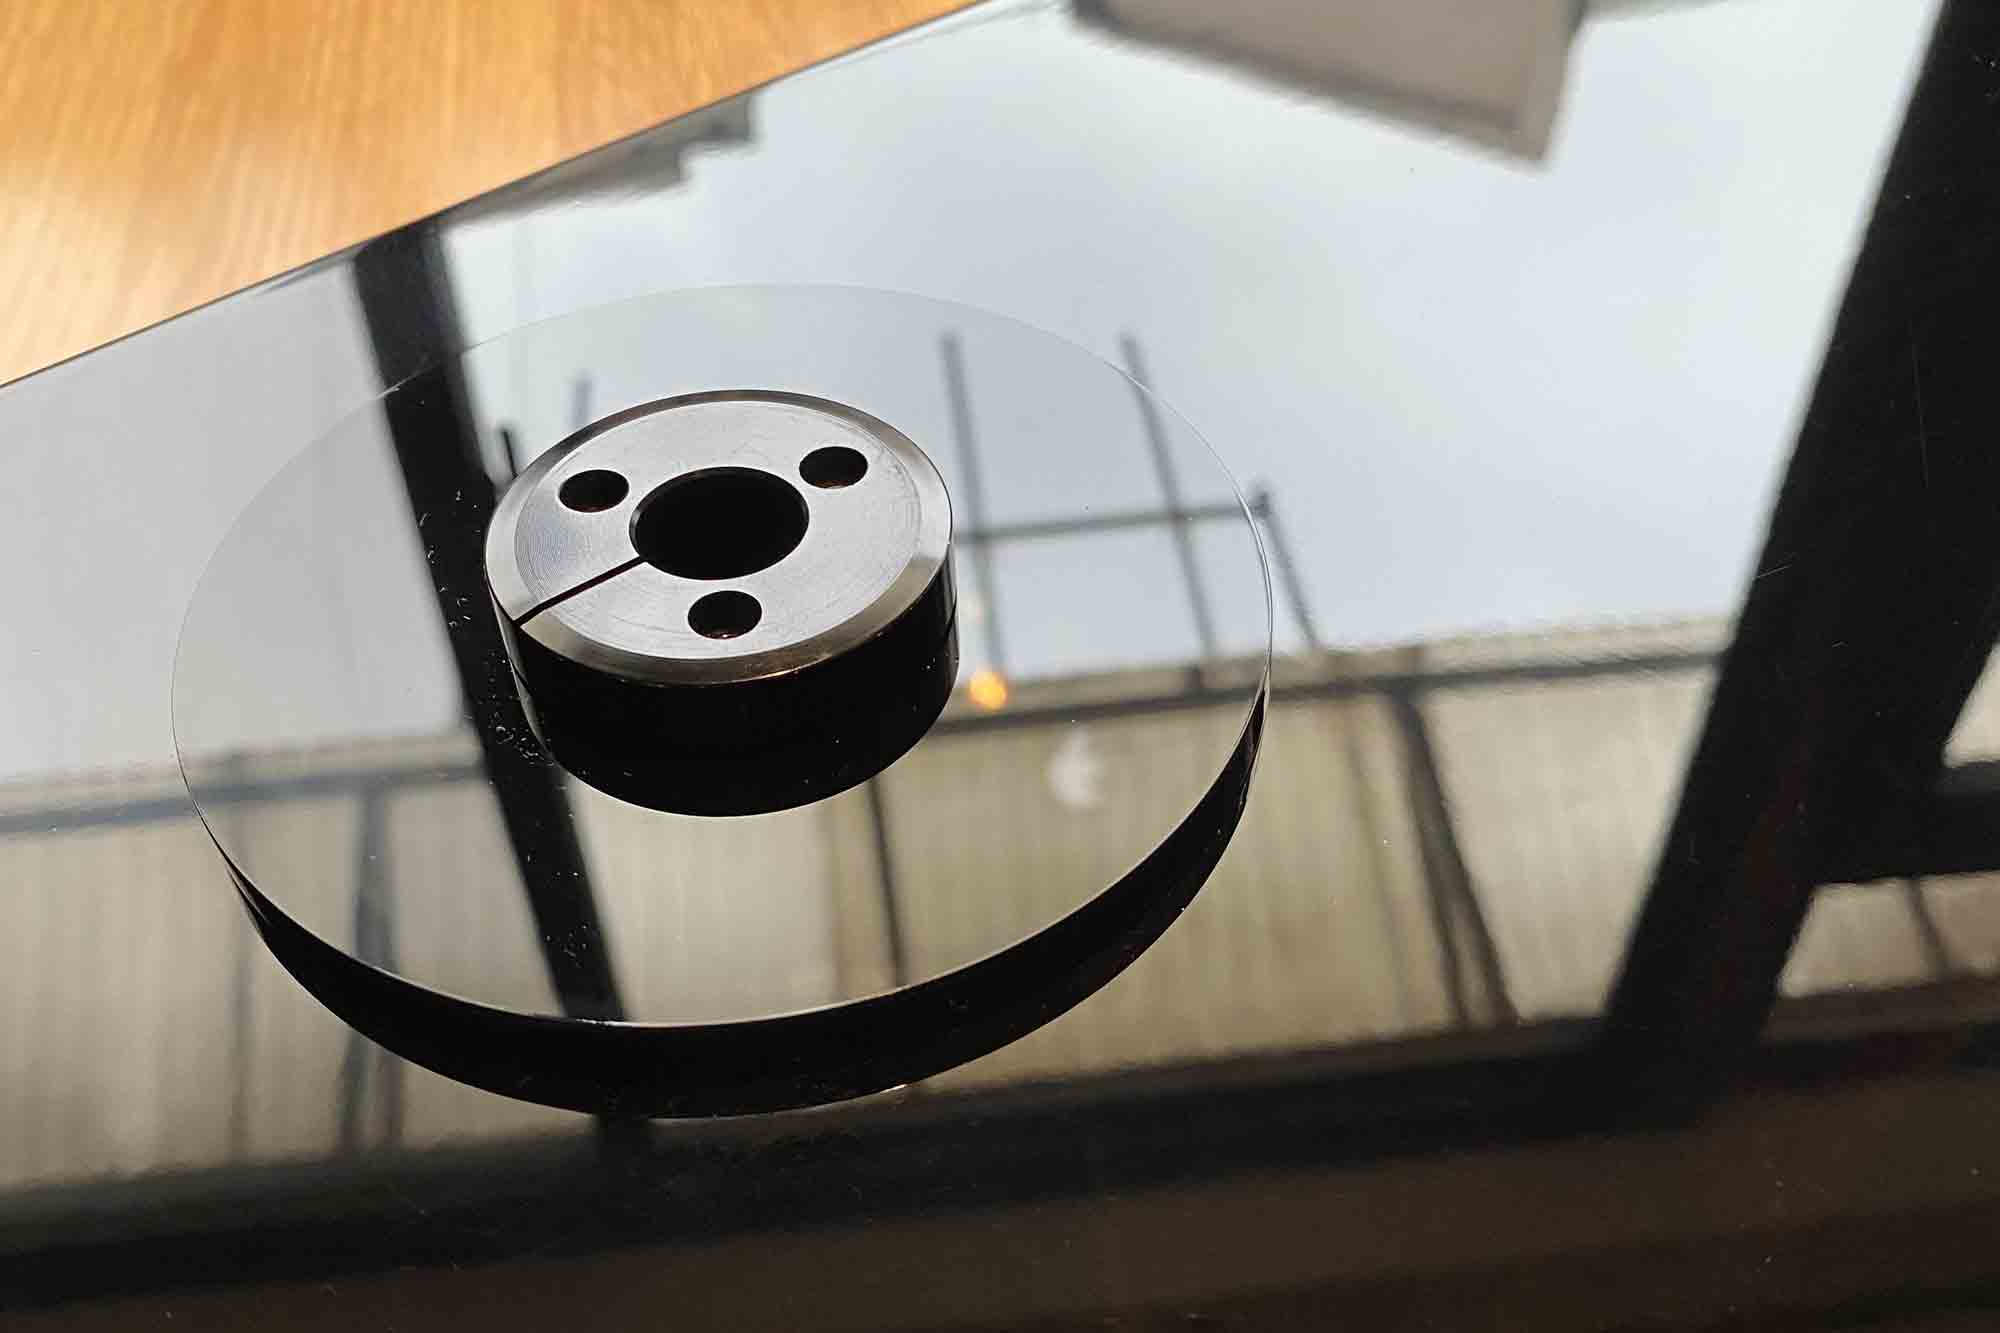
First check that the hole is perfectly straight, so the tonearm is perpendicular to the plinth.
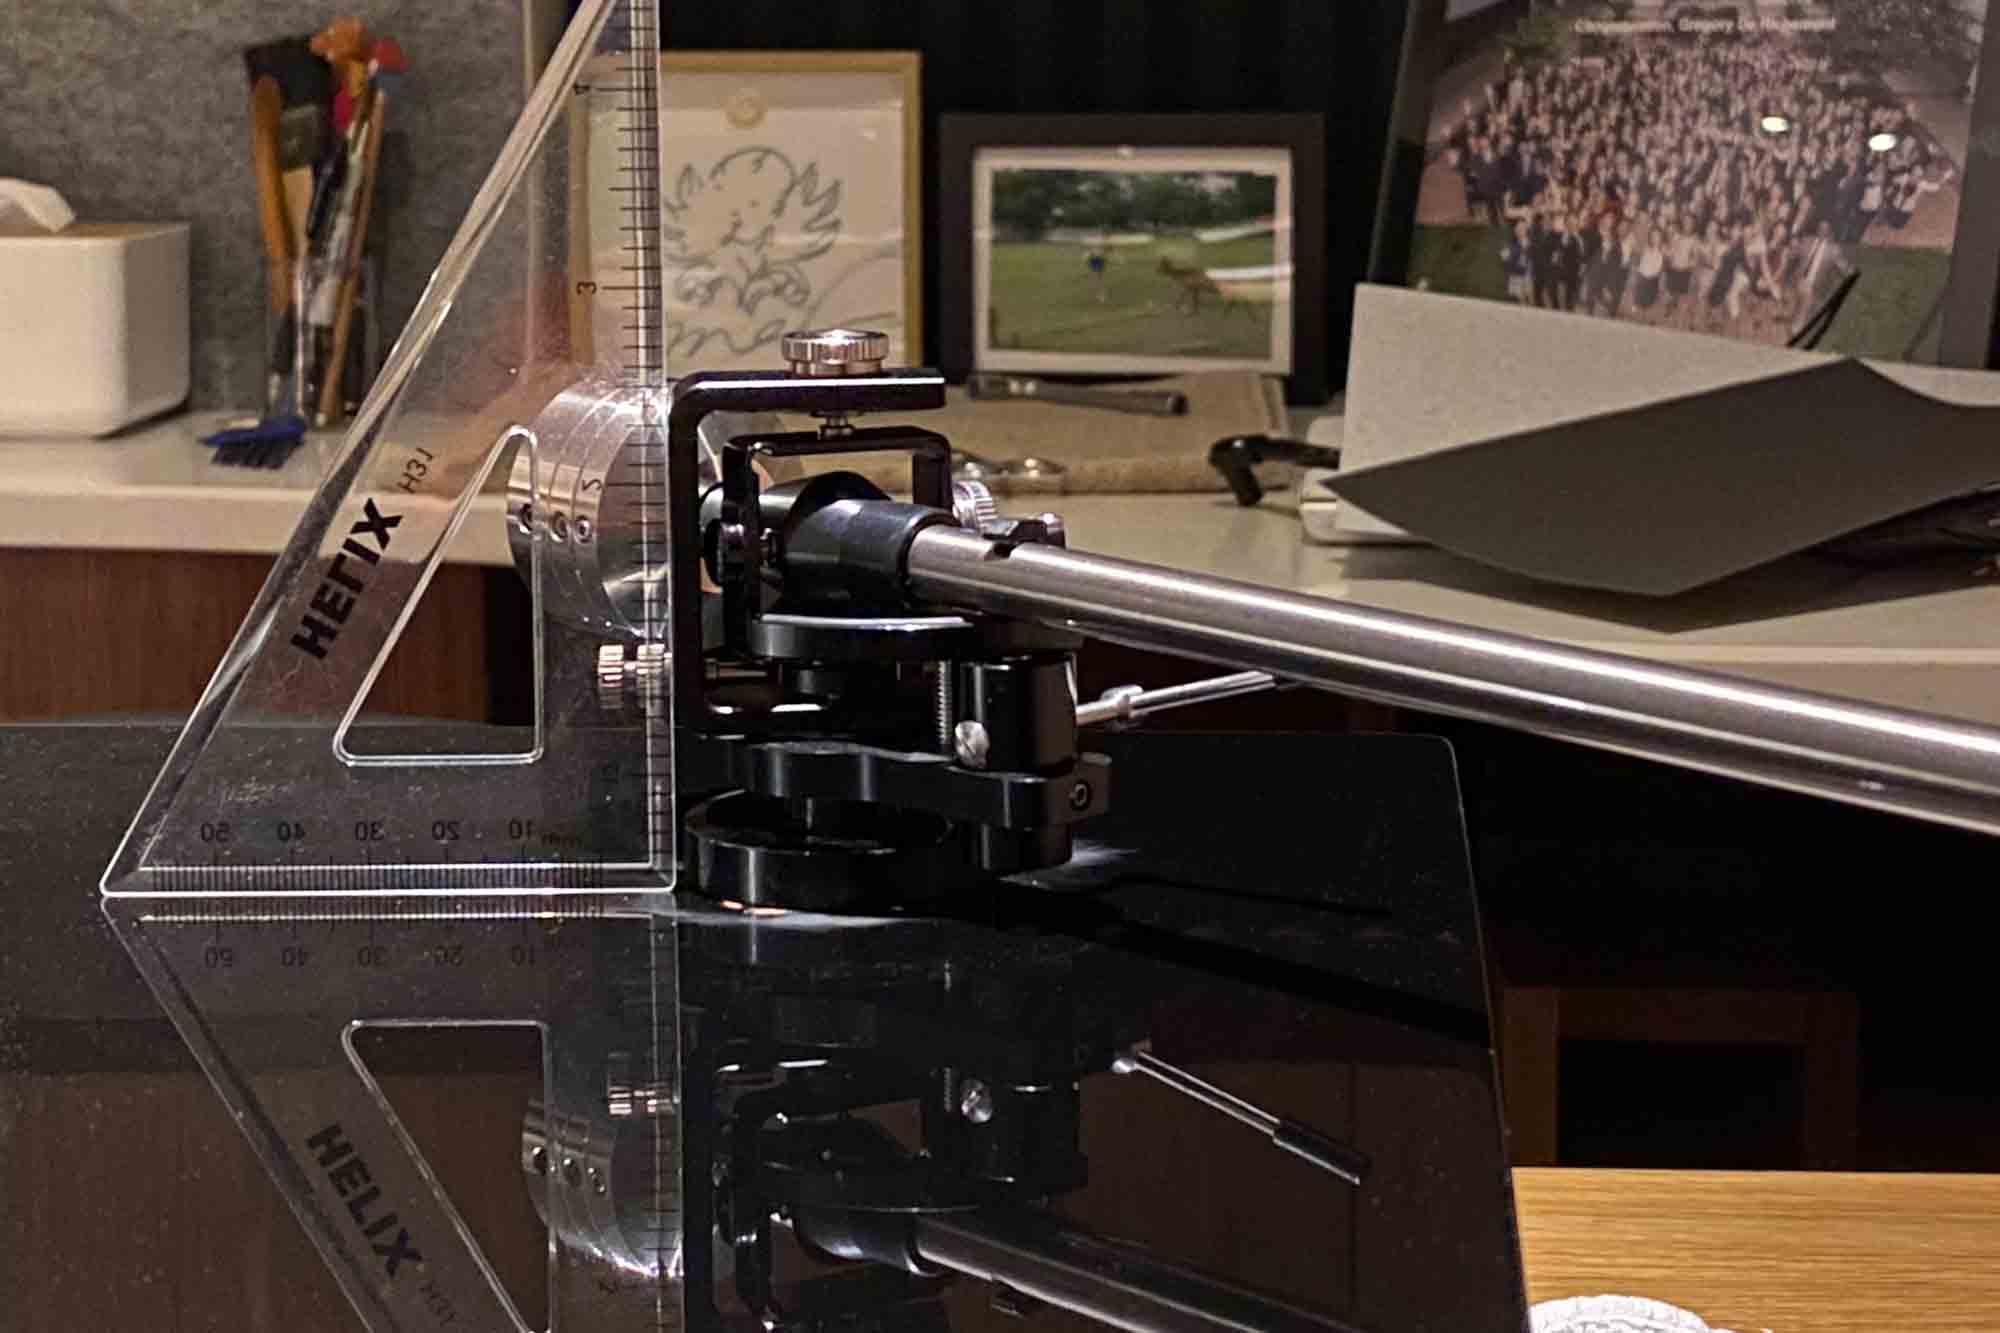
Second install the supporting acrylic round plate (after polishing), and seal the arm base to the plinth with water based wood filler.
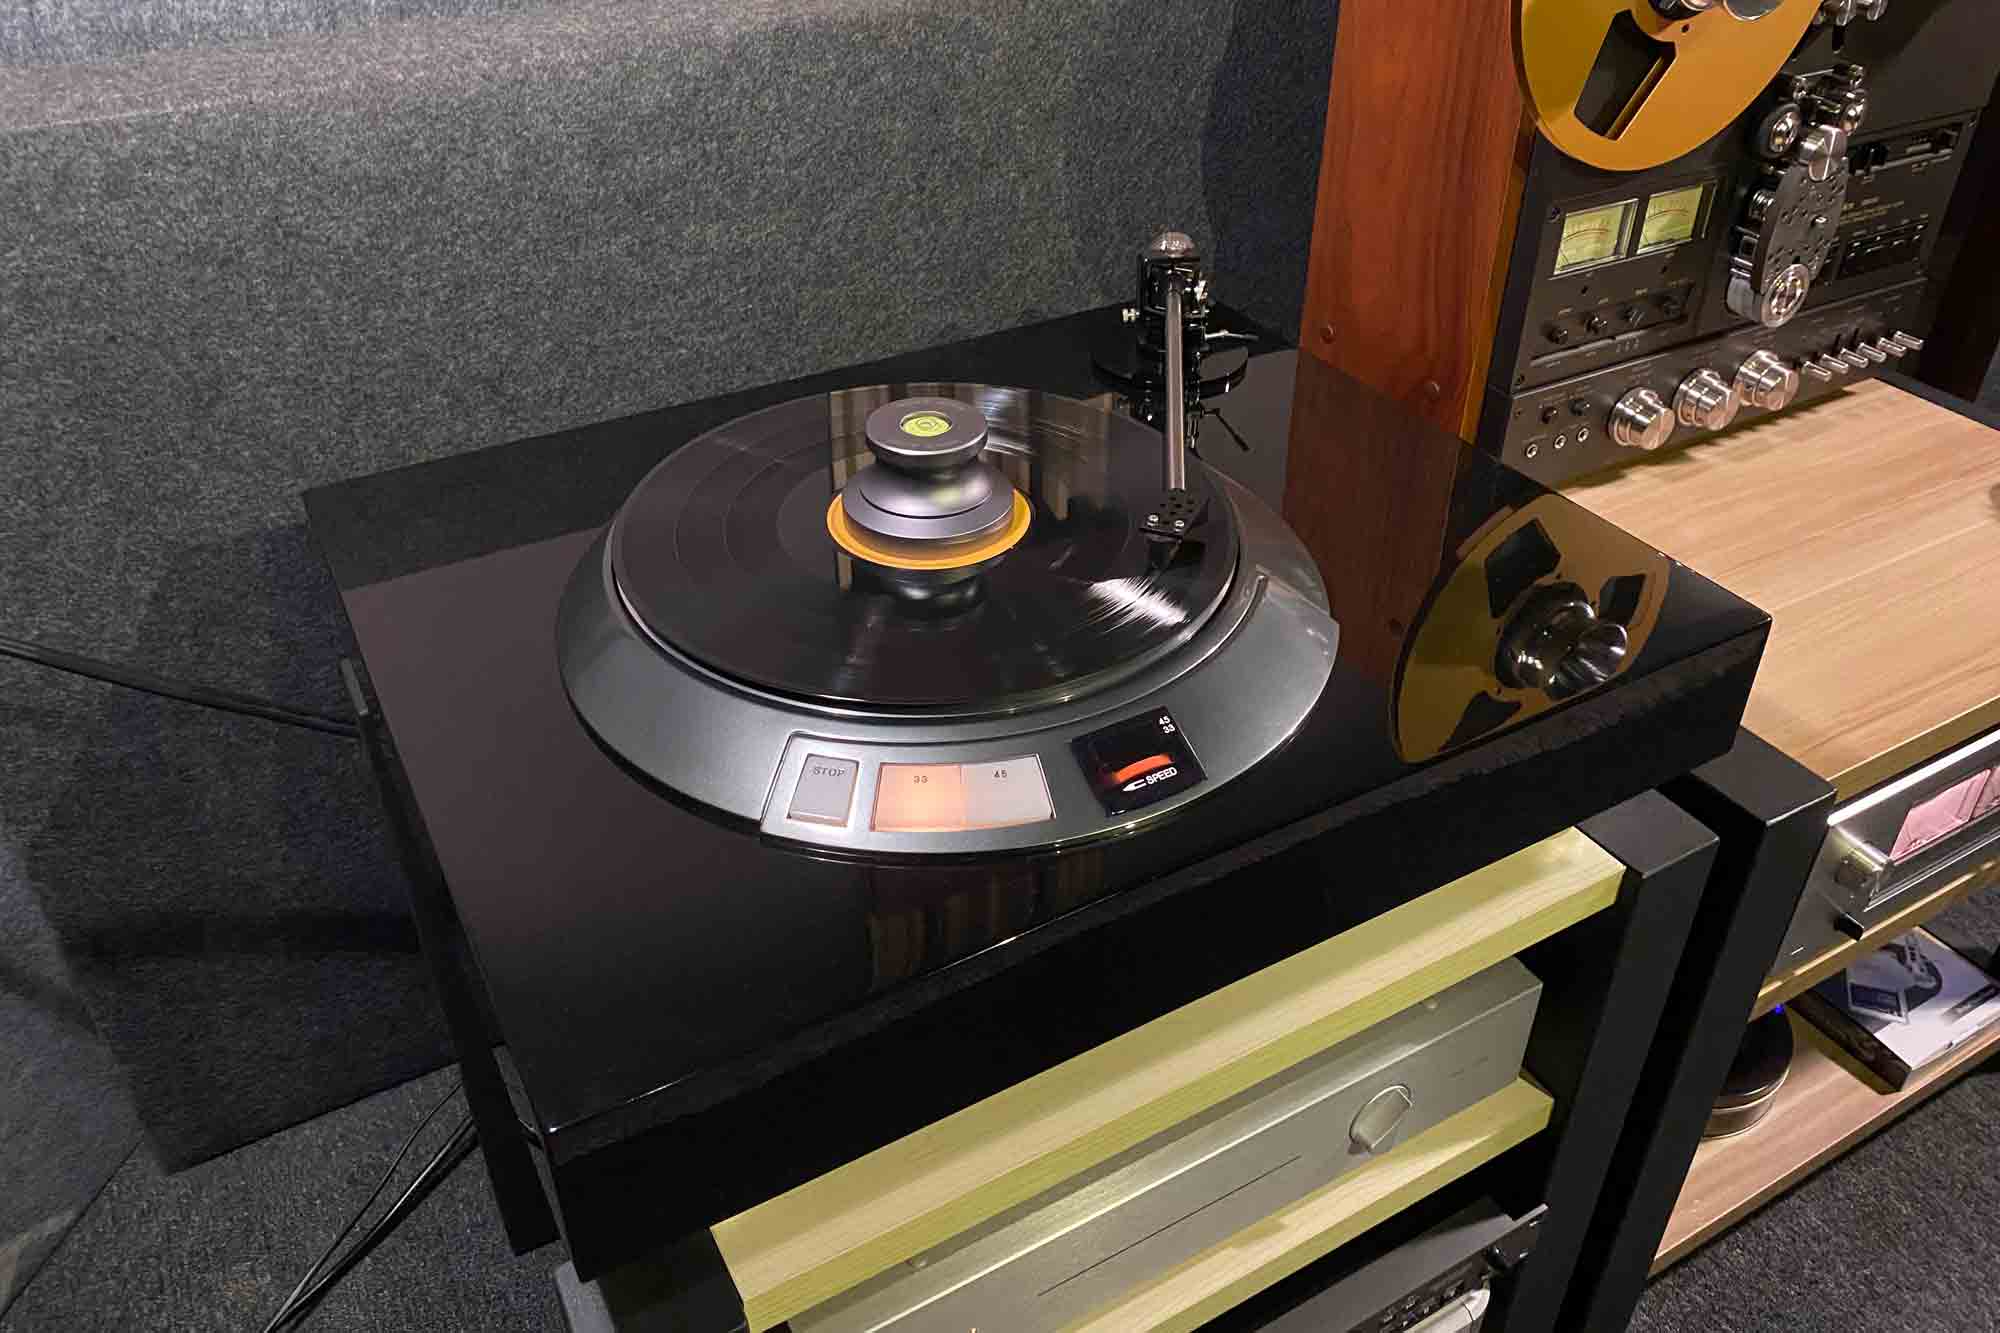
Tonearm now in place.
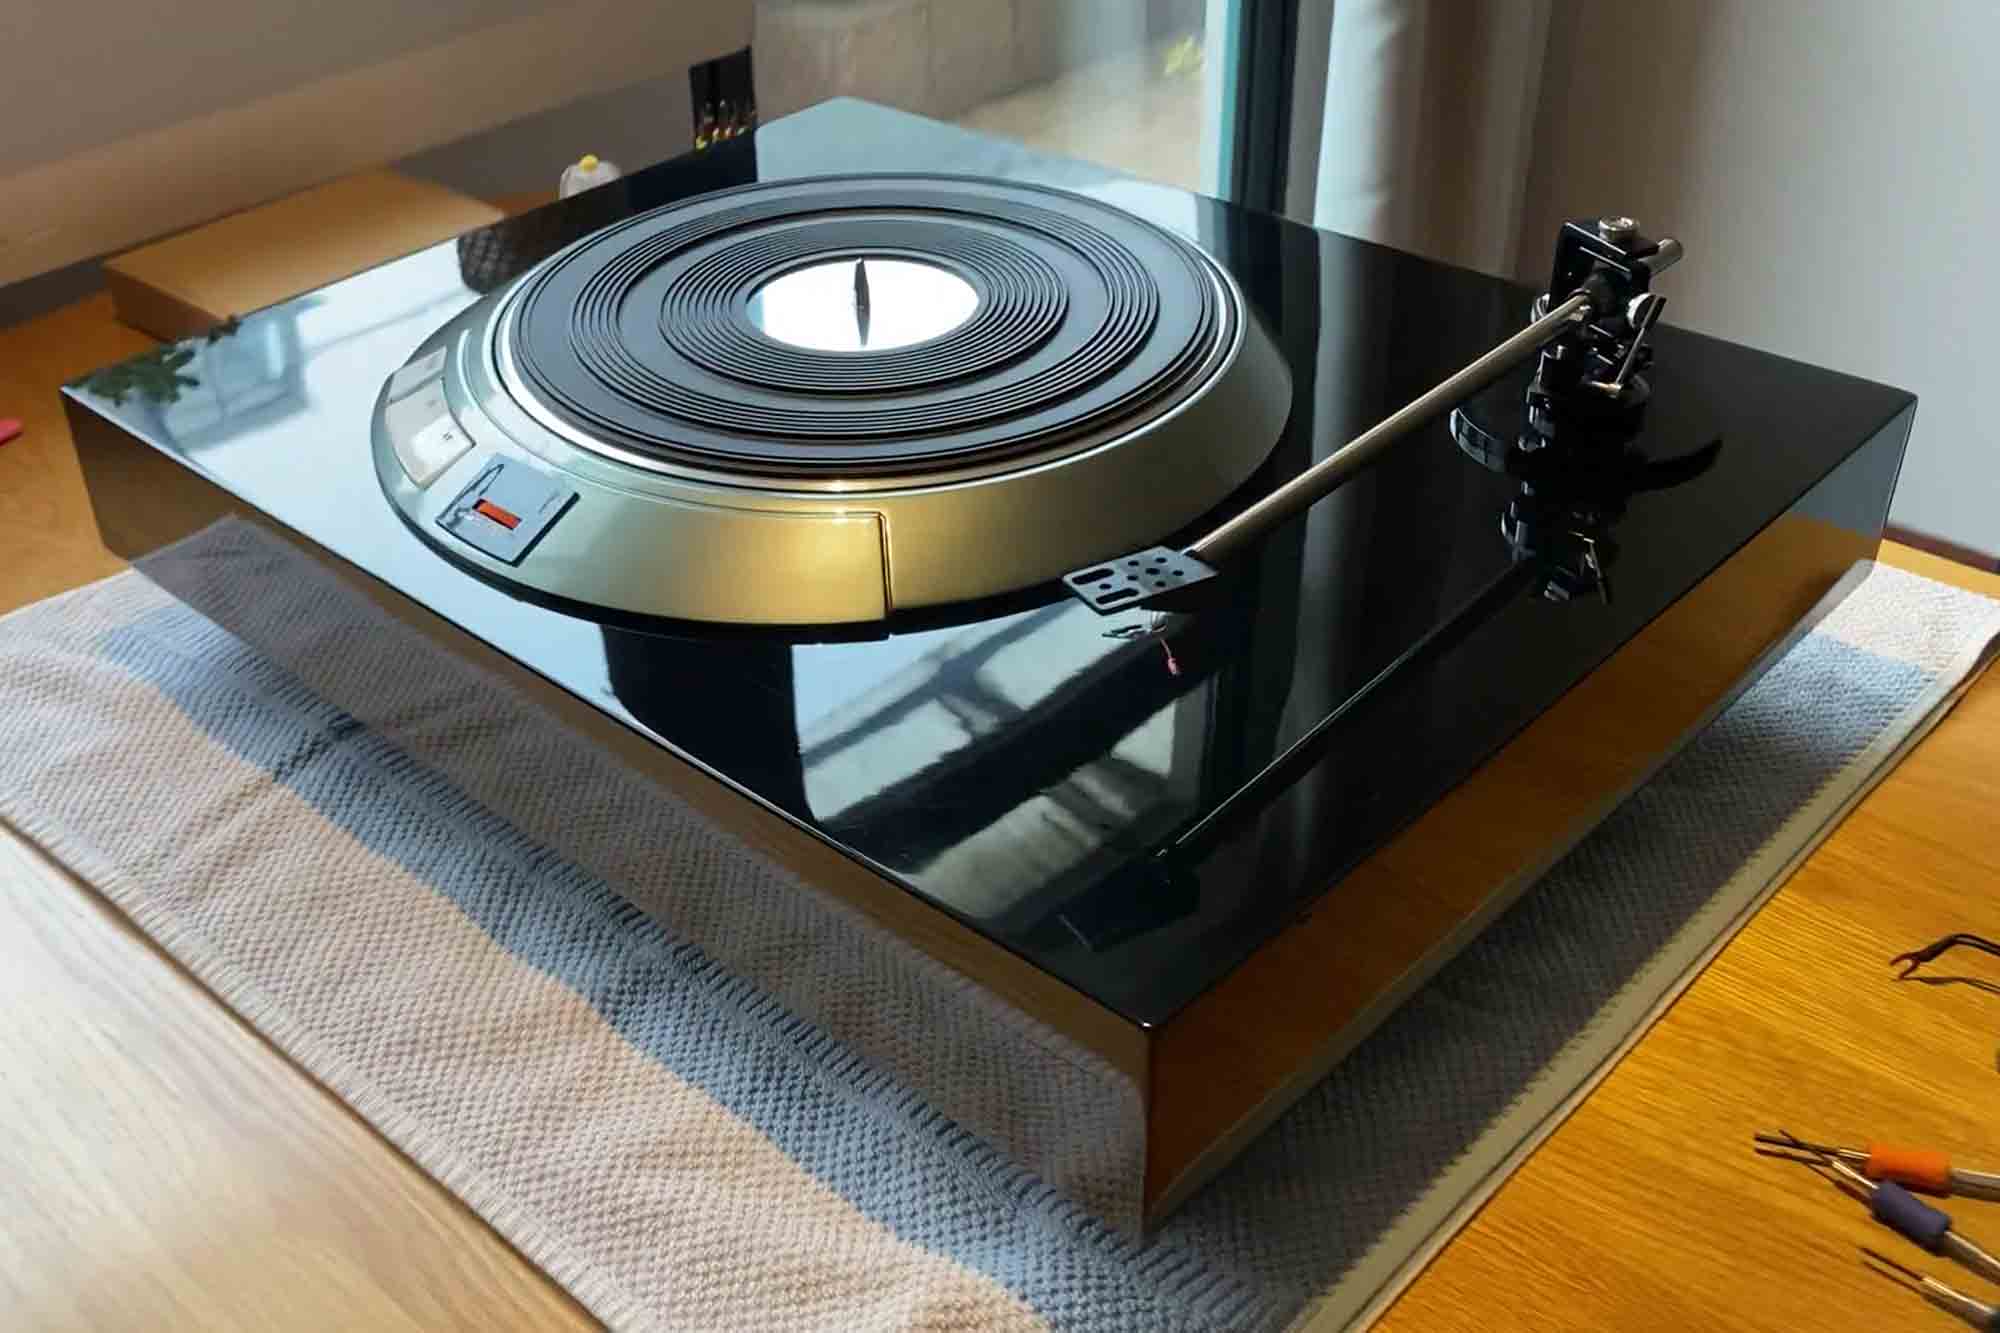
All cables are now in place too.
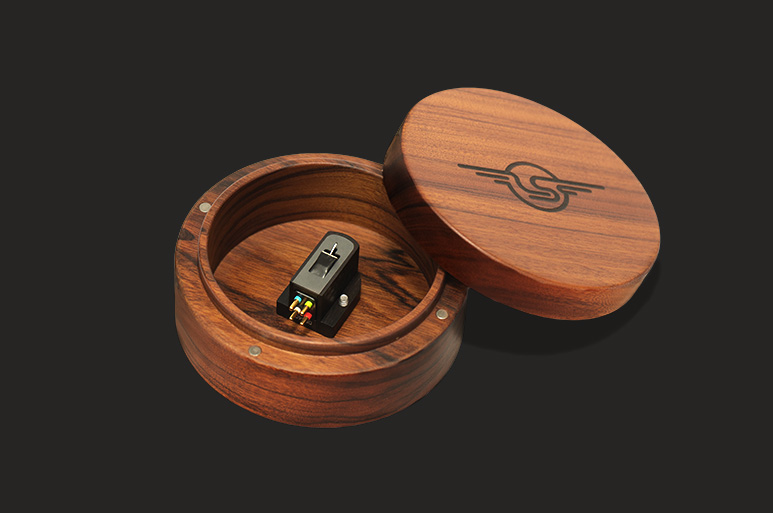
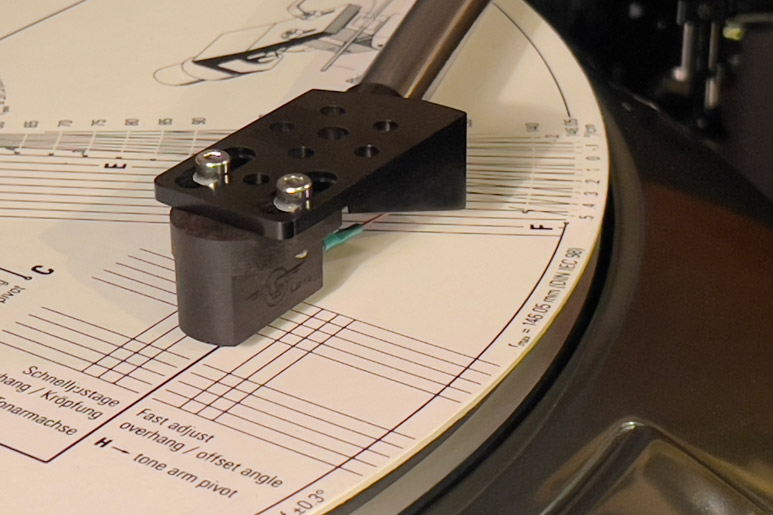
Time to install the cartridge. The dynamic Le Son LS10 moving coil cart is a perfect match for this tonearm.
The cartridge is now fully aligned on the headshell. The Shön cartridge alignment template is good, and in the end I went for the Guru protractor.
Both give excellent results in my opinion.
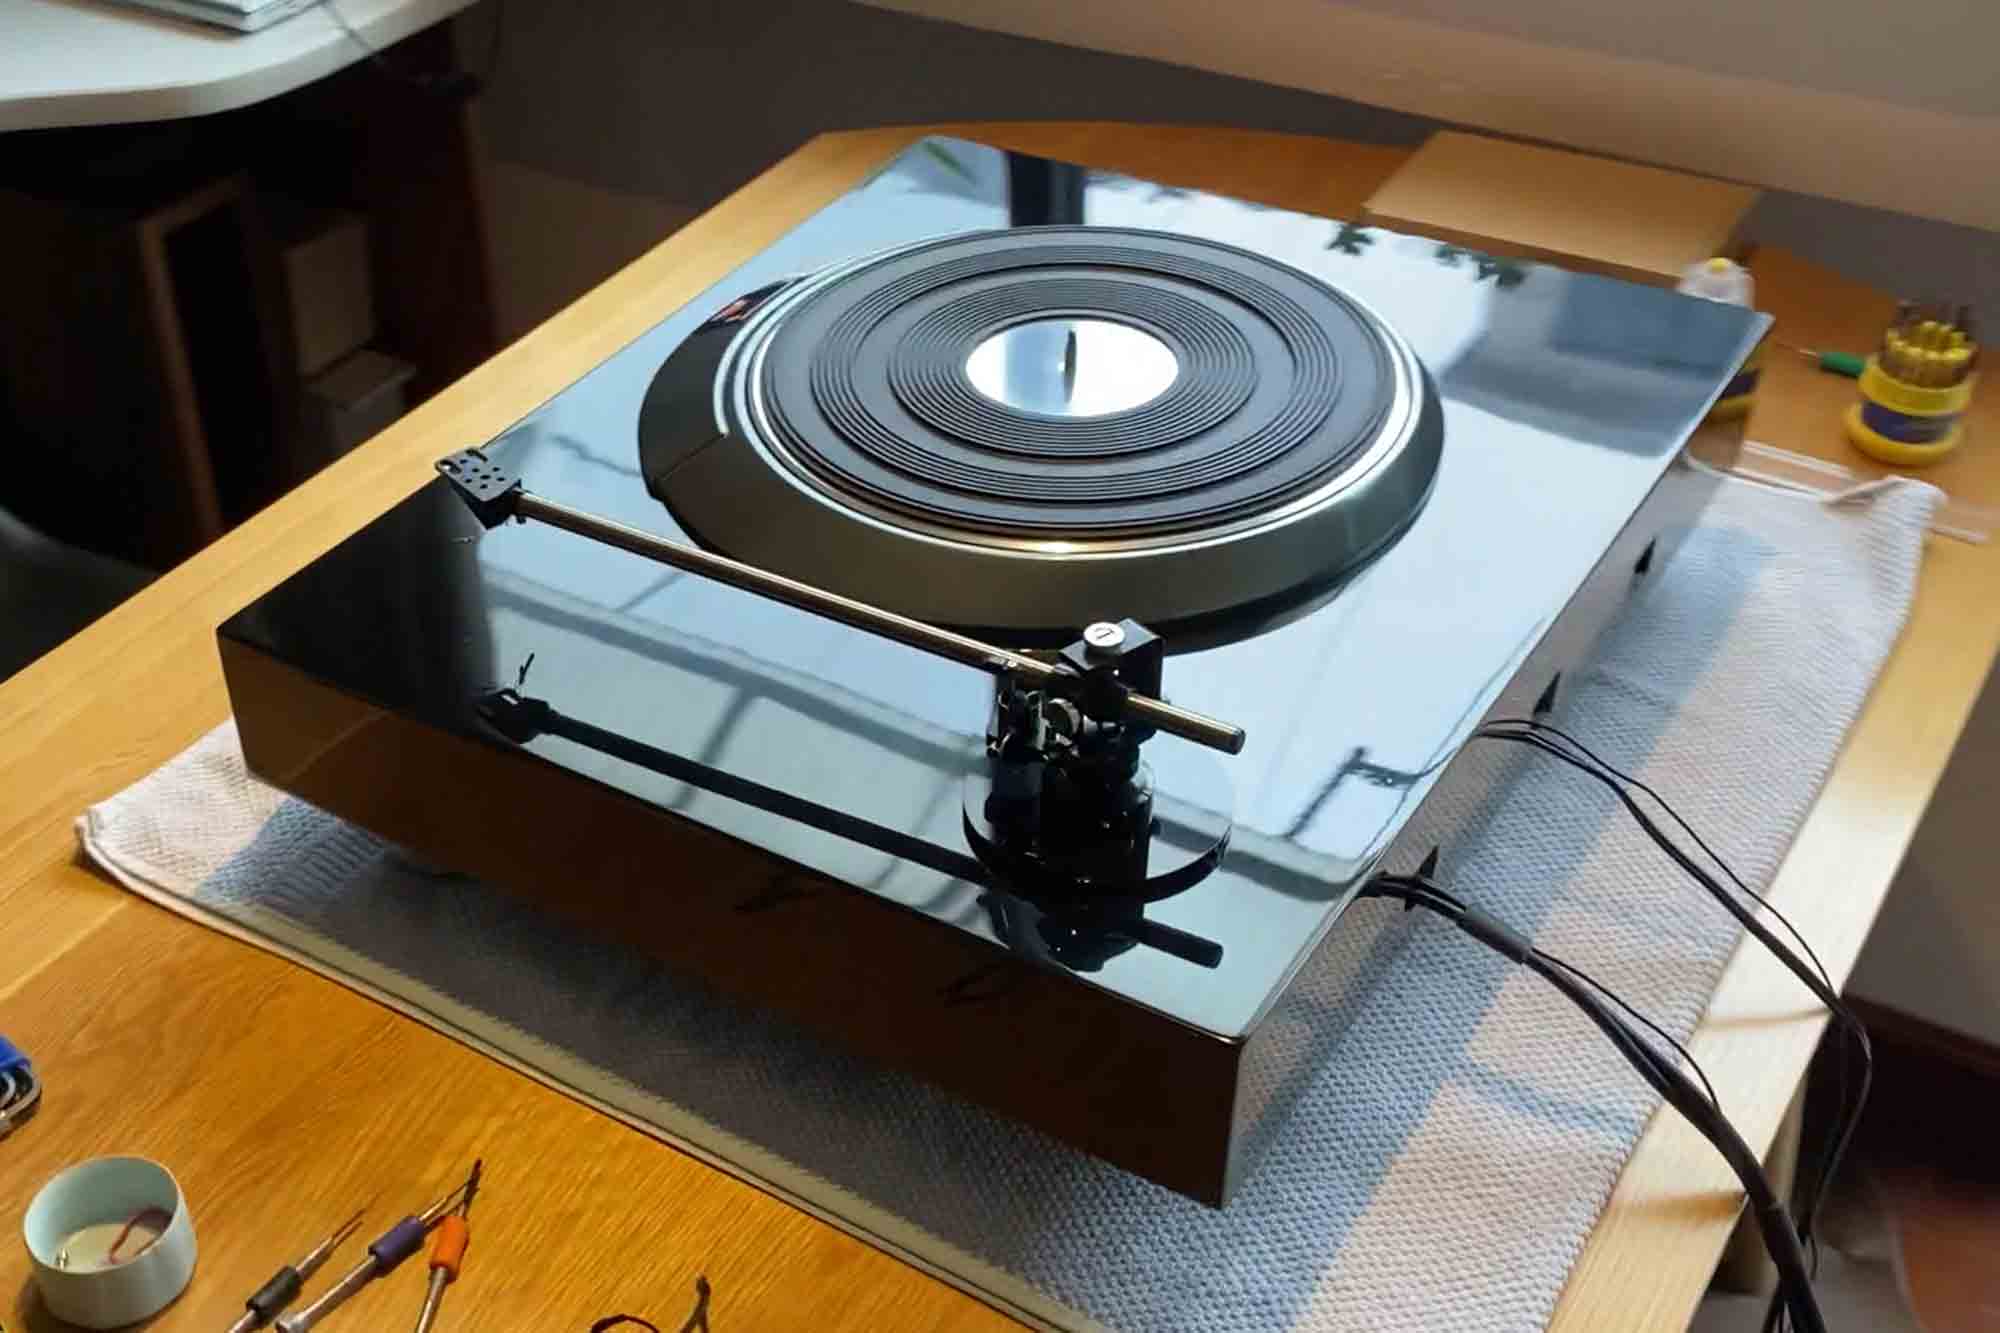
Denon DP 3000 Project: Conclusion
This project is now complete.
It is hard work, but at the same time what a pleasure to learn along the way and build something unique.
In that sense, each time I look or listen to this turntable, I am proud of this Unidentified Fulfilling Object!
Beyond turntable projects, Le Son also offers professional moving coil cartridge retipping and restoration, subject to inspection.
L’Or du Son
The analog sound newsletter
A monthly selection of analog news, gear reviews, record releases and music discoveries, curated to keep you inspired and connected to the world of analog sound.
Gregory de Richemont
Gregory de Richemont is the founder of Le Son, where high-fidelity sound is approached as both a technical pursuit and an emotional experience. After a career in international business, he followed a more personal path into analog playback, music and craftsmanship. His work is dedicated to listening experiences that do more than impress: they create a deeper connection with music. Learn more on our About page.